Hey there! I’m Kayla Ann. I’m an artist and illustrator who uses Astropad Studio to create my vintage-inspired digital art.
Have you always wondered how artists take their sketches and turn them into vector or raster files?
For the longest time, I tried to figure out the best way to translate my hand drawings into digital artwork and over the years I’ve refined the process and found the easiest ways that work for me!
Today, I’ll be outlining three techniques for translating hand sketches into digital artwork.
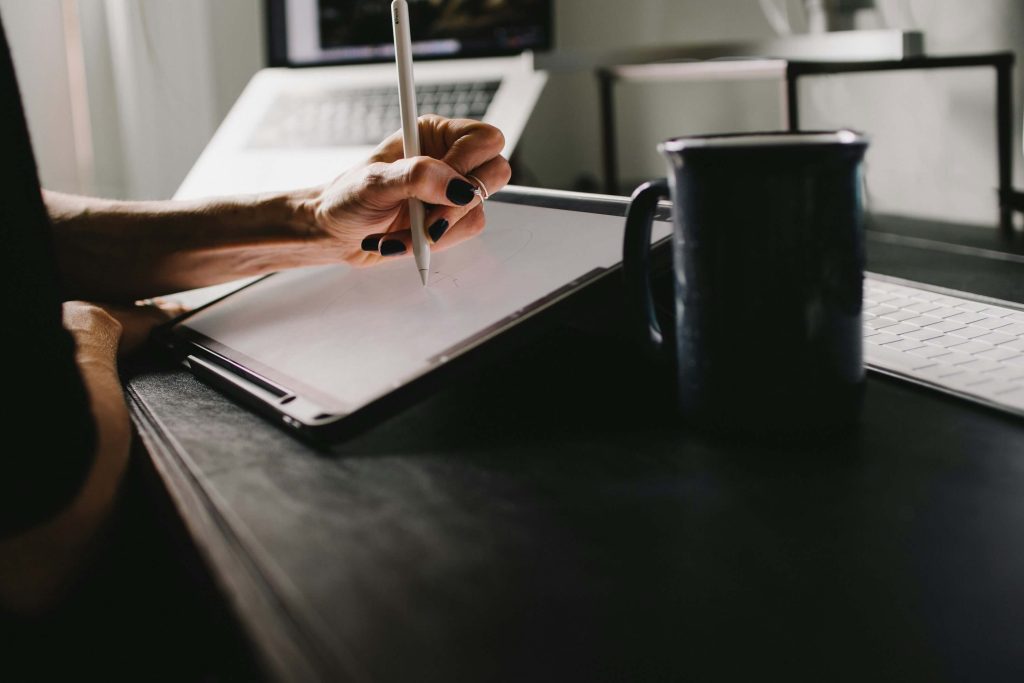
Method 1: Digital tracing on iPad
This is one of my favorite ways to turn my hand drawings into digital artwork.
First, create an outline / sketch by hand and take a picture with my phone or iPad. Be sure your camera is level at this stage so you don’t warp the image and change proportions.
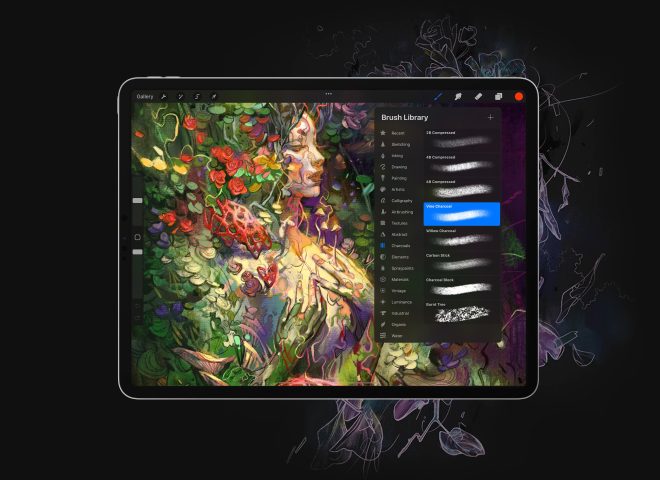
Second, take that image and bring it into your preferred digital art app like Procreate, Adobe Illustrator for iPad, Adobe Fresco, or Affinity Designer. Create a new layer and insert your image.
From there, add a layer and start using your favorite brushes to trace over the hand drawn image. This process works really well for me since sometimes a blank screen in Procreate can be overwhelming and I have an easier time working out compositions by hand on paper.
You can create finished digital works on all these apps, or transfer your traces into Adobe Illustrator to create repeating patterns and more.
Method 2: Adobe Image Trace
Adobe Image Trace is one of my favorite tools in the Creative Suite toolbox. It makes creating vector artwork from hand drawings so easy!
When using Adobe Image Trace, you can trace an image that is either hand drawn or already in a digital format. When tracing hand sketches, it’s important to either scan in your work, or take a b&w picture so the software doesn’t trace the paper.
In the image trace settings, you can tailor the tracing output to fit the feel of your work. Moving the threshold up and down can make lines thicker or thinner, and adding noise can give it a more hand drawn feel. I always turn ‘corners’ down so my edges and corners are smooth rather than sharp.
Spend some time adjusting the settings to get just the right feel before you hit ‘expand’ and it turns into a vector image.
Ready to give it a try? → Using Image Trace in 3 Easy Steps
Method 3: Scanning into Photoshop
The final option is scanning your work directly into Photoshop. This is great for artists who use watercolors or mediums that have more texture and dimension.
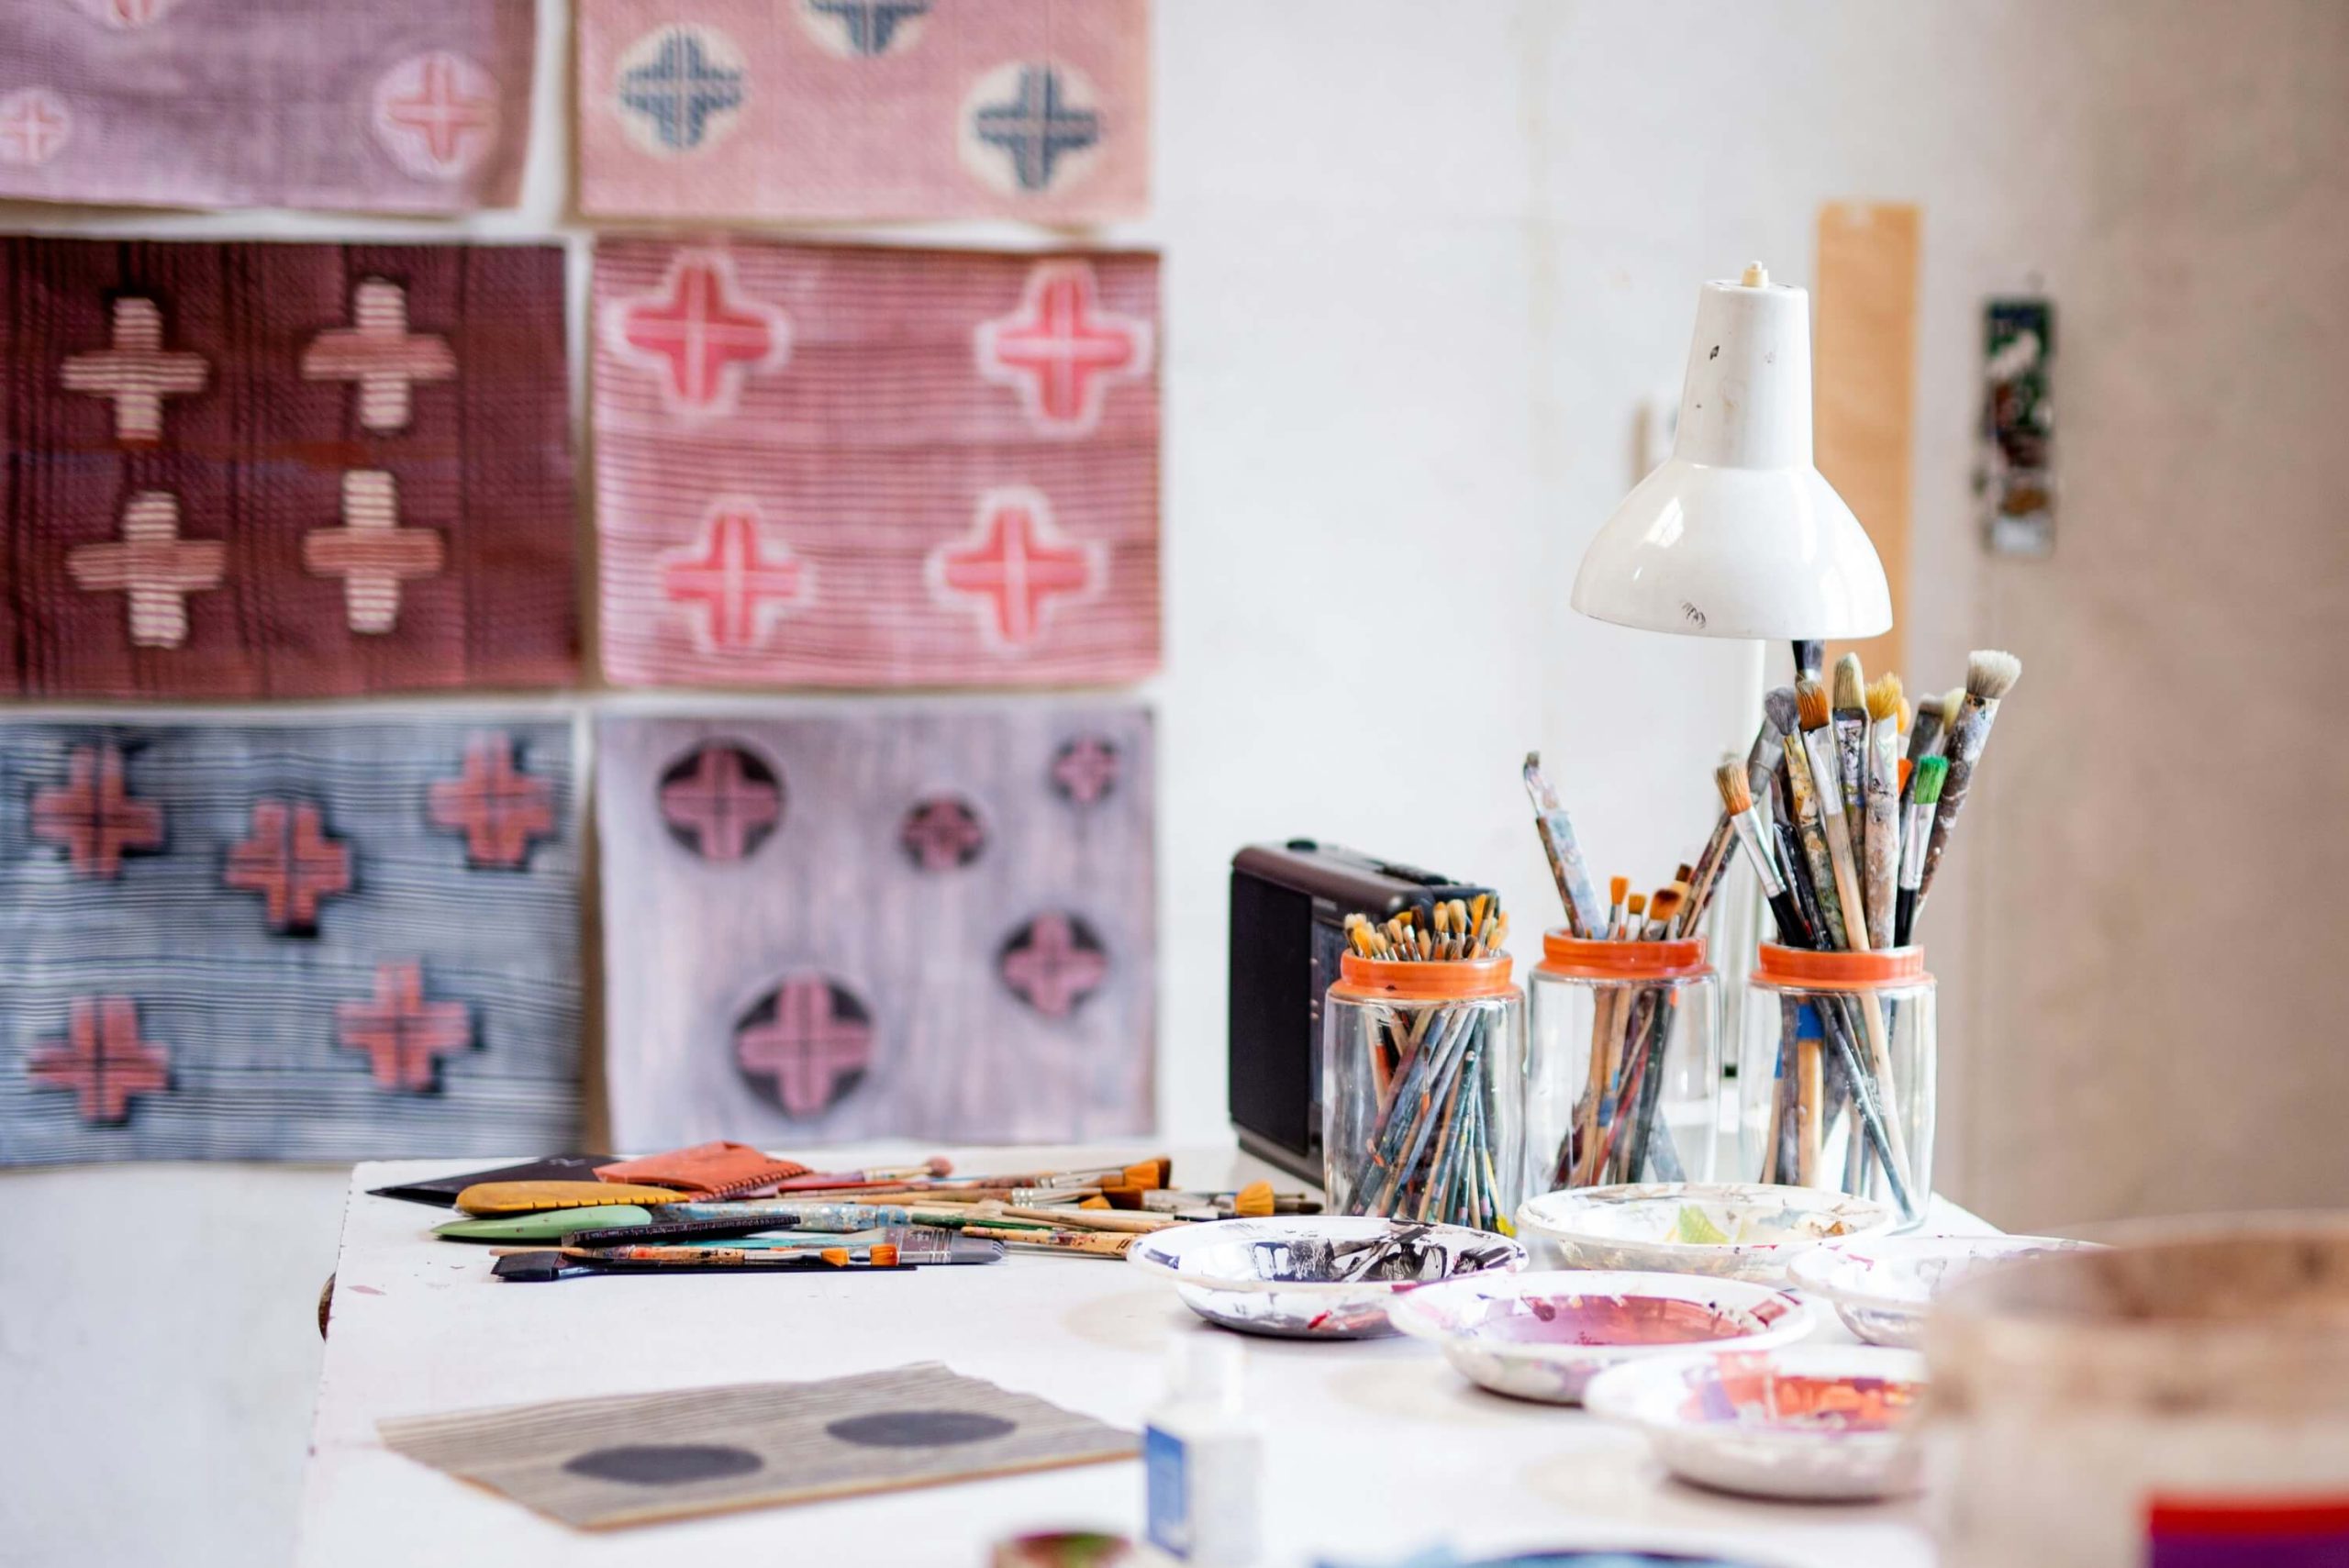
Simply start the process by scanning or taking a photo of your image and bringing it into Photoshop. From here, you can adjust the colors, saturation, brightness, contrast, and more. This is a great option for artists who want to create prints of their paintings, drawings, and mixed media work.
The only limitations here are that your work is pixel based, so if you want to enlarge your work, it will have to be scanned in at a higher resolution.
You can also bring your Procreate documents into Photoshop → Tips for Transferring your Illustrations from Procreate to Photoshop
I hope this breakdown of tracing techniques helps you in your own hand to digital workflows. Have another approach for hand sketching to digital works that you love and swear by? I’m all ears!