Hey there! I’m Kayla Ann. I’m an artist and illustrator who uses Astropad Studio to create my vintage-inspired digital art.
One of my favorite tools as a digital illustrator (besides Astropad Studio, of course) is Procreate! I’ll be outlining a few ways I leverage Procreate with Illustrator to be most productive. Let’s dive in!
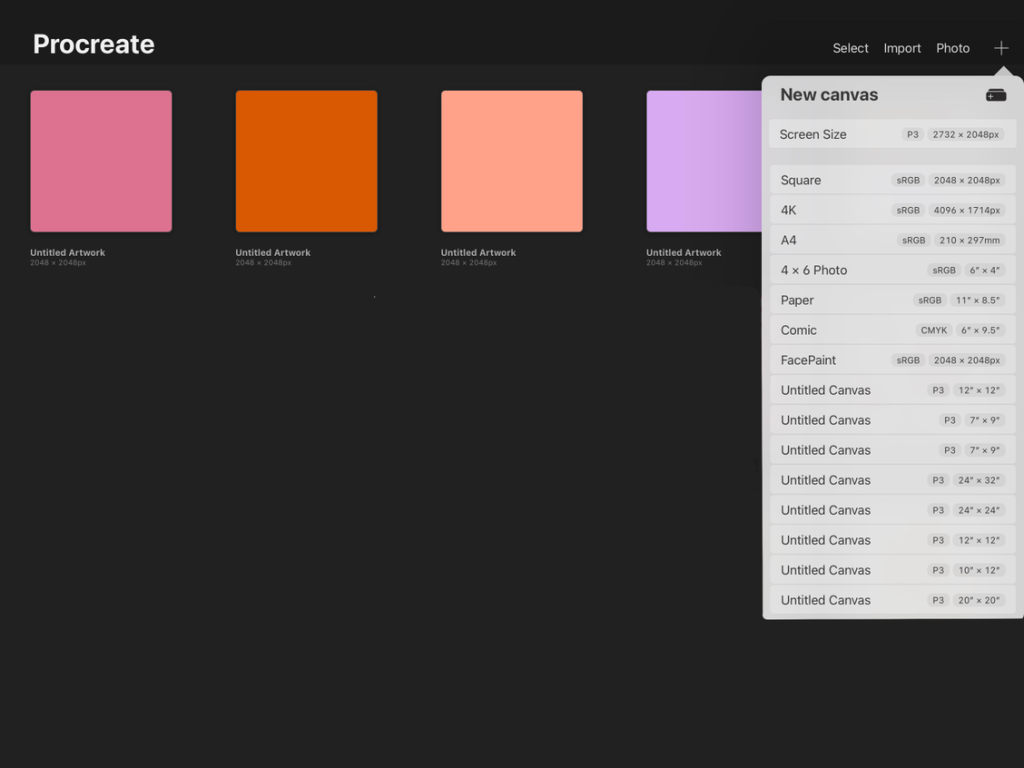
Setting up your canvas in Procreate
After downloading Procreate to your iPad, tap the “+” icon to create a new canvas. From there you can choose different industry-standard canvas sizes, or create your own with specific dimensions.
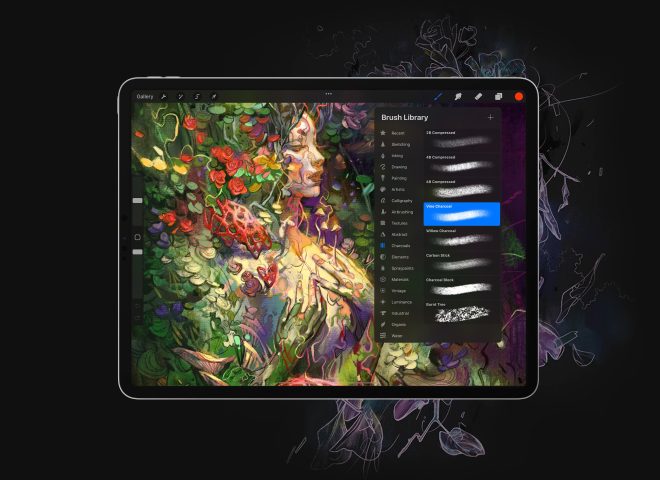
Once you’ve created your canvas size, this is where the fun begins! Start by selecting your favorite brushes (there are several that come with the app, or you can download Astropad’s free brush pack here!)
Procreate is very similar to Photoshop, where you can work in layers, change blending modes, and make adjustments. As an artist, this app is a powerhouse for digital creations, especially with all the robust in-app capabilities. There’s a lot to learn, so be sure and check out our blog post series on Procreate tips.
Working in Procreate
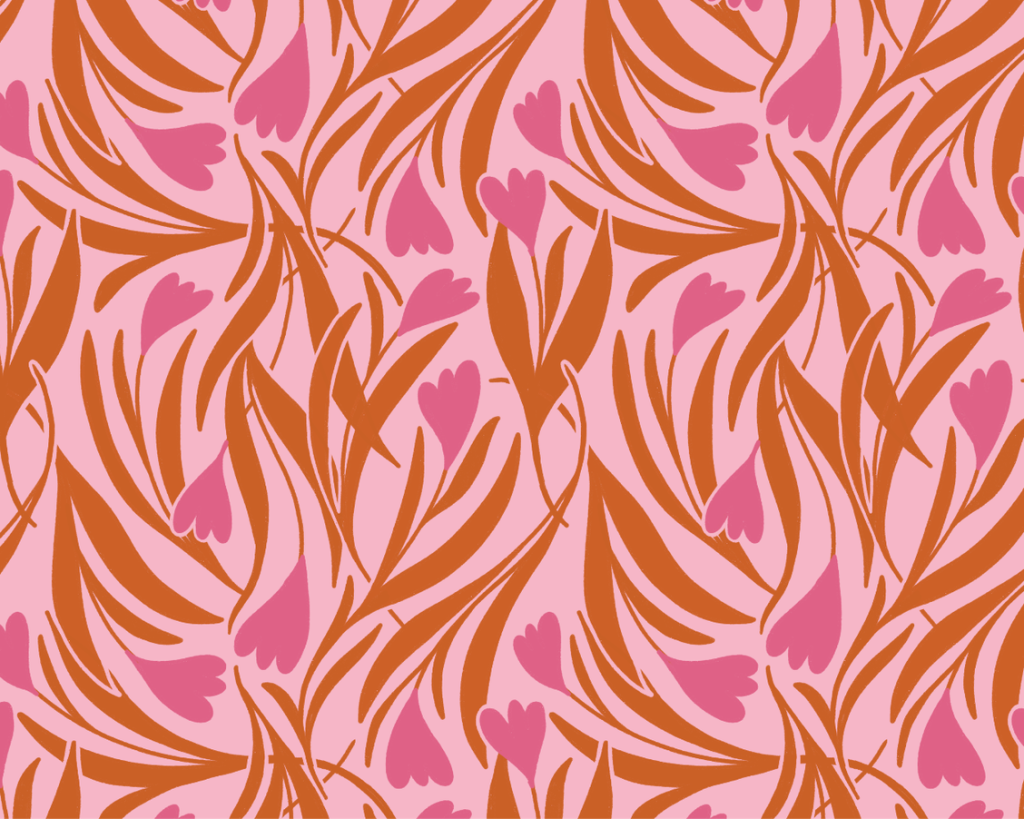
In my digital work, creating surface pattern designs is my biggest focus. Being able to create a seamless repeating pattern in-app is a huge time saver! I’m so glad I stumbled upon this seamless tile repeat tutorial by Bardot Brush.
Beyond making a repeating pattern, I draw a lot of motifs and spot illustrations in Procreate. I’m able to easily AirDrop these to my computer and leverage them in Photoshop AND Illustrator!
This is huge because I love using my iPad to draw my designs, but turning them into a vector was always time-consuming. Now with the ability to draw them and use image trace in Illustrator, my workflow is even more streamlined.
How to transfer work from Procreate to Adobe Illustrator
Procreate is a wonderful standalone app for creating digital art and exporting in multiple formats, but sometimes you need to take it a step further and bring it into Adobe Illustrator or Photoshop!
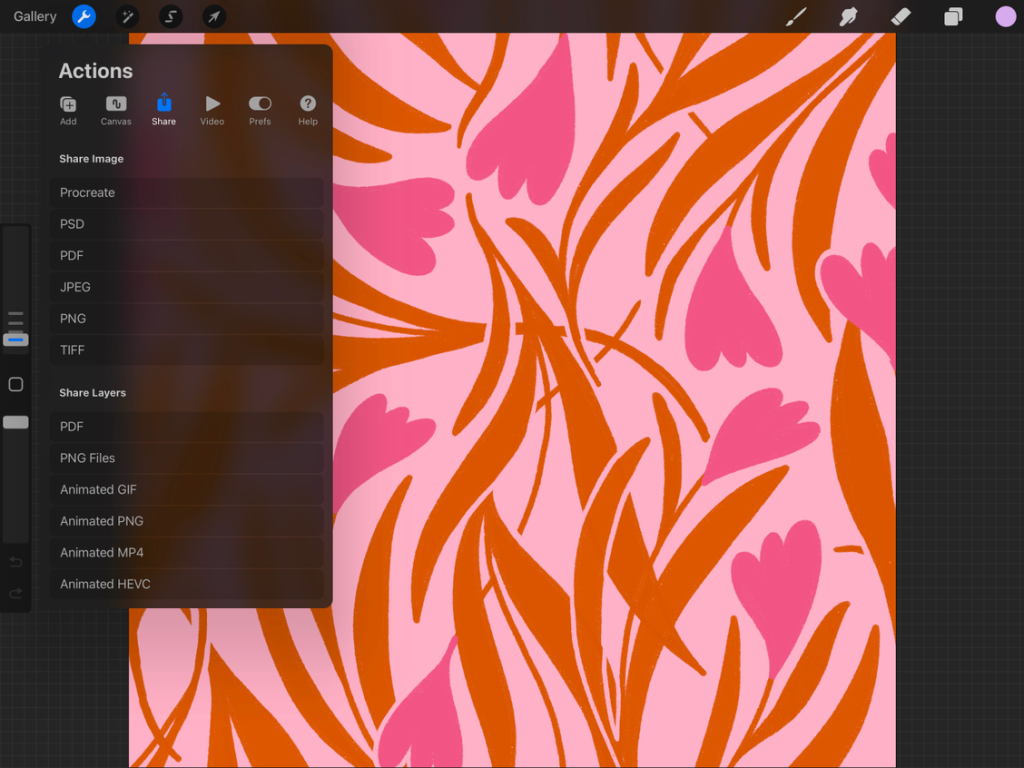
To export for Illustrator, simply export your file as a png (or layered png if you have multiple layers) and place them into Illustrator. From there, you can use the image trace tool to convert your drawings into vector motifs!
Sharing to Photoshop is even easier. Export your Procreate document as a PSD, and it will transfer all your layers and adjustments to Photoshop. Using AirDrop makes sharing a breeze. You can now finish your project in Illustrator or Photoshop!
I hope this breakdown inspires you to use Procreate in a new way, or helps streamline your digital art workflow. Do you use Procreate in a unique way that would benefit other artists? I’d love to know!
Use Adobe Illustrator on your iPad with Astropad Studio

Ready to level up your creative workflow?
Astropad Studio turns your iPad into a customizable drawing tablet. Draw directly into your favorite desktop apps like Photoshop, Illustrator, Clip Studio Paint — right on your iPad!
- Mirror any desktop app on your iPad
- Compatible with Mac and PC
- Build your own shortcut panel, custom gestures, and custom quick keys
- Utilize pressure-sensitive and precise sculpting and painting
- Connects wirelessly or over USB cable