Drawing in Procreate on the iPad is amazing — however, there is a limit on layers and canvas size. If you’re working on a more complex illustration, you’ll eventually run out of layers in Procreate and have to start merging layers down.
That’s where Photoshop comes in! Unlike Procreate, Photoshop allows for unlimited layers. In my typical workflow, I use Procreate for sketching and then move over to Photoshop for the fine details.
Today I’ll share some tips for transitioning your work from Procreate to Photoshop. Let’s get started!
How to export your sketch from Procreate to Photoshop
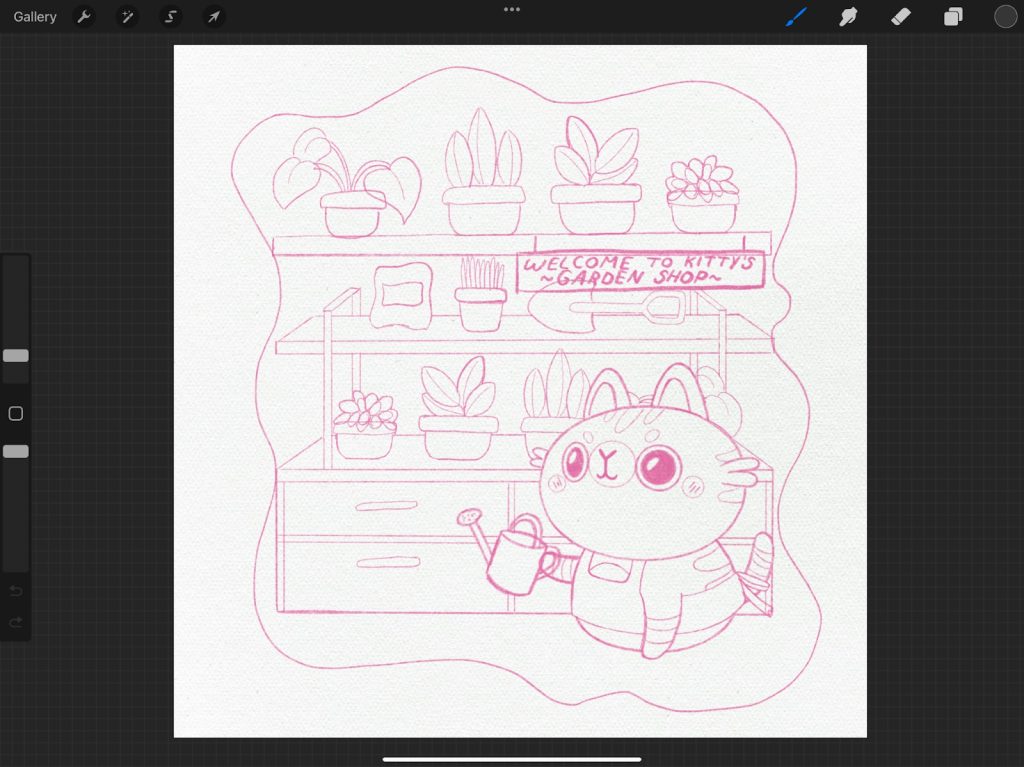
Start with a rough sketch in Procreate. Once you have something down, it’s time to export and send the PSD file to your computer. There are several ways to do this:
- On a Mac: Airdrop the file from your iPad to your Mac.
- On a PC: I use a PC, and I’ve found that Google Drive is the easiest option for file transfer. You can save the file on your drive from your iPad, and then open it on your PC.
If none of the above options apply, emailing the image to yourself always works.
Arranging your canvas in Photoshop
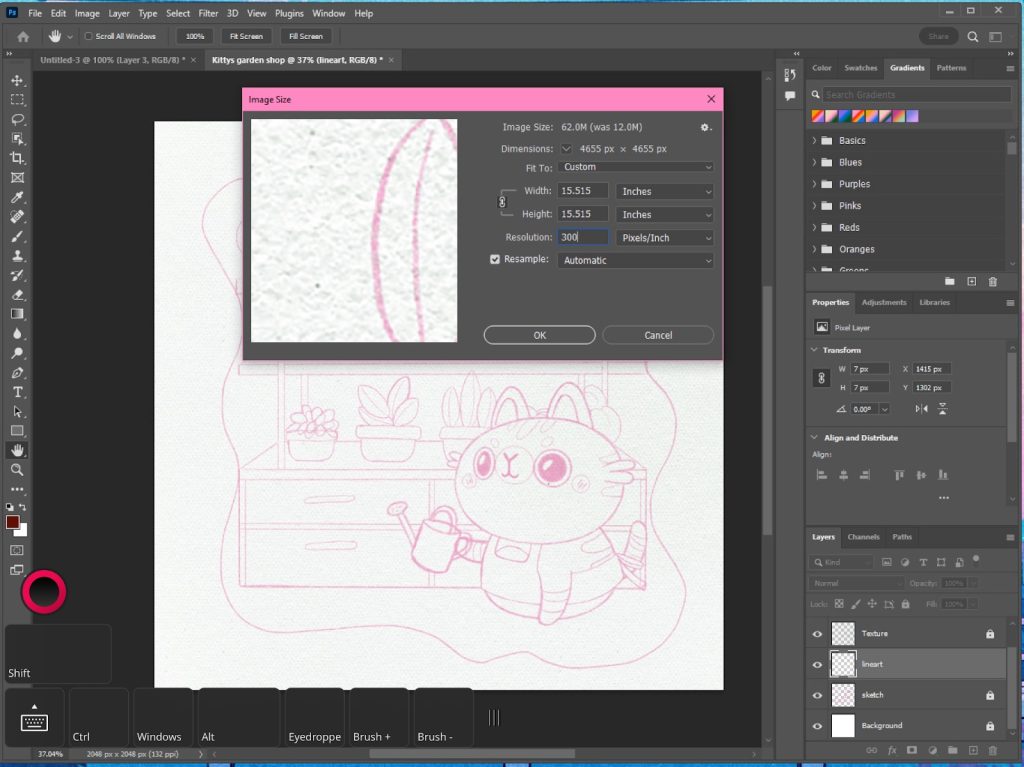
After I open up my sketch in Photoshop, I’ll need to change the size of my image. The specifics of your canvas will vary depending on whether your final piece will be used for online or in print.
First, navigate to Image > Image Size.
Dimensions
I prefer to work big because I’m usually not sure what my final piece will end up being. Remember, it’s easier to make an illustration smaller than larger! But if you’re making a piece of art for social media, then this doesn’t matter as much.
My final illustration will be a square-size print, so I’ll leave the width around 15”. The dimensions are especially important if you’re making a physical print.
Resolution
Let’s move on to resolution. I always use 300 dpi, which means it prints 300 pixels per inch. At this dpi, your image will print nice and sharp!
But if you’re posting your image to the web or you’re using an older computer, 72 dpi is okay to use. Just remember that even if your 72 dpi image looks great on your computer screen, it will not print out well. That’s why I always choose a higher resolution.
After you have made up your selection, you can click OK!
Time-saving tips for line art on your iPad
Quick keys and shortcuts
Astropad Studio makes drawing your line art a lot easier! I use Astropad Studio to mirror the desktop version of Photoshop on my iPad. Studio has lots of options for building your own shortcut and gesture sets to speed up your workflow.
I like to customize my on-screen quick keys with my most commonly used tools, like the eyedropper. I draw my line art with varying widths, so I also assigned increase/ decrease brush size to my quick keys.
You can customize your quick keys with whatever commands use the most. Give Astropad Studio a try with the free 14-day trial!
Assisted drawing
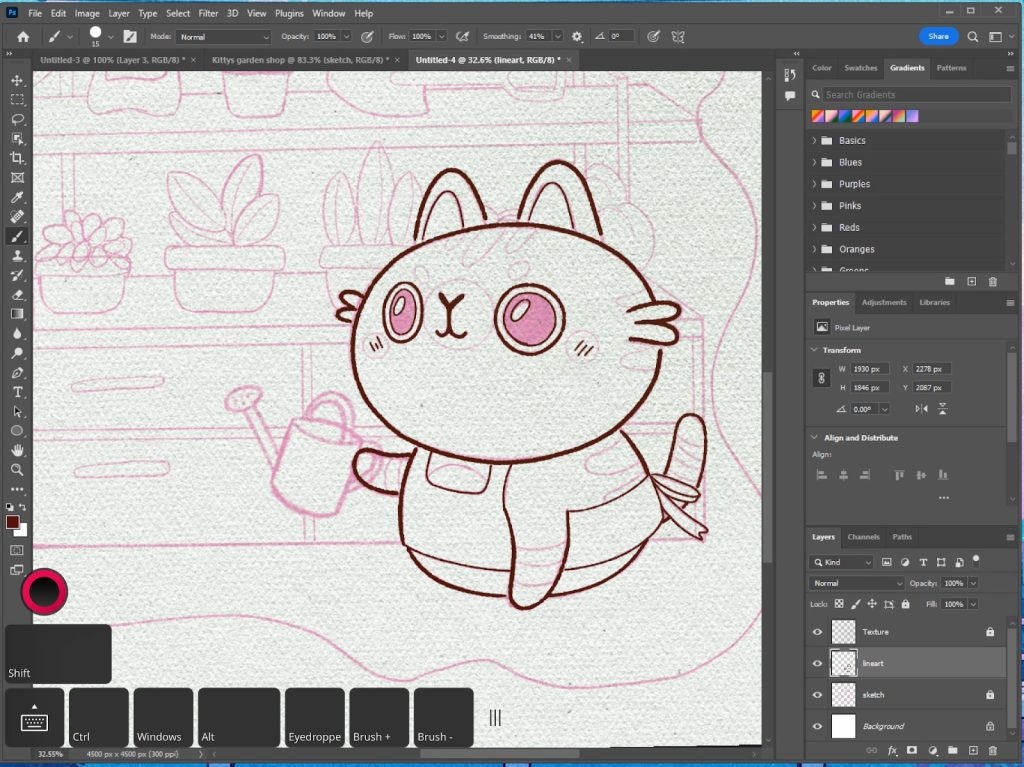
Don’t be afraid to refine your lines! This part can be time-consuming, but both Procreate and Photoshop have a lot of functions to make drawing line art faster.
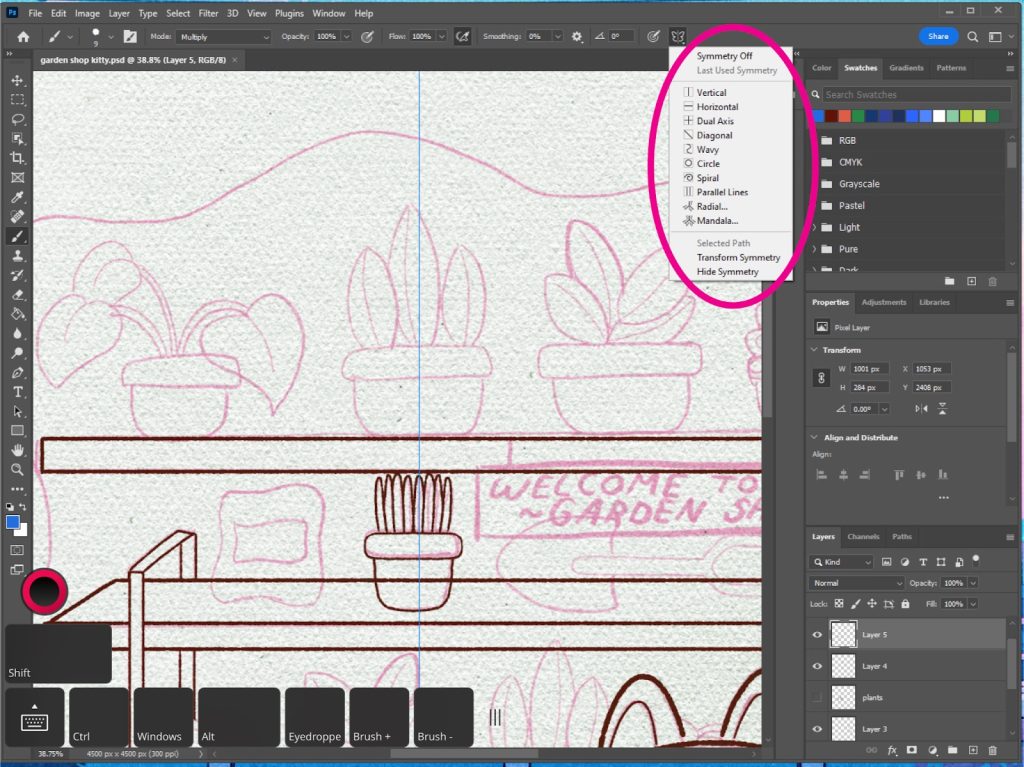
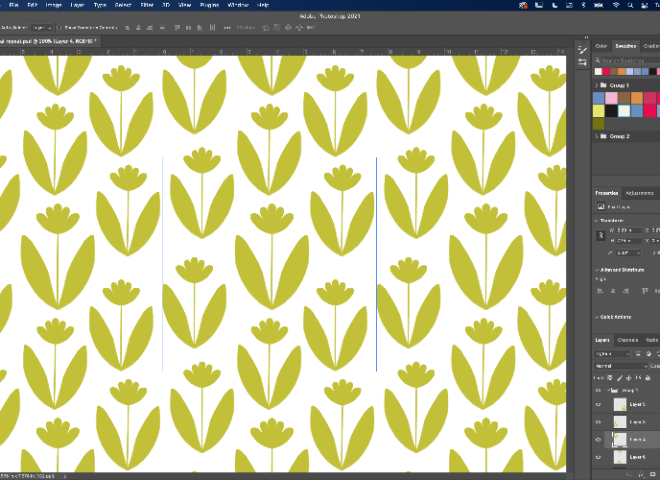
Clicking the Butterfly icon at the top in the options panel turns on Assisted Drawing.
I’ll go ahead and choose the Vertical tool to help me draw the potted plants. Once selected, the Vertical tool displays a blue line you can drag anywhere on your canvas. As you draw, your lines will mirror on the other side of the blue line. It’s a speedy way to illustrate symmetrical objects like these plant leaves!
Finishing up your illustration
Once you’ve finished your line art, you can start coloring the way you normally would! If you’re looking for tips on coloring your illustration, check out these articles:
- How to add ambient light using ‘Multiply Blend Mode’
- Easy iPad watercolors using clipping masks
- Tips for painting landscape scenes
Here is my finished piece!