Hi all, I’m Kristen! I am a designer and illustrator who primarily works on my iPad using Procreate or Astropad Studio. I love to draw cute and magical (and mostly cat-inspired) art.
Have you ever finished a low-light scene illustration only to realize that the way you colored it looks as if it was a bright sunny day?
Today, I will be guiding you through an easy way to turn your digital art into a beautiful, ambient lighted scene using Procreate’s ‘Multiply Blend Mode.’
Grab your iPad and I’ll show you how!
Step 1: Open up your illustration in Procreate
This guide will start off assuming you have already mostly colored and shaded your piece. If not, open Procreate to create a new project. I will be using Procreate for convenience in this example, but this technique works in Photoshop too!
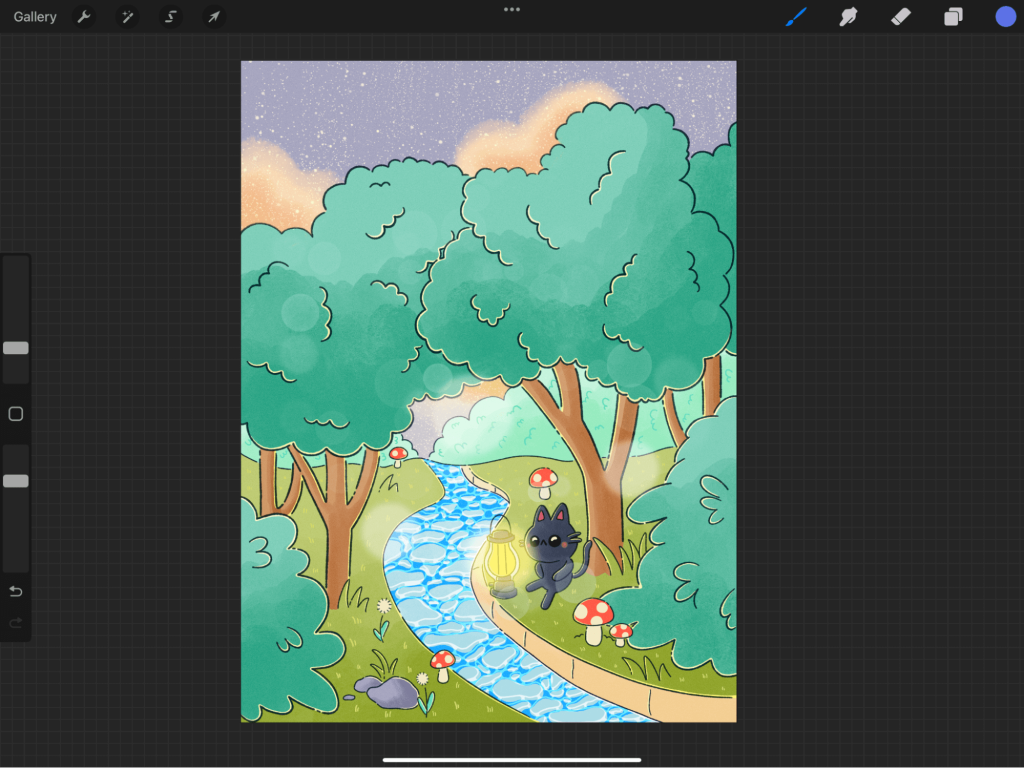
Here’s my art in Procreate before adding ambient light:
Step 2: Choose a color for your blending mode
The setting of my illustration is at night, well past the sunset — therefore I’ll use a blue shade of color. However, if I decided that I wanted it to be in the evening as the sun was setting, I would choose a yellow or orange color.
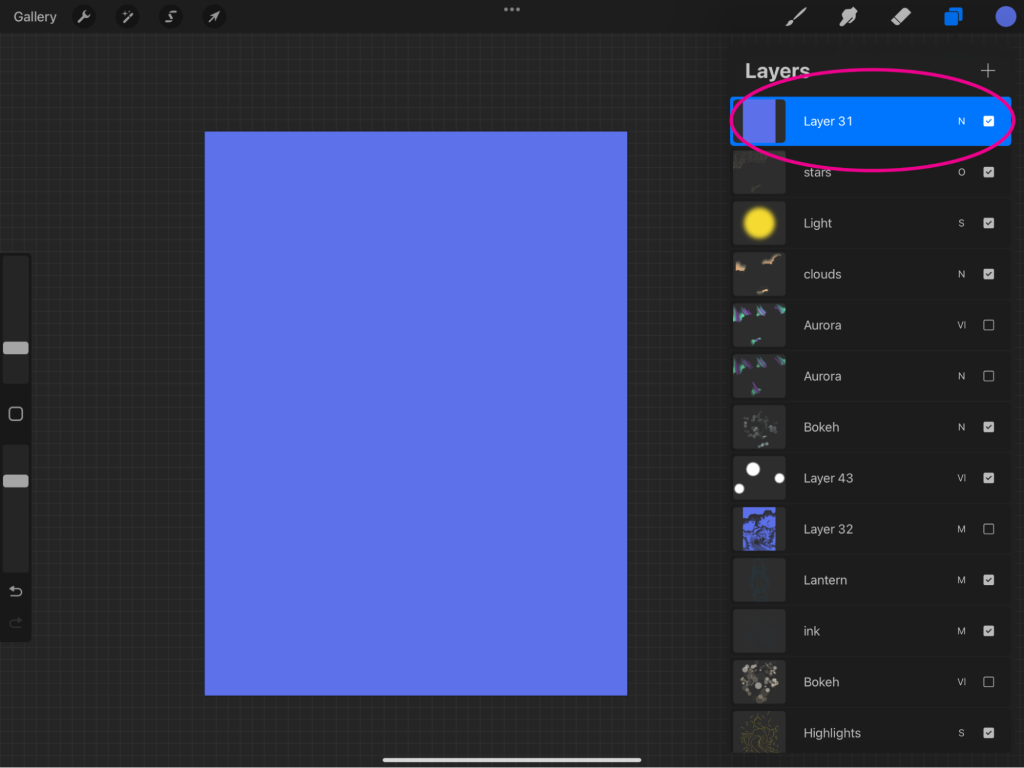
Next, create a new layer and move it to the top of the layers. Fill the layer with your chosen color.
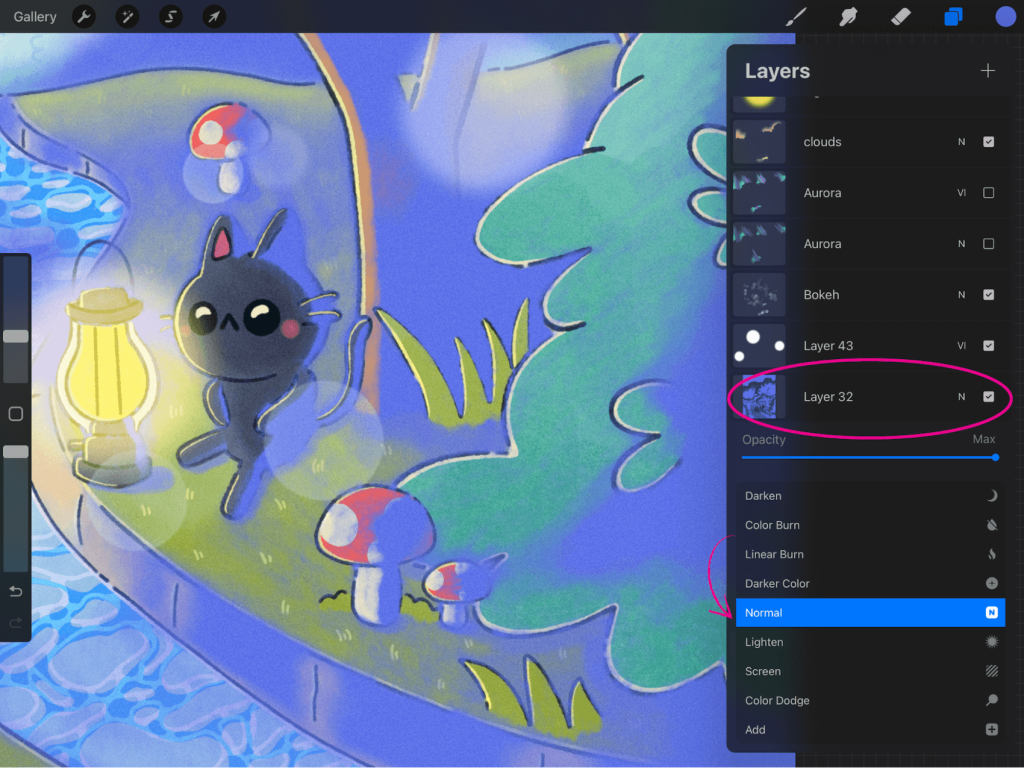
Step 3: Change your blending mode to ‘Multiply’
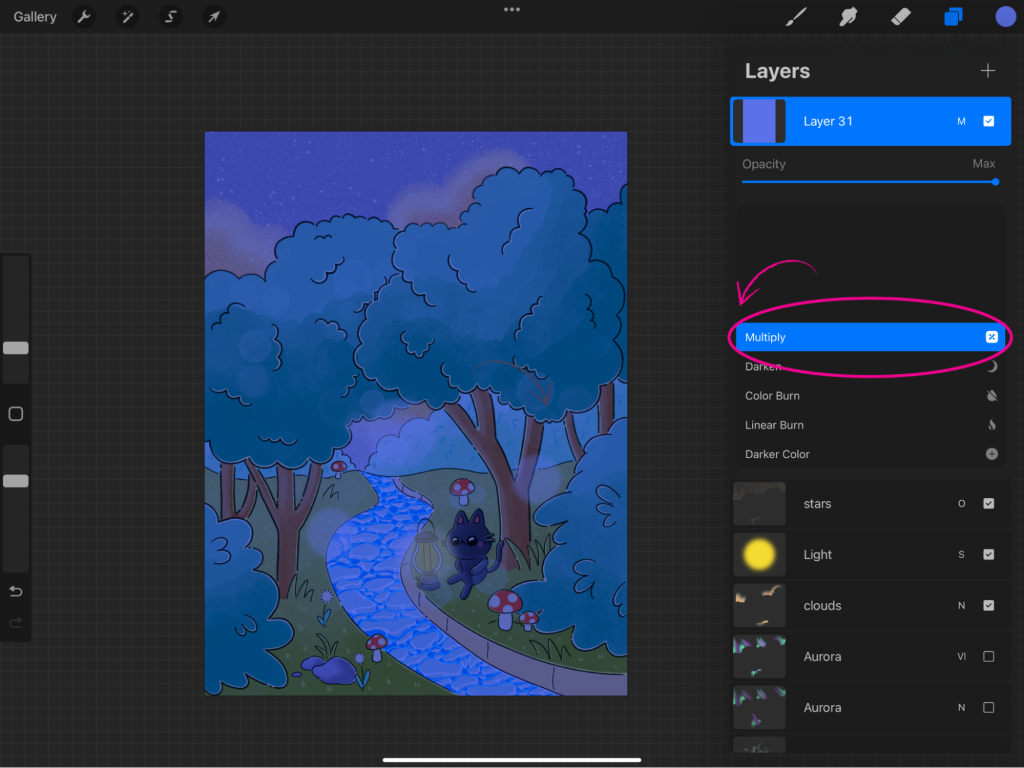
Since you are essentially “darkening” the scene, you will want to choose one of the first five blending options in Procreate.
I will be using the Multiply option for this example. Multiply uses the blend and the base color to create a darker color, making it an excellent way to shade the scene.
Step 4: Determine your light source
Ok, this is the fun part! This technique works by erasing the parts of the image where the light will show through.
In my drawing, the two forms of light sources are from the kitty’s lantern, and the moon from the sky.
Step 5: Start erasing!
Once you determine where your light is shining from, you can then start erasing parts of your image to show the colors underneath.
Be sure to erase the multiply layer only and leave everything else as is!
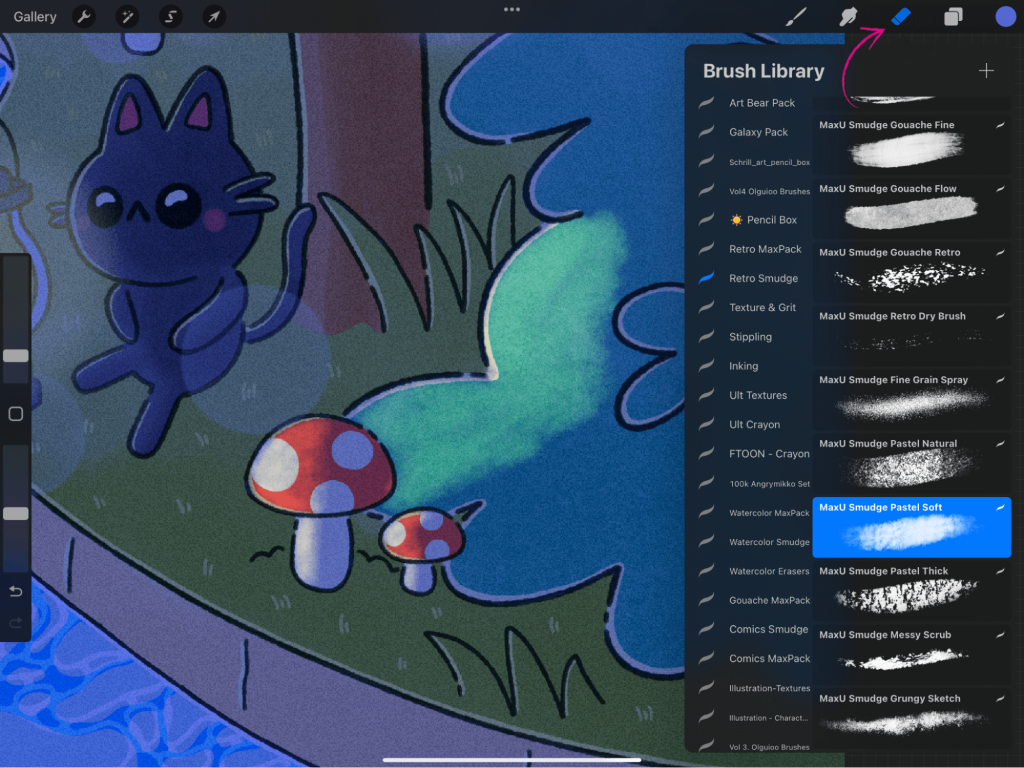
If you accidentally erase some parts of your image, feel free to change the layer blending mode back to Normal. Simply eye-drop the color you chose for your blending layer, and paint back over the areas.
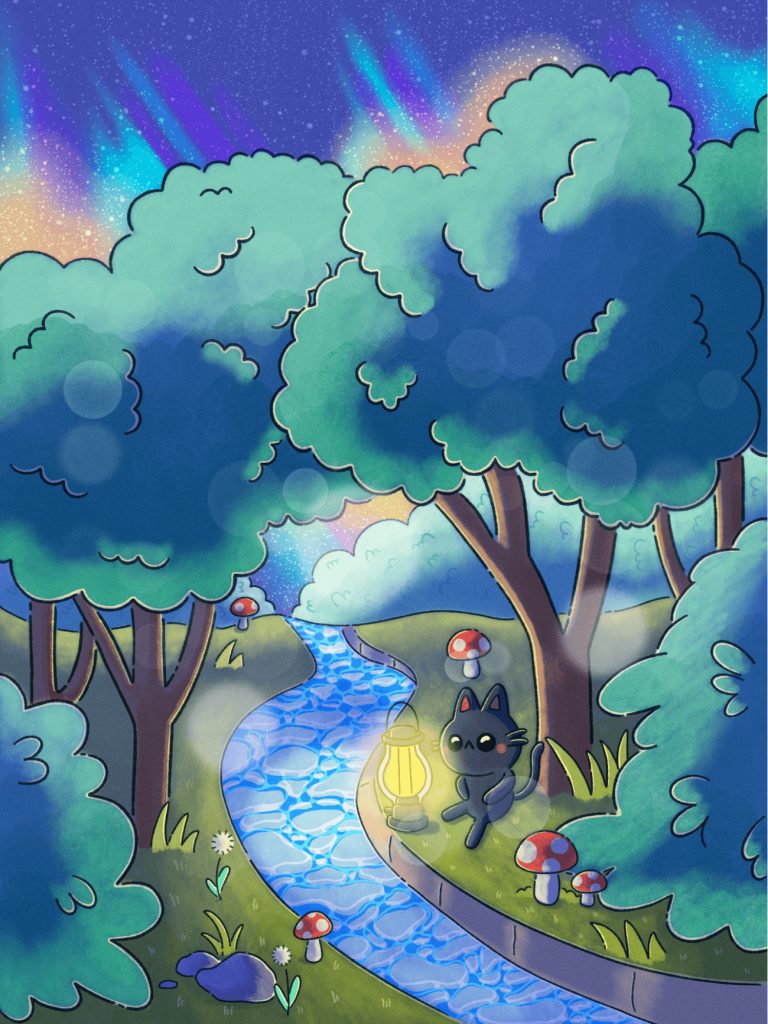
Here is how the final piece turned out! Feel free to play around with the different blending options and opacity until you land on something that you like!
Let me know if you have any questions about different blending modes or lighting!
Try Astropad Studio free for 14 days — Turn your iPad into a drawing tablet
Ready to level up your creative workflow?
Astropad Studio turns your iPad into a customizable drawing tablet. Draw directly into your favorite desktop apps like Photoshop, Illustrator, Clip Studio Paint — right on your iPad!
