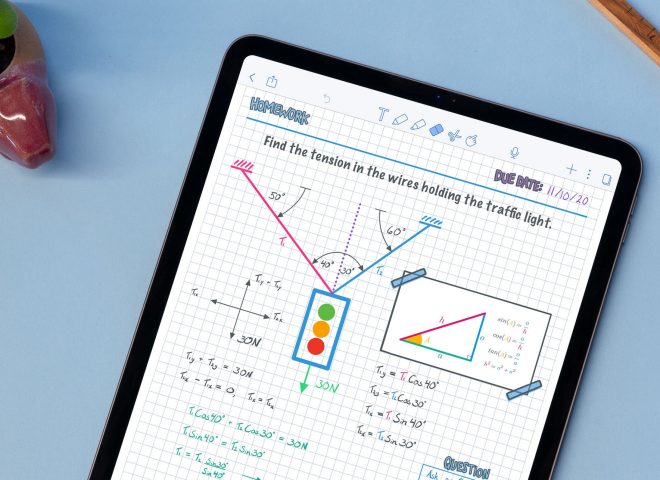
PowerPoint is the standard for slide presentations and can be used together with Astropad. Great for presenting data, annotating directly on slides, and representing your information in a clear sequence. Work with this combination to help enhance your remote work routine.
In this quick, step-by-step guide, we’ll help you organize an efficient workspace for using Powerpoint together with Astropad Standard.
Arranging your Screen view
Astropad mirrors your Mac desktop onto your iPad. Since iPad display aspect ratios are different than Macs, you can use Astropad’s Move & Zoom feature to select the portion of the screen you would like to project onto your iPad. From there, you can resize PowerPoint’s window to fit within the edges of your iPad screen for optimal viewing during slide creation and presentations.
To learn more about Move & Zoom, check out Astropad Standard’s Getting Started Guide
No matter what PowerPoint View is in use, any type of arrangement works with Astropad.
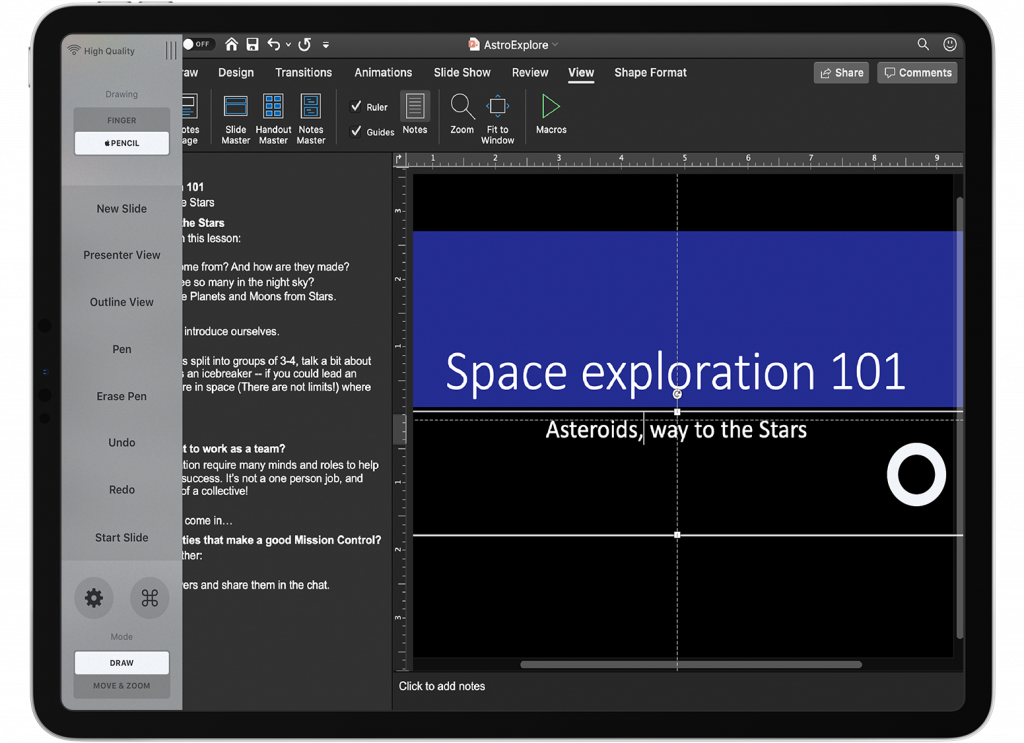
The Astropad sidebar can be placed to the left or right side of the iPad screen, or hidden by tapping the white ring button. Use your finger or stylus to drag the sidebar and ring button to either side of your iPad.
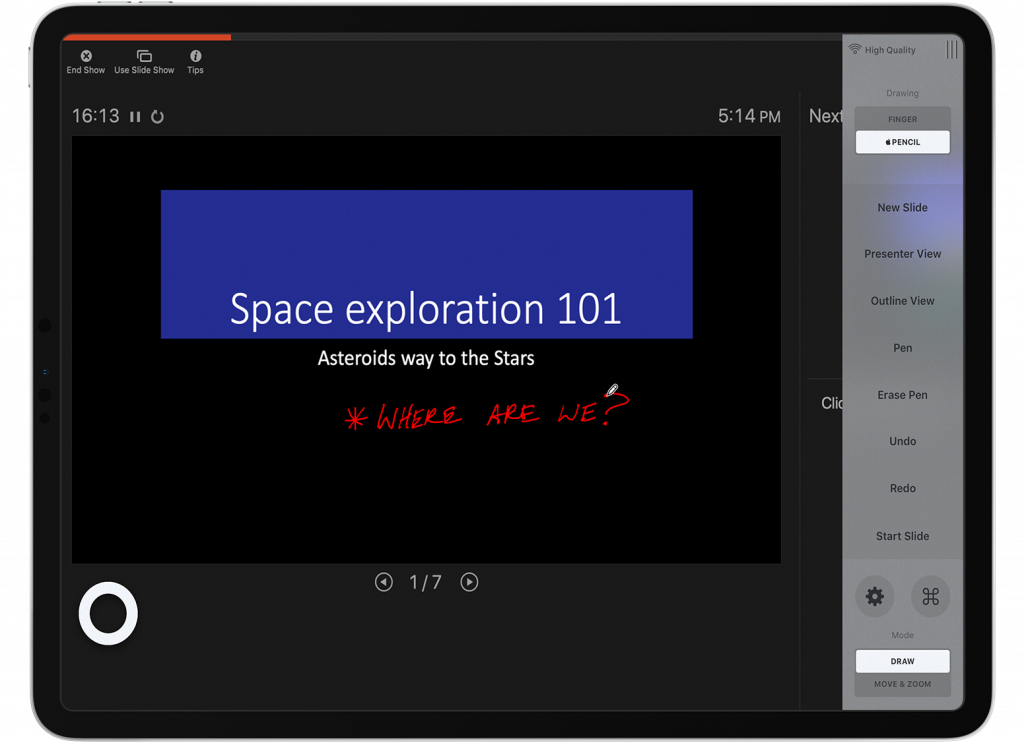
So for example, with Presenter View enabled:
Or, editing while Outline View is in use:
Setting menu shortcuts
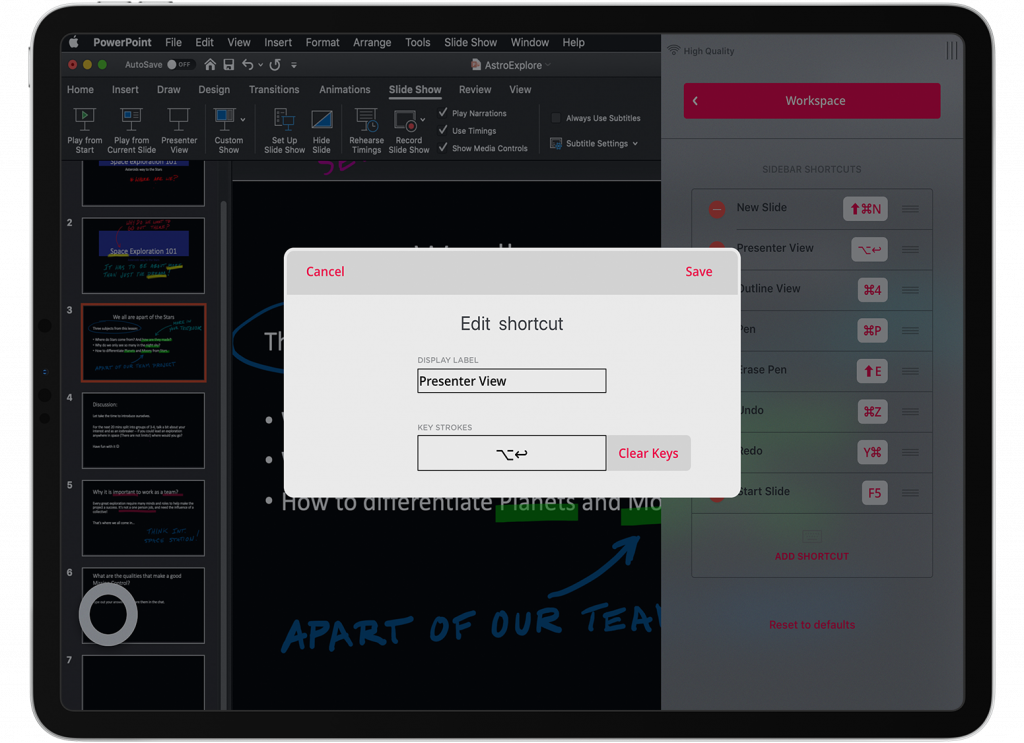
Astropad Standard’s shortcuts sidebar is preset to Photoshop defaults, but these can be changed to accommodate PowerPoint. At the bottom of Astropad Standard’s sidebar, tap the gear symbol (⚙️) to open the Settings menu. From there, select Edit Shortcuts.

You can fully edit and rename shortcuts for the sidebar. When you select Add Shortcut, a full onscreen keyboard will pop up. Multi-key shortcut commands are entered by holding each onscreen key at the same time, exactly as you would with a hardware keyboard. When you’re done, tap Workspace to see all your newly added shortcut commands.
We recommend placing your most used shortcuts in the sidebar. It’s completely customizable, so add whatever works best with your workflow!
Recommended PowerPoint shortcuts for Astropad’s sidebar:
- Shift + Command(⌘) + N : Add New Slide
- Option (alt) + Enter (return) : Enable Presenter View
- Shift + Command(⌘) + Enter (return) : Play from start of Slide Show
- Command(⌘) + P : Activate Pen during Slide Show or Presenter View
- Shift + E : Erase Pen annotation during Slide Show or Presenter View
- Command(⌘) + Z : Undo
- Command(⌘) + Y : Redo
Other helpful PowerPoint shortcuts to consider:
- f5 : Start Slide Show
- Command(⌘) + 1 : Normal View
- Shift + Command(⌘) + F : Bring selected item to front
- Shift + Command(⌘) + B : Send selected item to back
- Control + Command(⌘) + Z : Toggle between active Drawing and Editing tools
Selecting Menu items
You can use your finger, Apple Pencil, or even a regular non-Bluetooth stylus to easily select tab and menu items on your iPad screen. When using Apple Pencil, or another stylus, there may be some menu items that reveal or open when quickly double tapping the tip on screen.
Managing Annotations
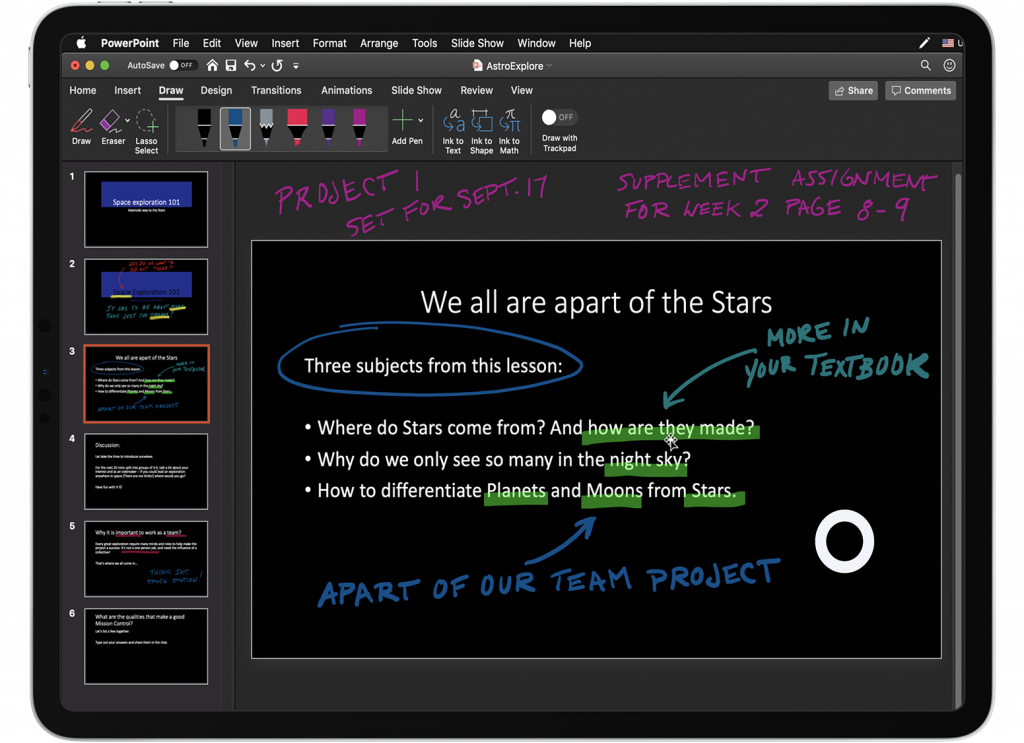
Under the Draw tab in PowerPoint, Highlighter, Pen, and Pencil are the annotations tools available. Whether using Apple Pencil or a regular stylus, this PowerPoint feature makes markup and annotating of your slides easy.
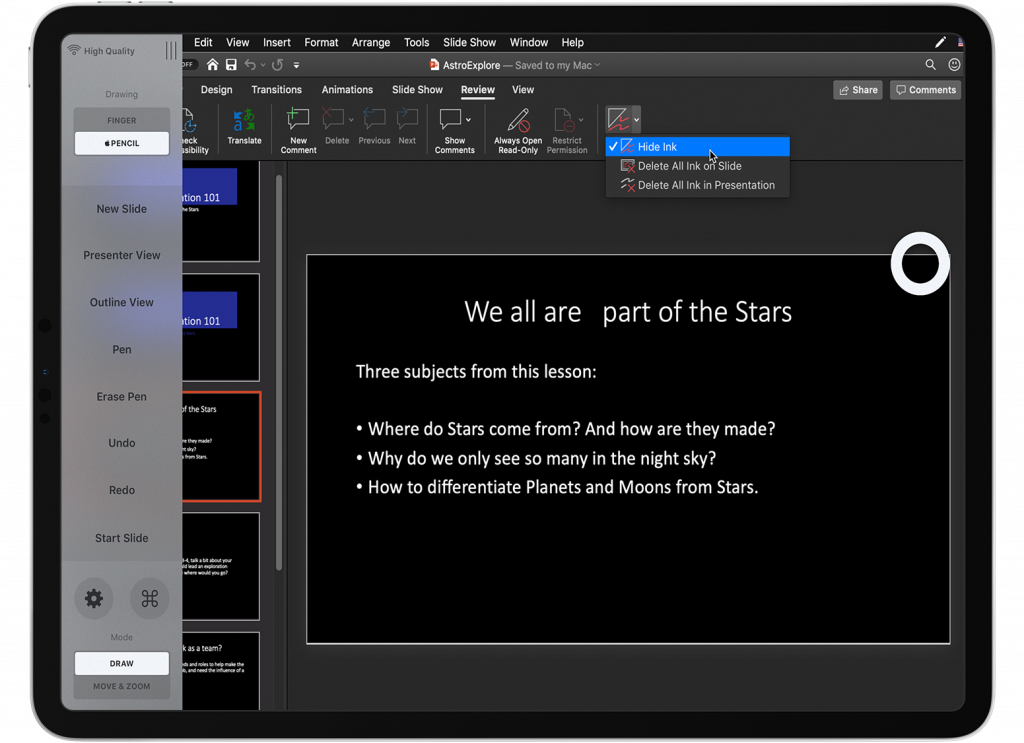
If you need to hide your drawn notes for a presentation, go to the Review tab in PowerPoint. At the very right of the menu bar, select Hide Ink option to immediately hide all annotated and highlighted marks from your slides. Select Hide Ink option again to return them in view.
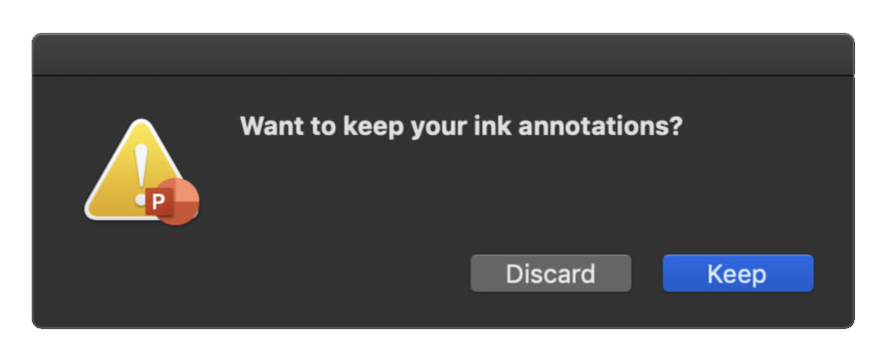
Saving annotations during a presentation is possible in PowerPoint. When you close a Slide Show that was actively drawn on during the presentation, it will prompt a window asking whether you want to Save Ink Annotations. After selecting Keep, the annotation markups will remain on the PowerPoint file.
If you want to save your Powerpoint presentation as another file type, like for example a PDF or JPG, with your visible annotations and notes, go to File and select Export to chose the one best fit for your needs.
Have presentation tips? How does your Astropad and PowerPoint workspace look? Share with us in our Astro Community forum!