Hey there, it’s Kayla Ann! I’m an artist and illustrator who uses Astropad and Luna Display to create my vintage-inspired digital art.
As a digital artist, Adobe Illustrator is one of my top used programs to create visually stunning illustrations and repeat patterns. There are several tools within the program to speed up your workflow which is super important as a freelance designer!
Today, I’ll be covering the Pattern tool and the three things you should know to easily incorporate it into your workflow. Let’s dive in!

Where to find the Pattern tool in Adobe Illustrator
Let’s say you have a really cool motif you created in illustrator, and you’d love to see it in a repeating pattern form.
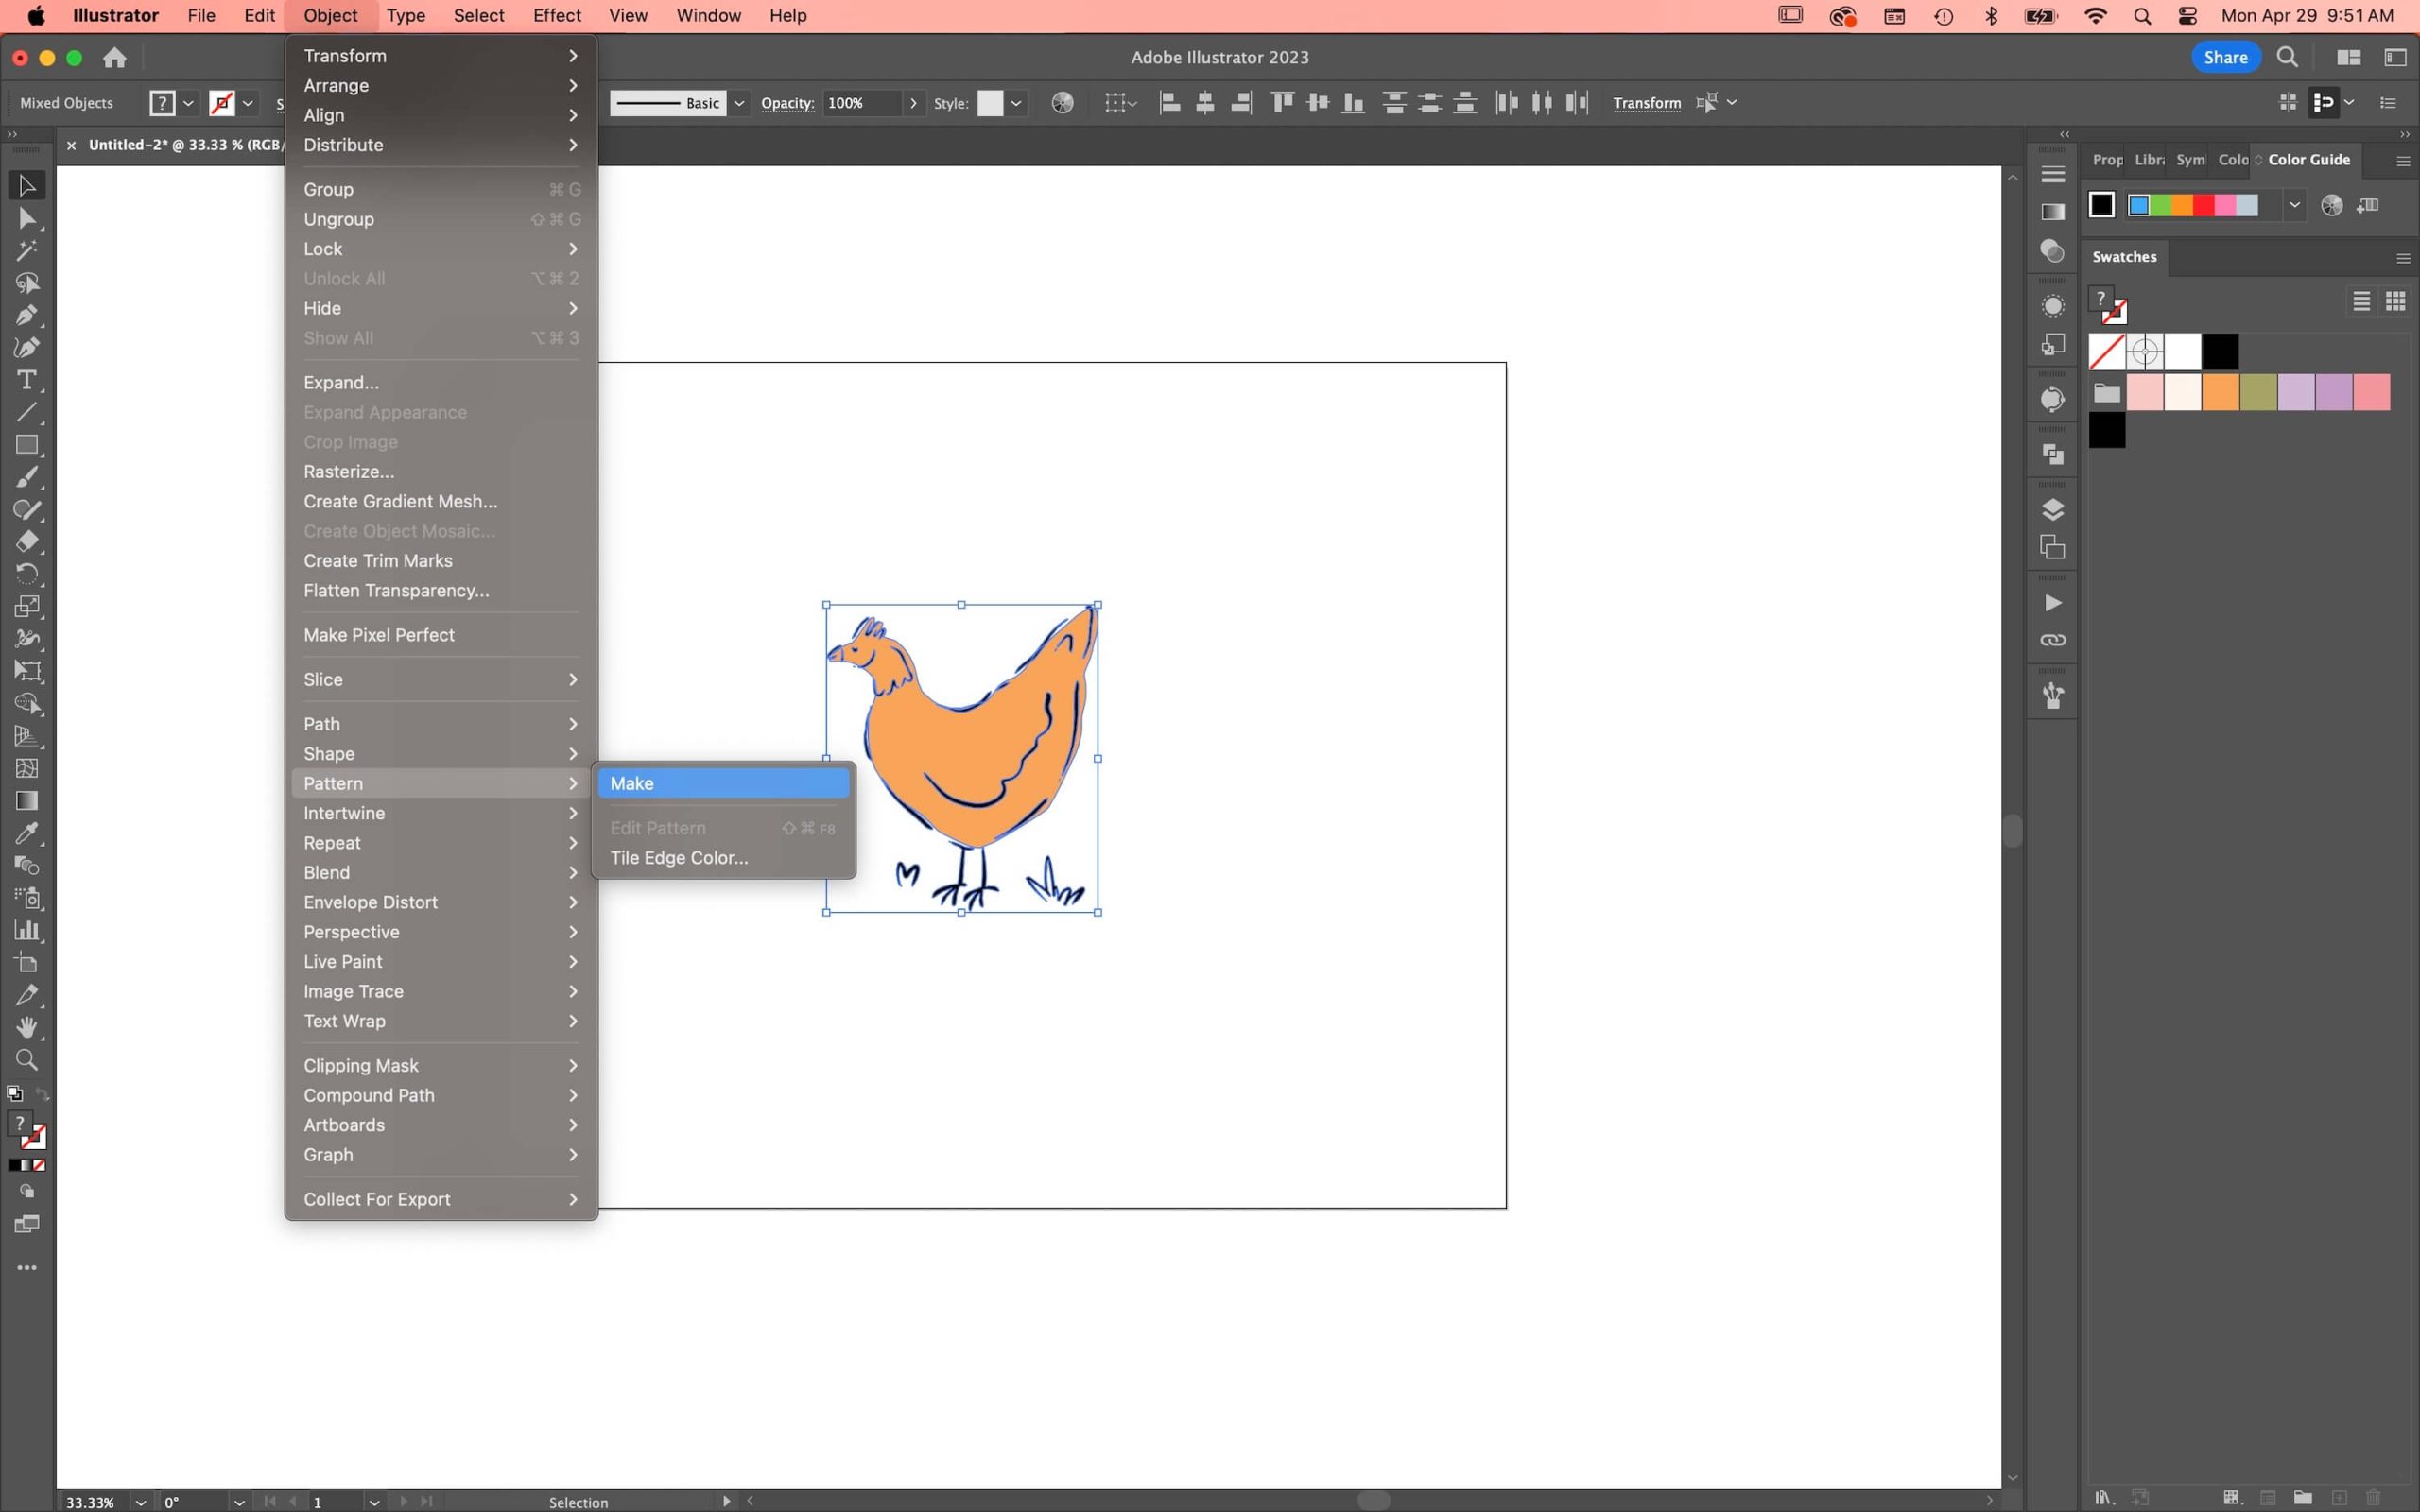
First, select your motif that you’d like to repeat.
Next, select ‘Object’ in the top toolbar, scroll down to pattern, and click make! This will open up the ‘Pattern Options’ tool and allow you to make adjustments to create your perfect pattern.
The different types of patterns in Adobe Illustrator
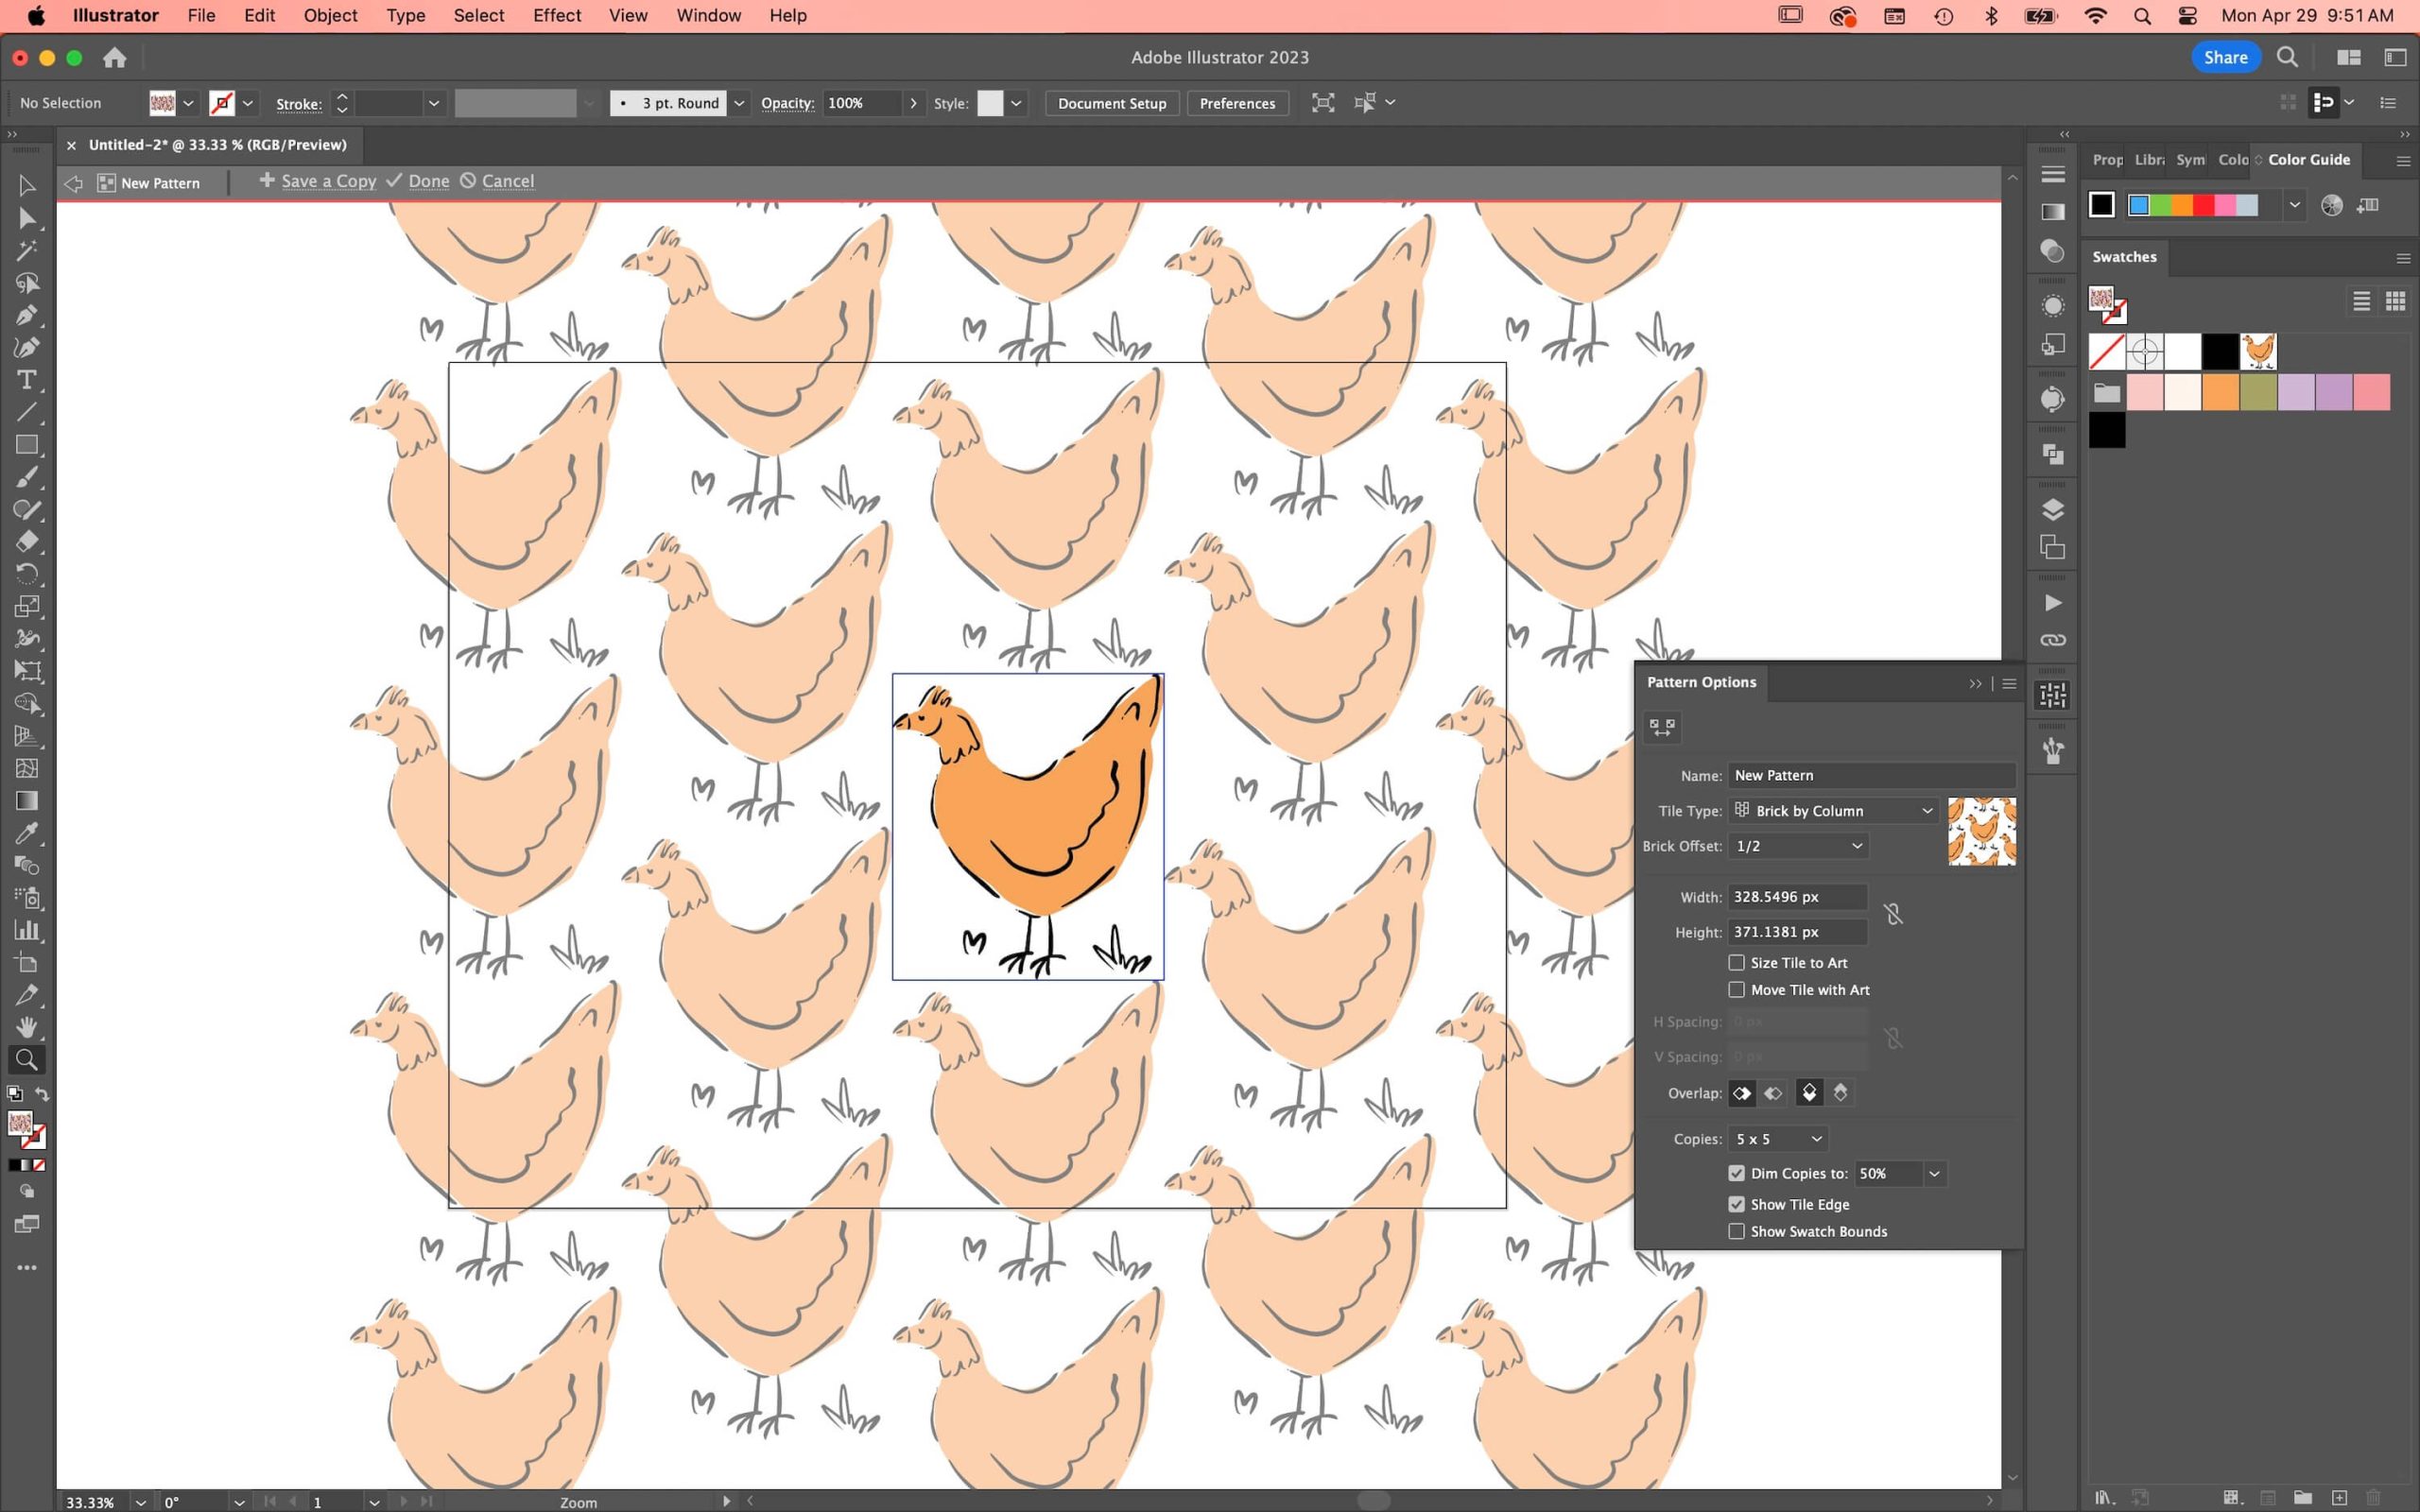
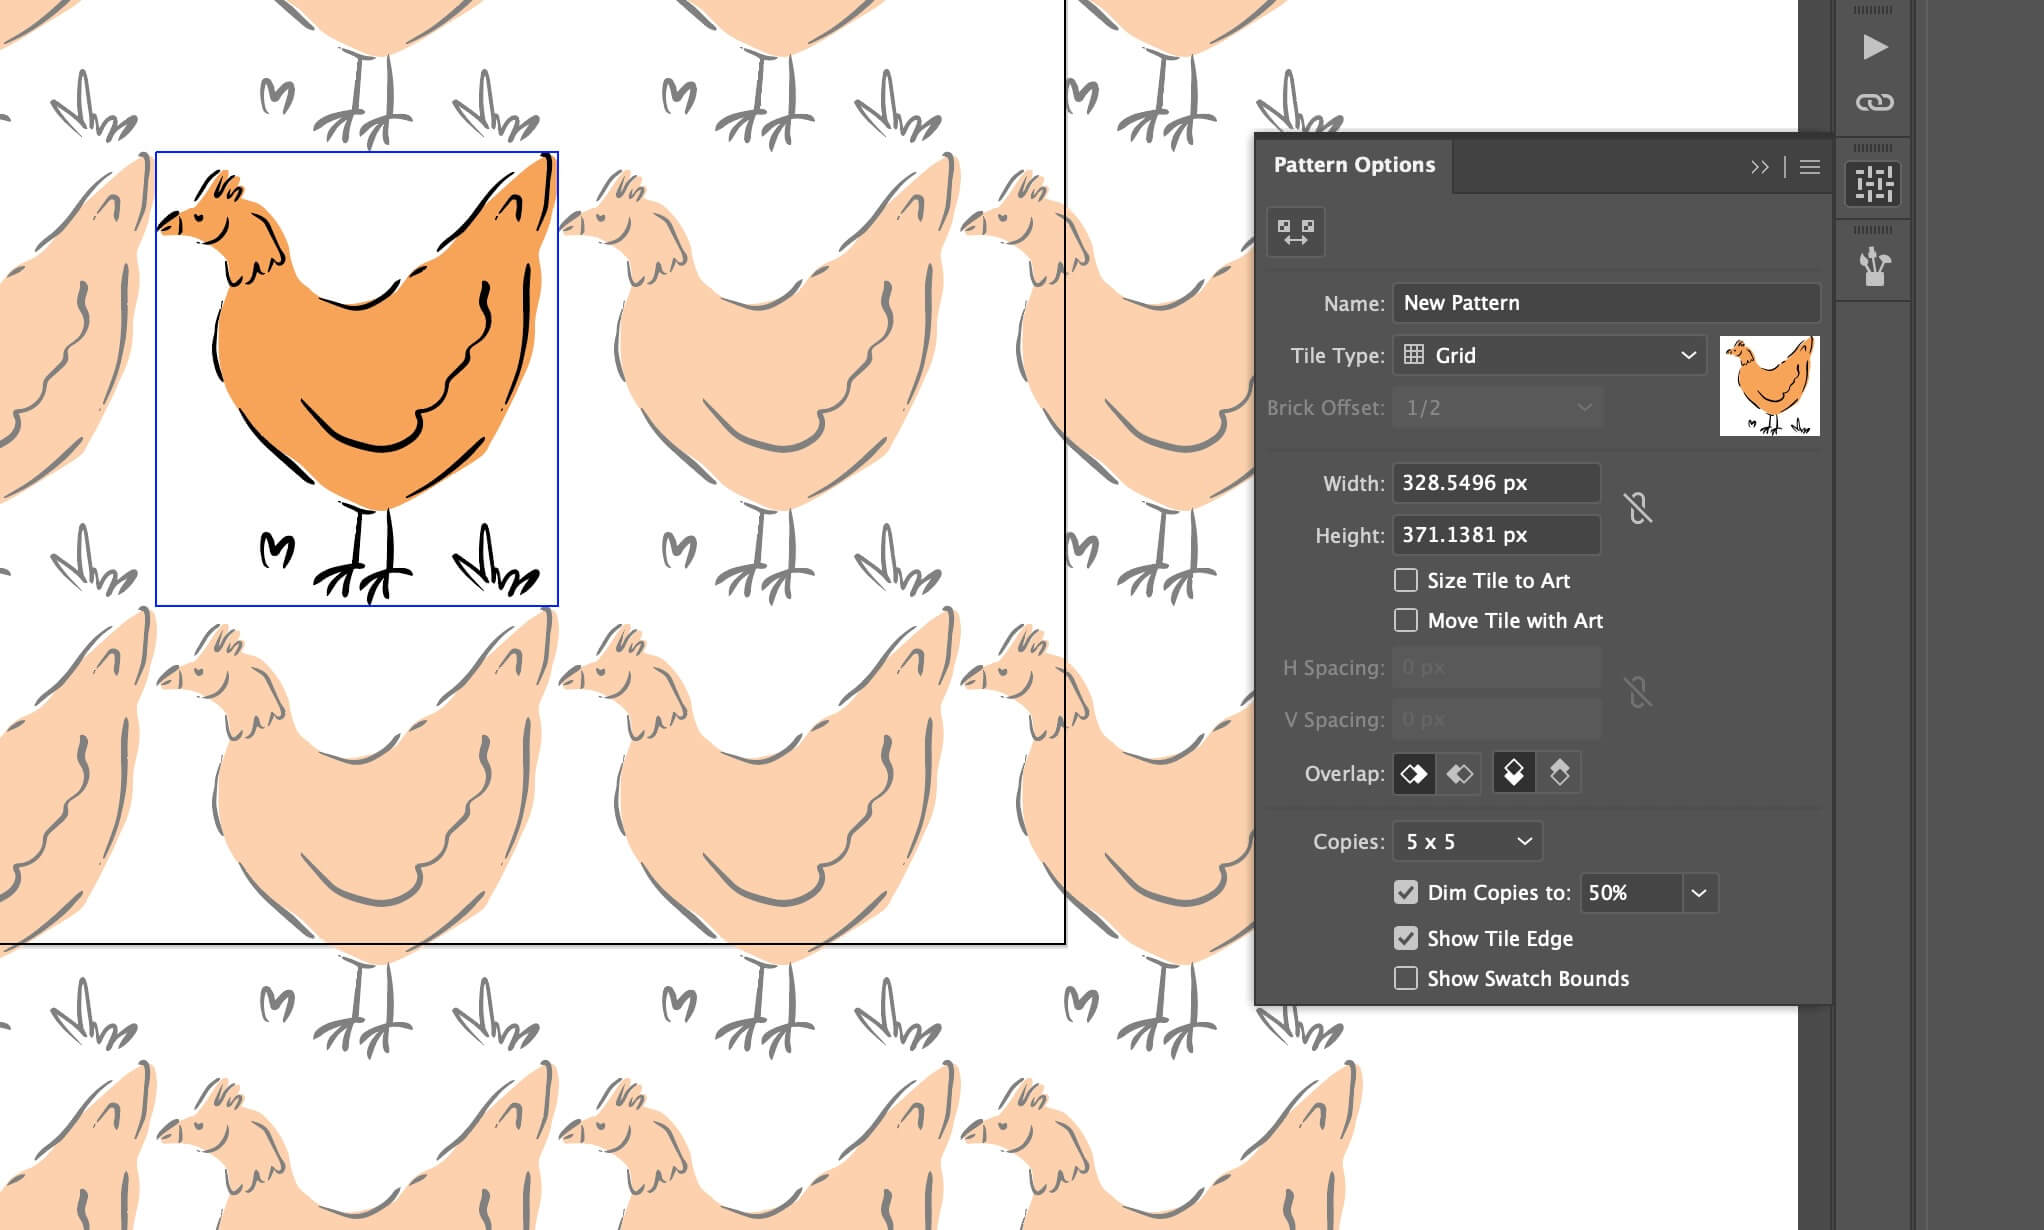
In the ‘Pattern Options’ toolbar, you’ll notice there is a drop down menu where you can select different pattern variations: Grid, brick, and hex. Take a moment here to select each variation and see how it impacts your motif.
For example, in the brick variation (column or row) you can set the offset (how far down each motif will move in a brick format) and play around with this variation to see which options is the most harmonious for your motif.
Other important Pattern features: Overlap, Copies, Tile Edge
There are a few other settings you should know about with the pattern making tool: Overlap, copies, and tile edge.
The overlap is really important for complex patterns with many layers. Here, you can select if the right or left side of your pattern is in front, and if the top or bottom overlaps. Be sure to carefully look over your pattern to make sure which edge overlaps (if any) before saving your pattern.
The next setting is copies. This is simply how many times your pattern will repeat in the pattern tile and in the pattern preview. Mine is set at a default 5×3, but you can alter to fit your needs! I would set it to 3×3 at least so you can see how the pattern is repeating.
Tile edge is a very important setting to have selected, as it will show you exactly what is inside your pattern tile. Without this selected, it’s hard to know which motifs are in your tile. You can toggle this off to get a preview, but while you’re moving objects around, I highly suggest leaving it on!
Once you have finished playing around with the different settings click ‘Done’ in the top toolbar and your pattern will be saved to your swatches!
I hope this overview of the pattern making tool helps guide you through using this fun, versatile, and speedy tool in adobe illustrator. It’s a must for speeding up your workflow as a digital artist and designer!
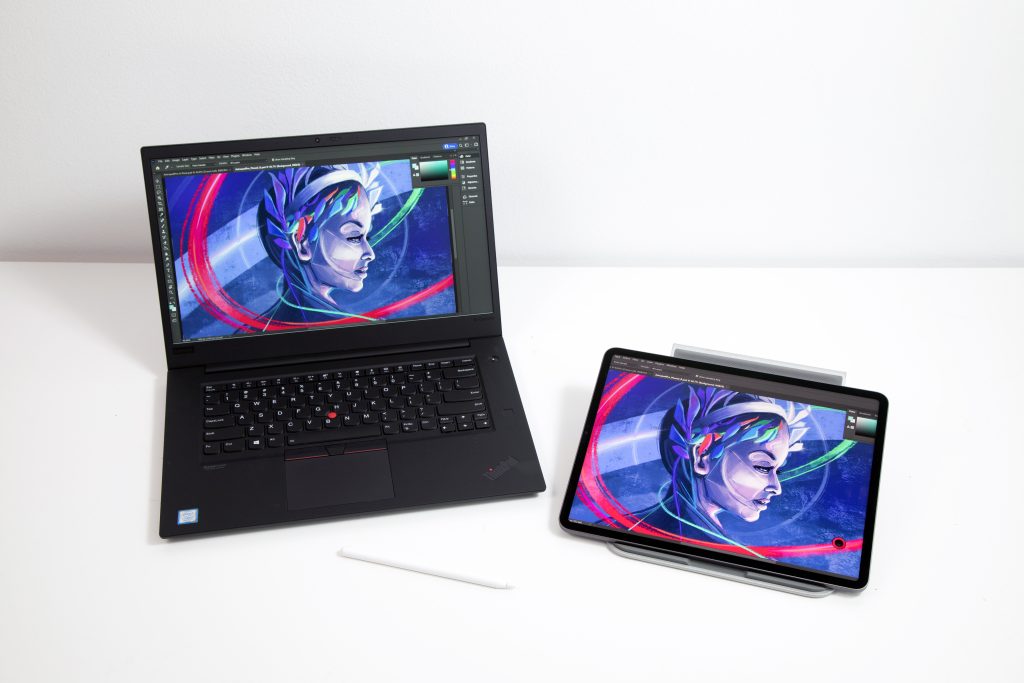
Use Adobe Illustrator on your iPad
Try Astropad Studio free for 14 days
Ready to level up your creative workflow?
Astropad Studio turns your iPad into a customizable drawing tablet. Draw directly into your favorite desktop apps like Photoshop, Illustrator, Clip Studio Paint — right on your iPad!