Learn how to use Apple Pencil hover
Apple Pencil hover is one of the most exciting new updates to the Apple Pencil stylus, but there are very few discussions about it. Before we delve into the complicated technology that makes the new hover feature possible, let’s talk about the basics.
If you have ever wondered “How does Apple Pencil hover work?” or “How to hover with Apple Pencil?” you’re not alone.
Let’s explore everything you need to know about Apple Pencil hover and bring you up to speed.
What Is Apple Pencil Hover?
Apple Pencil hover is one of the newer features available to iPad users. It is only available with 2nd-generation Apple Pencils, and it is designed to drastically streamline your workflow.
Before this feature was introduced, Apple Pencils operated on a standard X = Y formula; when the nib touches the screen, the screen reacts. Of course, the 2nd gen Apple Pencil still has this functionality, but the addition of the hover feature has created a whole new dimension of interaction.
In essence, the hover function allows artists, notetakers, and designers to preview their actions before they commit to them, thereby saving them valuable time. Apple Pencil hover works intuitively with the user to streamline important decisions.
Apple Pencil Hover in Action
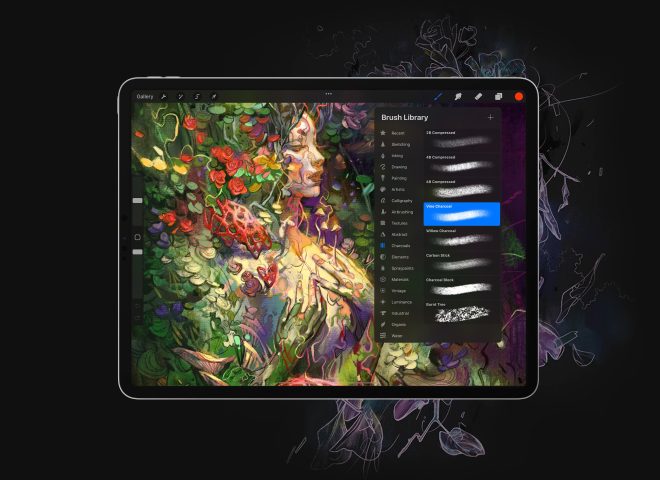
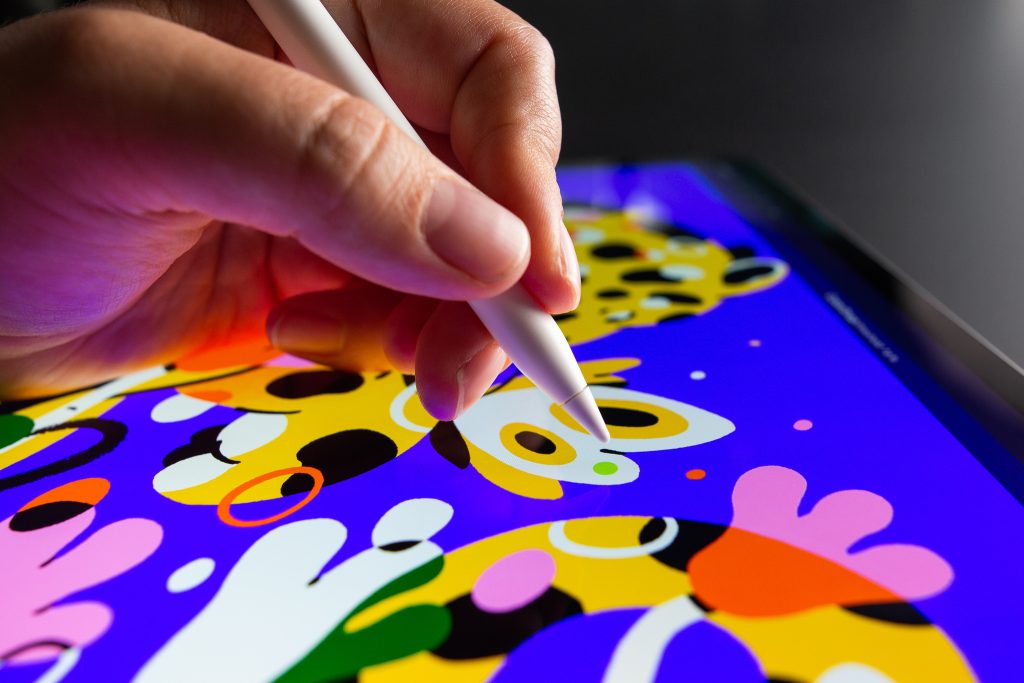
The new Apple Pencil hover feature sounds impressive, but it can be difficult to visualize. We’ve put together a few examples of the sorts of things that the hover feature can help you accomplish in one of the most popular creative apps, Procreate.
- Hovering over thumbnails expands the image or previews animations
- Hovering while using the ColorDrop tool allows you to preview colors before committing to them
- Hovering over the canvas will display the size, shape, and texture of your brush before you use it
Ultimately, there is no end to the amount of things Apple Pencil hover can do. Developers have the power to customize how this feature interacts with their apps, so the possibilities are endless.
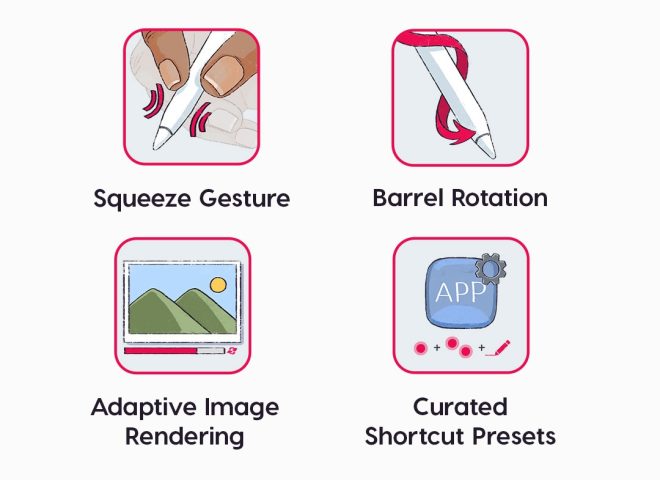
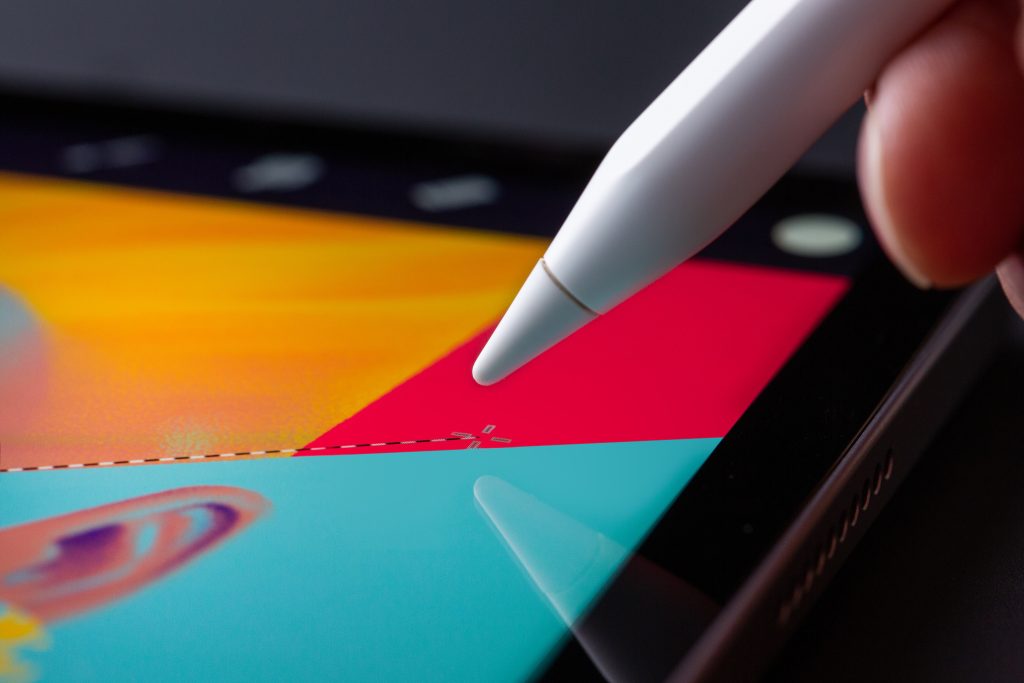
New Apple Pencil Pro Feature
Besides a long list of exciting updates, the Apple Pencil Pro has also revamped the hover feature. Simply hover above the screen to see exactly where your stylus will touch down. This update enables writers, drawers, and illustrators to have better precision than ever before.
Apple Pencil Hover With Astropad Studio
A few notable apps have really run with the new Apple Pencil hover feature, including Astropad Studio.
Astropad Studio allows you to mirror your favorite desktop apps to your iPad so digital artists never have to settle for half-complete apps again. Astropad Studio allows you to access full-scale apps (such as Adobe Illustrator, Photoshop, and InDesign) from the comfort of your iPad.
Last year, Astropad Studio successfully integrated Apple Pencil hover. If you have a 2022 iPad Pro, the hover feature will activate automatically.
If you have an older iPad model, you can still mimic hover functionality in Astropad Studio with Magic Gestures. The Magic Gestures tool allows you to assign shortcuts to different tap gestures and finger/Apple Pencil combinations. One of the preset shortcuts is Hover, which can be activated by pressing two fingers on your screen while using Apple Pencil.
Apple Pencil Hover Compatibility
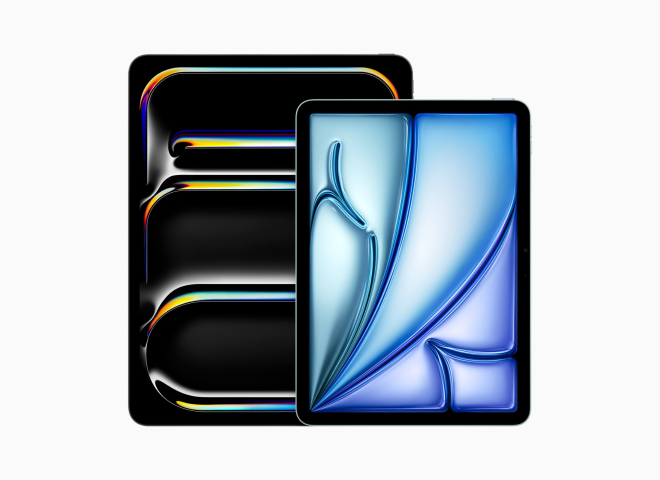
Apple Pencil hover is available on these iPad models.
- iPad Pro 11-inch (4th gen)
- iPad Pro 12.9-inch (6th gen)
- iPad Pro 11-inch (M4)
- iPad Pro 13-inch (M4)
- iPad Air 13-inch (M2)
- iPad Air 11-inch (M2)
Remember, this feature was once exclusive to the 2nd gen Apple Pencil. Now, you can choose between that and the new Apple Pencil Pro.
How to Turn on Apple Pencil Hover?
There is no such thing as turning Apple Pencil hover on, because it is always on. True to Apple’s insistence on creating ergonomic, user-centric products, there are no unsightly buttons or complicated steps to follow. As long as your Apple Pencil is charged, you will be able to use the hover feature.
To activate the hover feature, the nib of your Apple Pencil needs to be anywhere from 1 – 12mm away from the screen.
How Does Apple Pencil Hover Work?
So, how does Apple Pencil hover work?
The Apple design team has worked hard to create a stylus that communicates with your iPad without ever touching it. Without getting too technical, we know that the new hover feature works via electromagnetic signals. The nib of your Apple Pencil sends signals to your iPad, thereby creating a wireless connection.
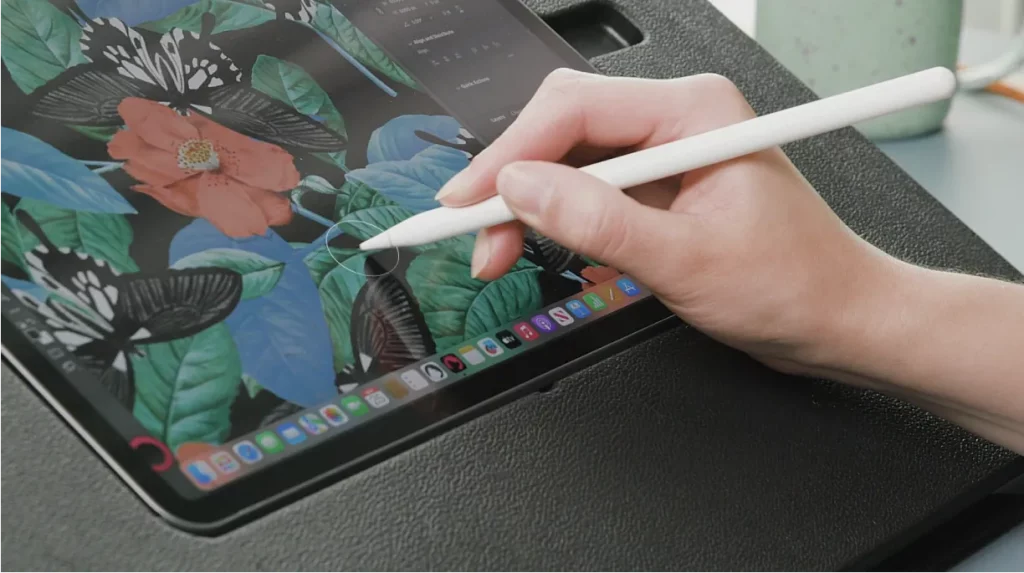
How to Hover With Apple Pencil?
If you are wondering how to hover with an Apple Pencil, you are not alone. The truth is that hovering is extremely simple.
Here is our foolproof guide to hovering with an Apple Pencil.
- Make sure that your Apple Pencil is charged
- Hold your Apple Pencil as if you are about to press the nib against the screen
- Ensure the nib is 1 – 12mm away from the screen
If your nib is 13mm away from the screen, the hover feature will not work. Finding the perfect balance might seem tricky at first, but you’ll get the hang of it in no time.
Is Apple Pencil Hover Worth It?
The new hover feature might not be for you if you use your iPad for Netflix, occasional emails, or the odd Google search. Chances are that the hover tool will not have a big impact on your life.
However, if you use your iPad for artwork, notes, design plans, or anything else that utilizes the full scope of tech on a typical iPad, then the new hover feature will make a world of difference to your day-to-day life.
We recommend the Apple Pencil hover feature to graphic designers, illustrators, game developers, students who want to take notes, and budding creatives.
Explore Apple Pencil Hover
There you have it, everything you need to know about Apple Pencil hover. Why don’t you give it a go? Just charge your 2nd gen Apple Pencil, open your favorite creative app, and start experimenting with the hover function.
Unsure how to pair an Apple Pencil with an iPad to get started? We’ve got you covered.
Upgrade Your Apple Pencil Tip with Rock Paper Pencil
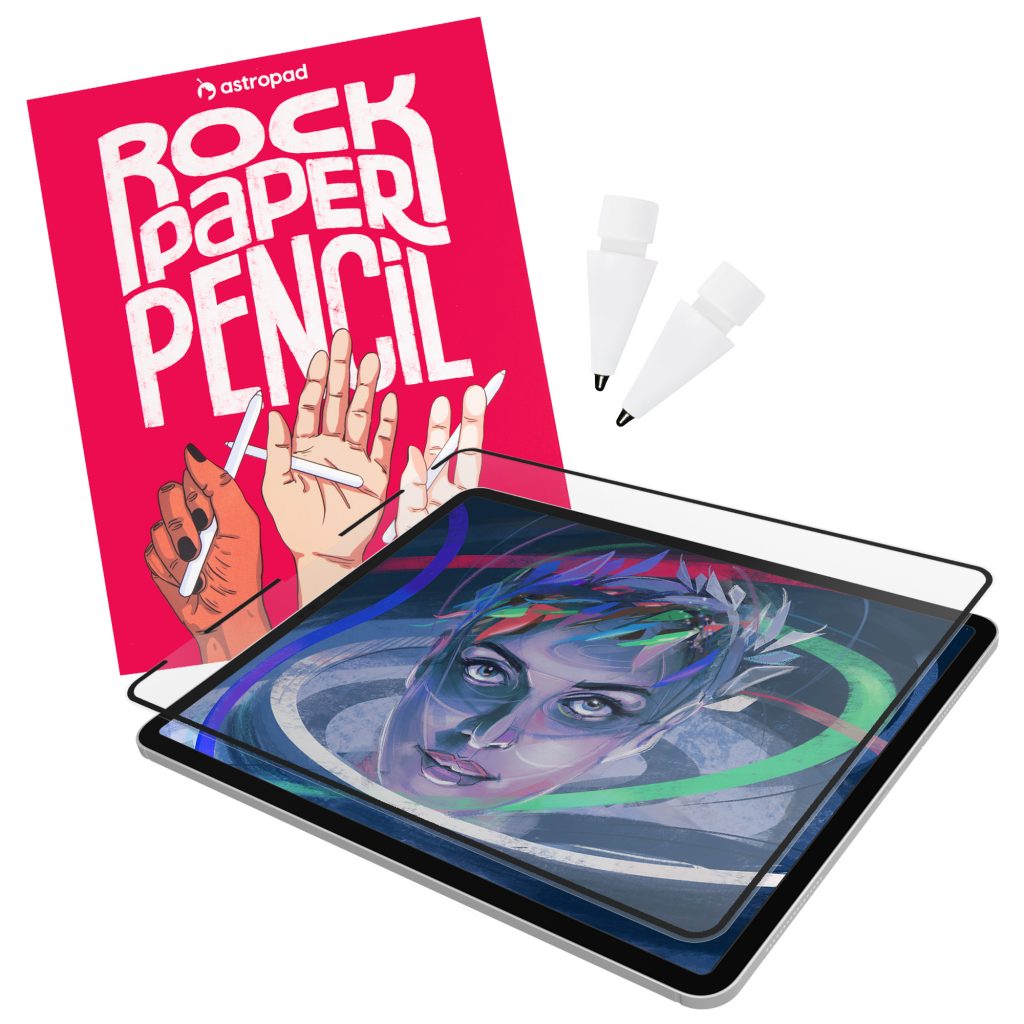
Use Rock Paper Pencil to enhance your iPad writing/ drawing experience. Rock Paper Pencil combines a ballpoint Apple Pencil tip and a reusable, matte screen protector. Together, they create the most realistic pen-on-paper feeling for iPad.
- Ditch the slip: On its own, the iPad’s glass screen is a slippery surface that creates an inconsistent drag on your Apple Pencil.
- Smoother, more precise strokes: Rock Paper Pencil adds subtle friction between your screen and Apple Pencil tip, giving you more control with each stroke output.