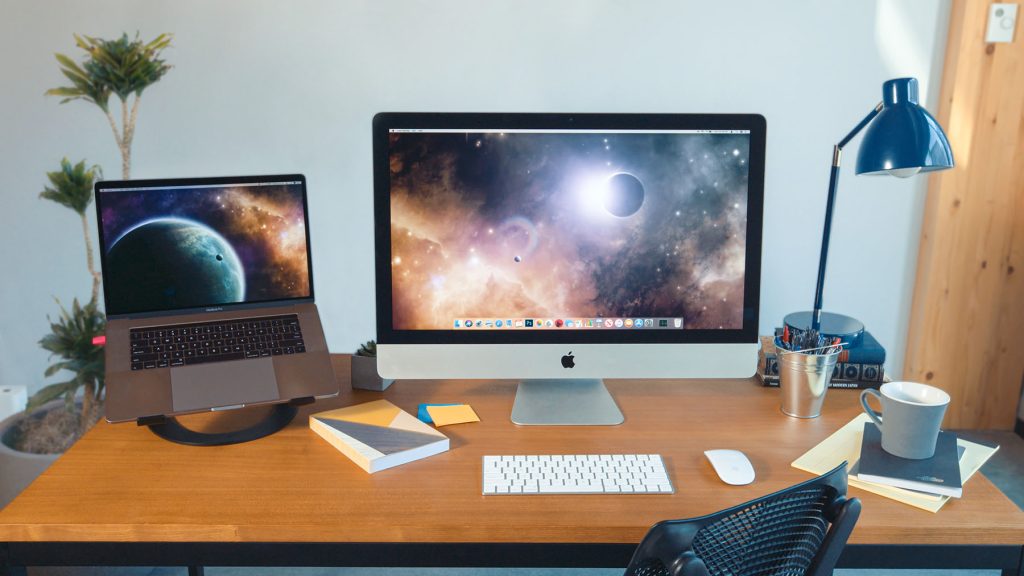
Looking for a way to use your iMac as a monitor for your Mac or PC? Look no further, this guide walks step by step through how to use your gorgeous 5k iMac display for your Mac or PC.
While there are multiple ways to configure your iMac as a monitor, this guide will walk you through my recommended setup with Luna Display which I use every day with my 2015 iMac and M1 MacBook Pro. Let’s get started!
Table of Contents
- Recommended Setup: Why Luna Display
- Target Display Mode: Why It No Longer Works
- Essentials for Setup: What You Need to Begin
- Setting Up Your iMac as a Display: Key Steps
- Understanding Limitations: Navigating Luna Display’s Limits
- Boosting Performance: Tips for Optimal Use
- Solving Problems: Effective Troubleshooting Strategies
Recommended Setup: Why Luna Display
You should know there are a few other options for connecting your iMac as a monitor, but they have limitations:
- Target Display Mode – This only works on mid 2014 or earlier iMacs, so chances are your iMac doesn’t support it. Plus it uses an older Thunderbolt connector which is incompatible with newer Macs.
- Airplay to Mac – As of macOS Monterey, Apple introduced Airplay to Mac support for using another Mac as a screen. However it suffers from two major limitations: it maxes out as 4K and it doesn’t support PC.
- Duet Display – Works with Mac or PC to use the iMac as a display, but it doesn’t have support for 5K or USB connectivity.
Luna Display supports the full 5K iMac resolutions, works with Mac or PC, and can connect over USB, Wifi, Ethernet or Thunderbolt.
In full disclosure, we are the creators of Luna Display, but we added iMac support for a reason – nothing existed for using an iMac display at full 5K resolution! At Astropad, we like to solve problems we have ourselves, and Luna Display is no exception.
Target Display Mode: Why It No Longer Works
As mentioned above, if you look at other guides on using your iMac as a monitor, they recommend Target Display Mode – but in 2024 that’s outdated advice. Target Display Mode was a mode on early 2010 era iMacs activated via the keyboard that turned them into monitors when connected via Thunderbolt cables.
It’s now outdated advice for a few reasons:
- Target Display Mode only works on mid 2014 or earlier iMacs. Most people don’t have iMacs this old.
- Target Display Mode uses an old version of Thunderbolt that isn’t compatible with modern Macs
- Finally, even if you get all of that to work, Target Display Mode is limited to a low resolution of 2560×1440.
For all of those reasons, Target Display Mode is no longer an option. Instead try Luna Display connected to your Mac or PC to use your iMac at full 5K resolution. Read on for the key equipment you need to get started.
Essentials for Setup: What You Need to Begin
- A primary Mac or Windows PC to connect the iMac to
- iMac running MacOS 10.15 or later
- Luna Display USB-C
- Optional but highly recommended for performance:
- For Macs: USB-C to USB-A cable
- For PCs: Ethernet cable
For this guide, I’m assuming you have a primary Mac or Windows computer that has at least one USB-C port available. Most modern computers have USB-C so that’s why I recommend it.
Older Macs or PCs may require Mini DisplayPort or HDMI connectors, which are supported by Luna Display but aren’t discussed in this guide.
Setting Up Your iMac as a Display: Key Steps
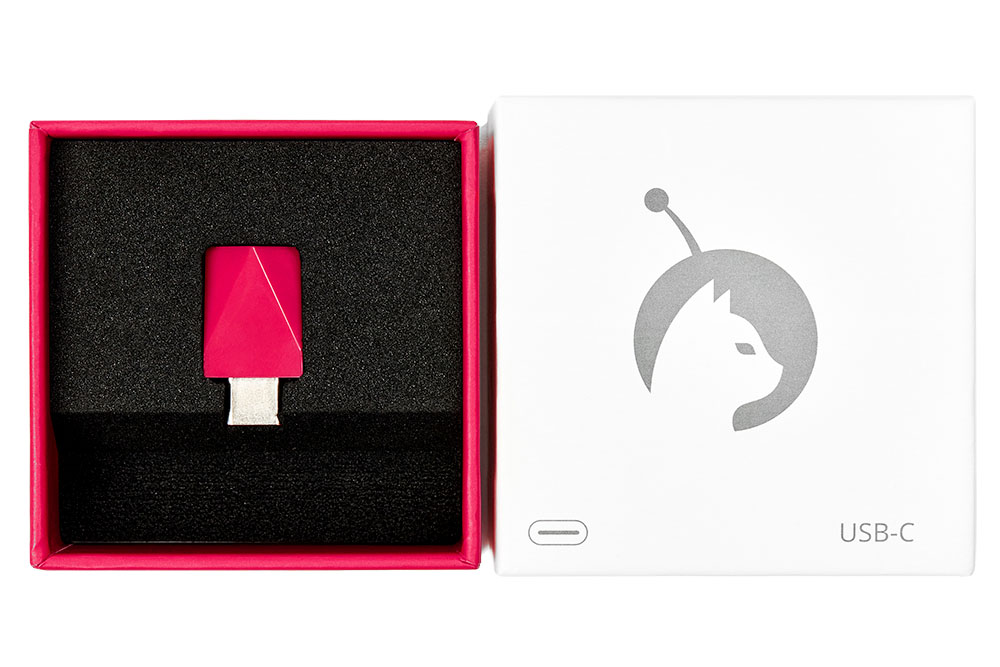
Step 1: Plug in your Luna Display
Once you have your Luna Display, you’ll need to take the dongle and plug it into your primary Mac or PC. By primary, I mean the computer you’d like to attach the iMac to as a display.
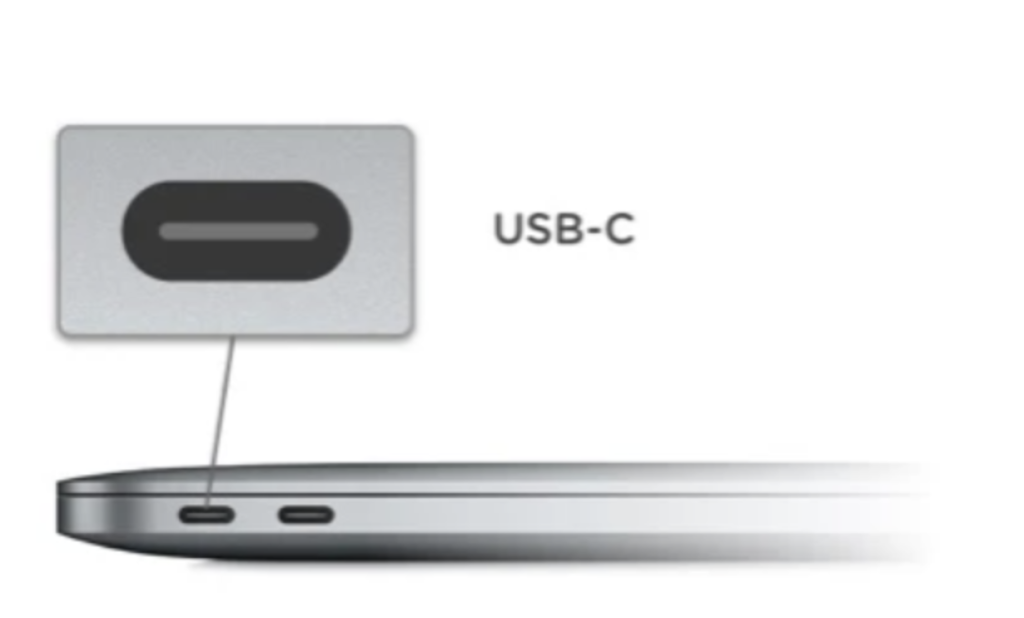
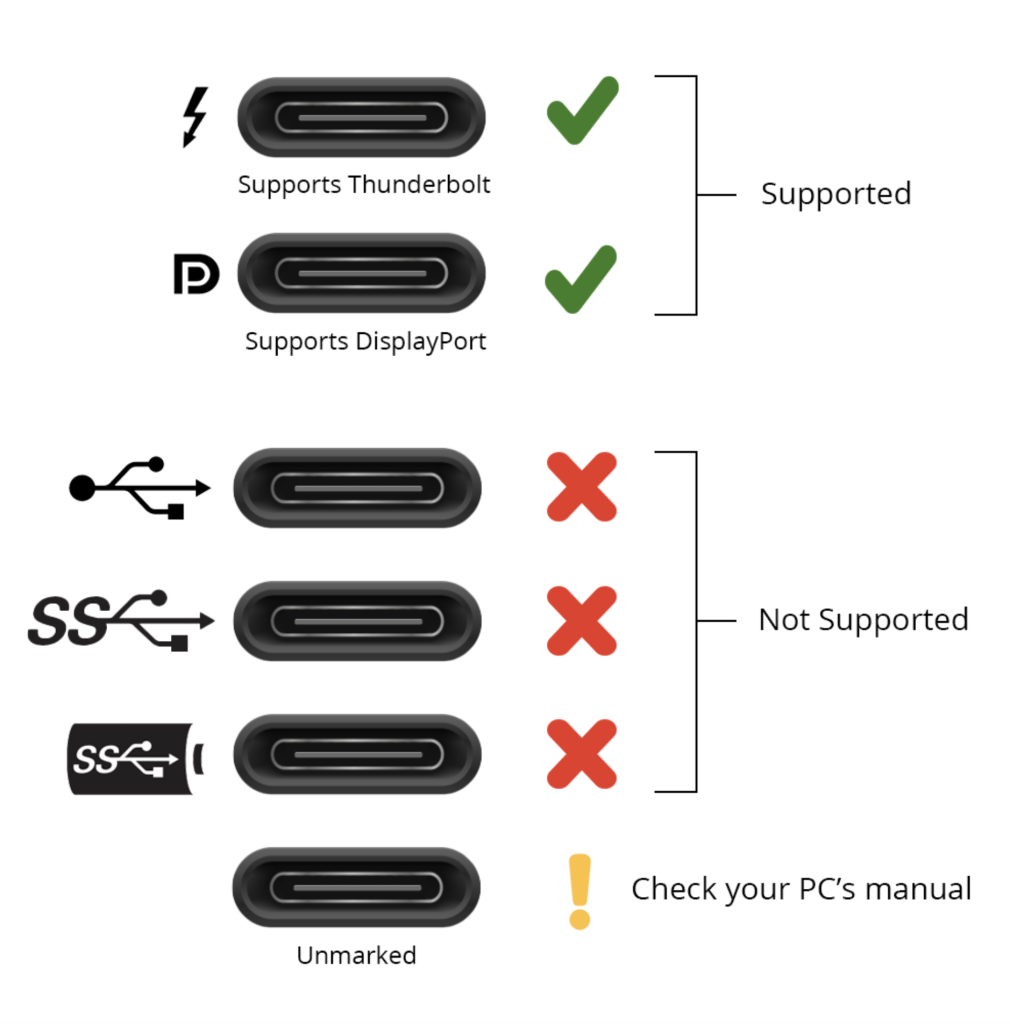
The Luna Display dongle must be plugged into a USB-C port that supports Thunderbolt or DisplayPort. All Mac USB-C ports support Thunderbolt or DisplayPort, but the same isn’t true for PCs where the situation is more confusing. On PC, you’ll want to plug into a USB-C port that has a Thunderbolt or DisplayPort icon. See the chart below for examples.
Supported USB-C ports
Step 2: Connect your iMac to your computer using a cable
While Luna Display does support Wi-Fi connections, I strongly encourage you to use a cable connection when using the iMac as a display. Driving the 5K iMac as a monitor requires a lot of bandwidth, so you’ll get the most reliable and consistent performance when wired.
My recommended setup depends on whether you have a Mac or PC.
Connecting your iMac using a cable to another Mac
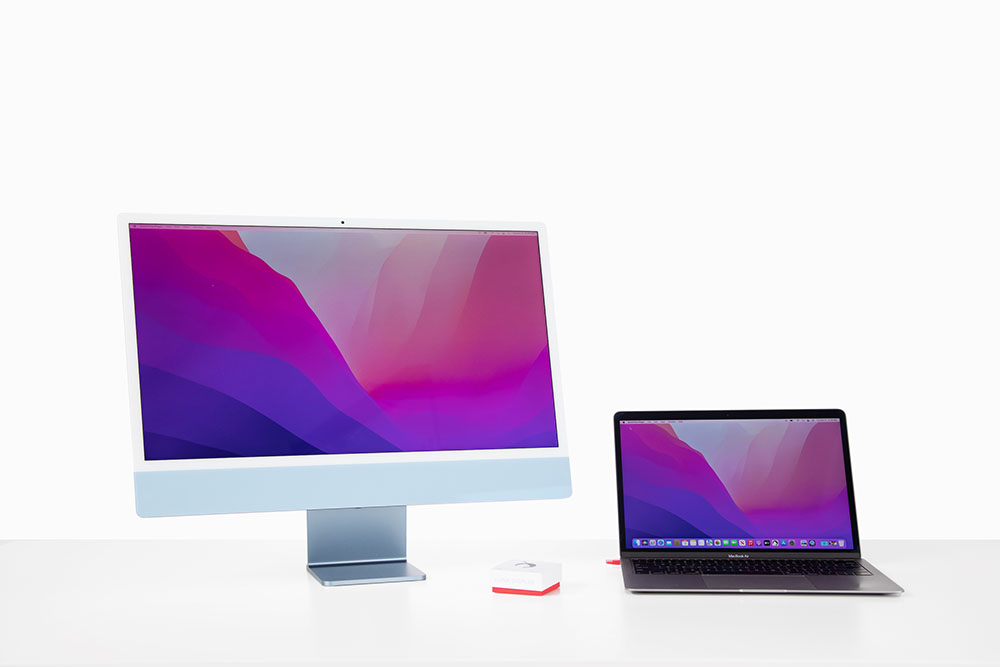
I recommend connecting your iMac to your primary Mac using a USB cable – it’s what I use everyday. Unless you have a recent iMac, you’ll want to buy a USB-C to USB-A cable, this is the cable I use with my 2015 iMac and 2021 M1 MacBook Pro.
If your iMac is recent and has USB-C, than you’ll want to get a USB-C to USB-C cable. Most people reading this guide will have older iMacs and need the USB-C to USB-A cable instead.
Once you have your cable, you’ll plug into the back of your iMac and the other end will go into your primary Mac’s USB port.
Connecting your iMac using a cable to PC
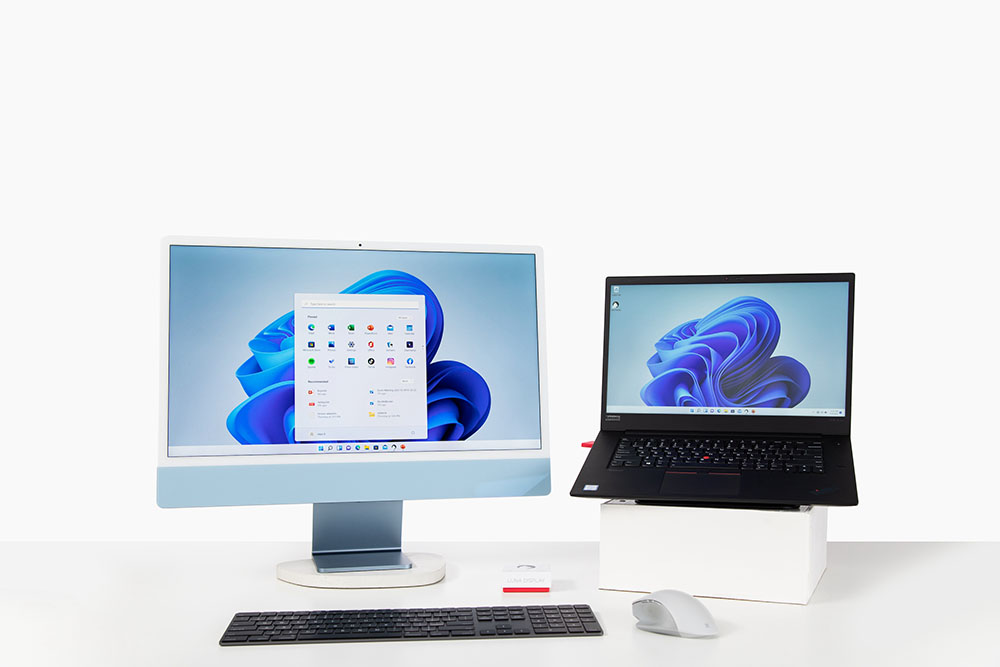
Unfortunately, we aren’t able to provide the same robust USB cable support on Windows. Instead I recommend using an ethernet cable for best performance. Any ethernet crossover compatible cable should work just fine, here’s an inexpensive cable from Amazon I like.
You’ll plug the ethernet cable into the iMacs ethernet port and then plug the other end directly into your PC’s ethernet port.
Step 3: Download and launch the software
All the necessary hardware is plugged in now, so the final step is to load up the necessary software on your computers:

On your primary Mac or PC, download and open the primary Luna Display app

Next, on your iMac, download and launch the Luna Secondary app. Downloads are available here.
Step 4: Use your iMac as a monitor!
At this point, your iMac and primary computer should automatically detect each other and the iMac should be configured as a monitor!
There are a few more settings you should configure. In particular, I highly recommend enabling Retina Resolution so you get a crisp picture!
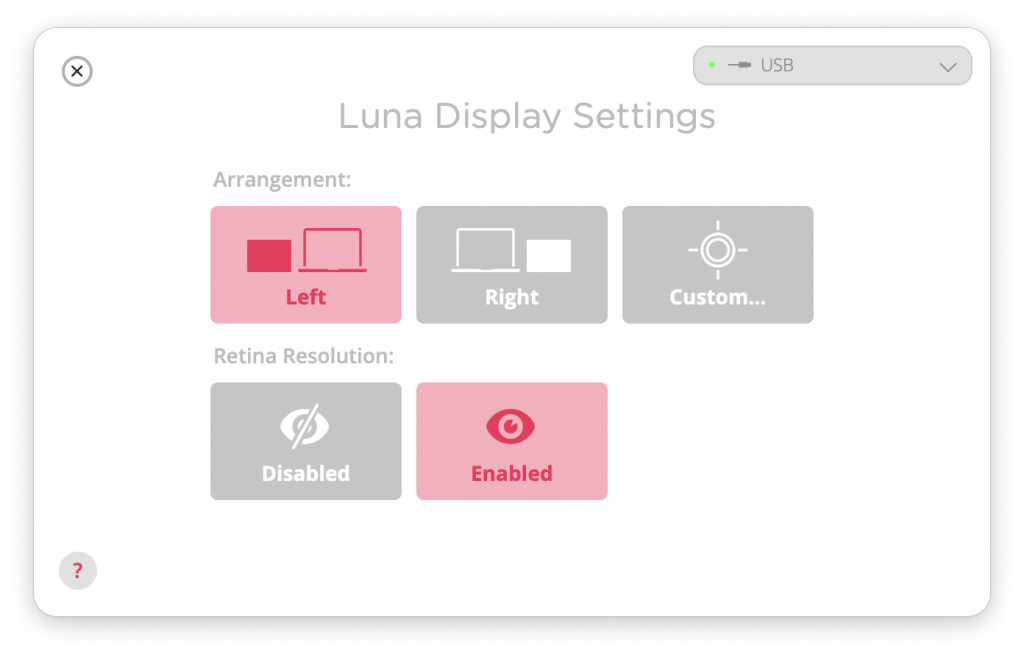
That’s it! 😄 You’re all done. Go ahead and enjoy that crisp, beautiful 5K iMac as a display for your Mac or PC!
If you need extra help tuning the performance of or just need some general troubleshooting tips, check out the FAQs below.
Get your Luna today!
Understanding Limitations: Navigating Luna Display’s Boundaries
Like any product, Luna Display does have limitations and it’s not recommended for high motion content. For example I wouldn’t recommend using Luna Display for gaming or video editing.
Since Luna Display is squeezing a 5K display through a USB cable, when lots of motion occurs on screen (like from video playback or moving a window quickly) the screen can temporarily become pixelated before it renders in at full resolution. Personally, this doesn’t bother me, as I use my iMac for things like audio players, chat windows, and documentation.
Read on for more tips on how to further maximize the performance…
Boosting Performance: Tips for Optimal Use
Note: Some of these performance tips only apply when used with a Mac. We hope to bring these settings to our PC software in the near feature.
If you aren’t getting the desired performance out of your iMac as a monitor, there are few preferences you can tweak.
What you tweak depends on if you prefer a crisp display with slower motion, or faster motion with a slightly pixelated display.
- For the absolute fastest motion you’ll want to adjust the resolution.
- For the absolute clearest display, adjust the refresh rate.
Finally, if none of that is to your liking, you can override the Luna Display software using manual rate control.
Adjusting resolution
The best way to adjust the resolution on your Luna Display is by using the “Retina Resolution” toggle that shows after connection. Try turning retina resolution off to get a more pixelation, but much faster response on your iMac.
Adjusting refresh rate
Only available on the primary Mac app
To adjust the refresh rate in the primary Luna Display app go to the menu File > Settings
A new settings window will appear, click “Luna Display” at the top of the window:
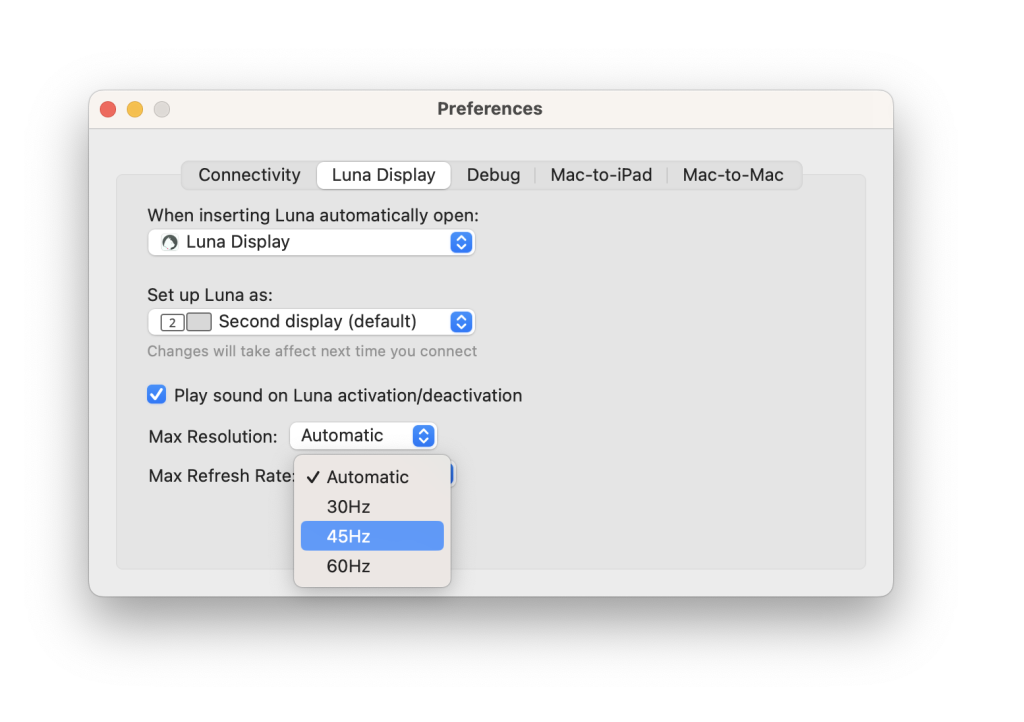
At the bottom you’ll see a pop up menu to adjust the Max Refresh Rate. By default it’s set to 60Hz. Try setting it to 45Hz or 30Hz for a clearer but slower to update display. After adjusting this setting you’ll need to quit the Luna app and relaunch.
Adjusting rate control
Only available on the primary Mac app
This is the most advanced option and is best used on a wired connection. To access the rate control override, hold down the Option key and while doing so go to the menu File > Settings in the primary Luna Display app.
You’ll see a settings window appear with “Debug” option at the top.
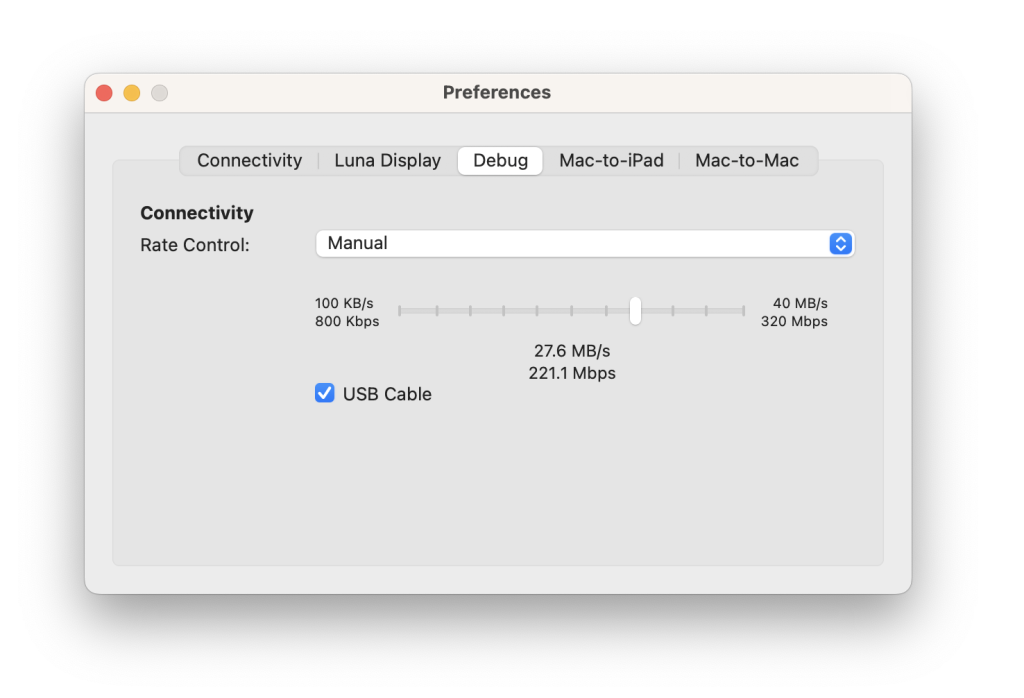
Within the Debug settings, you can change rate control to “Manual” and then drag the slider to the right to increase the amount of bandwidth that is used. This updates live, so you can use your iMac monitor and adjusting the setting until you reach a setting that feels right.
As you increase the bandwidth, it will cause the picture to be clearer but updates may be slower to render in depending on your connection and computer.
Solving Problems: Effective Troubleshooting Strategies
Be sure to check out our extensive help section for detailed troubleshooting information.