One amateur photographer’s leap into the unknown
I should probably begin by fessing up to being a lower-case “p” photographer. Yep, in the world of photography, even on a good day, I’m an amateur enthusiast. I do amateurish and enthusiastic things — like roaming around my backyard grabbing four hundred snaps of dragonflies. Even my nearest and dearest gently inform me I take way too many pictures of sunsets.
But I do care about photography. And over the years, I’ve learned a grab bag of post-processing techniques that serve me pretty well. This is why, when I found Astropad Studio, I knew I had to try post-processing with a stylus again.
My shameful amateur enthusiast secret (and the challenge I set for myself)
Here’s the thing. I’ve never gotten along with tablets.
Something about that blank oblong chunk of plastic on my desk feels alien and hostile to me. I stare into its void of sullen obsidian, and the void stares back. My creativity withers.
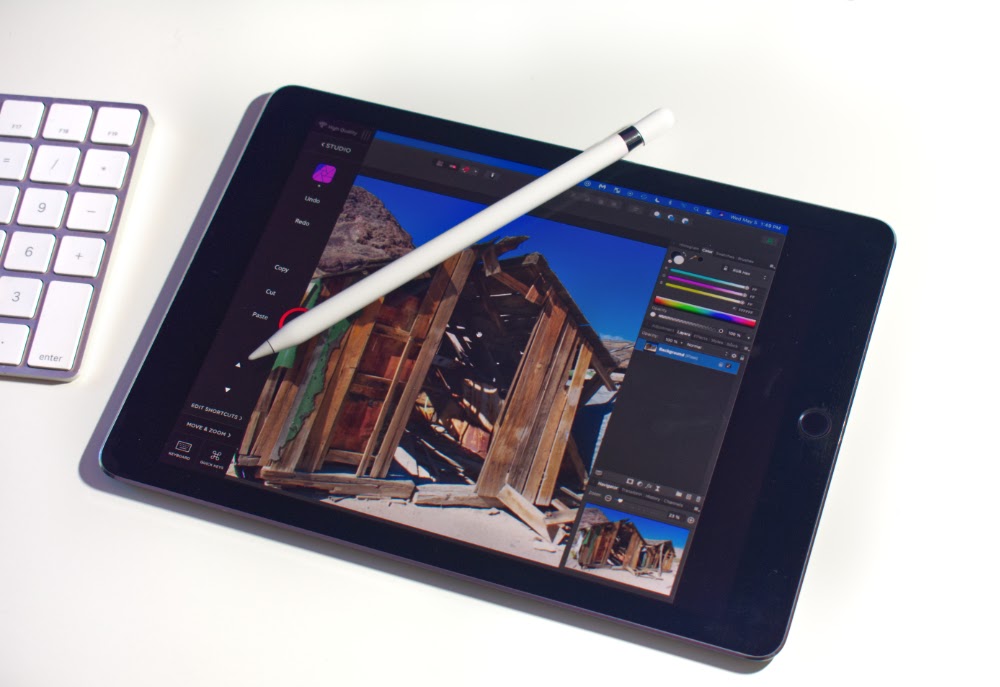
By contrast, seeing Astropad’s resident guru, Tiffany Lam, paint landscapes directly onto her iPad looked like a rare kind of photo-magic to me. Watching her vid, I realized Astropad provides a vital and hitherto missing photo-editing puzzle piece for me — the option to interact directly with an image file. She made it look easy, sure. But the big draw for me was that working with Astropad actually looked fun.
I decided I had to put on my big photographer pants (figuratively speaking), grab a coffee, and give it a try. Here’s what I learned, from initial setup to final photo.
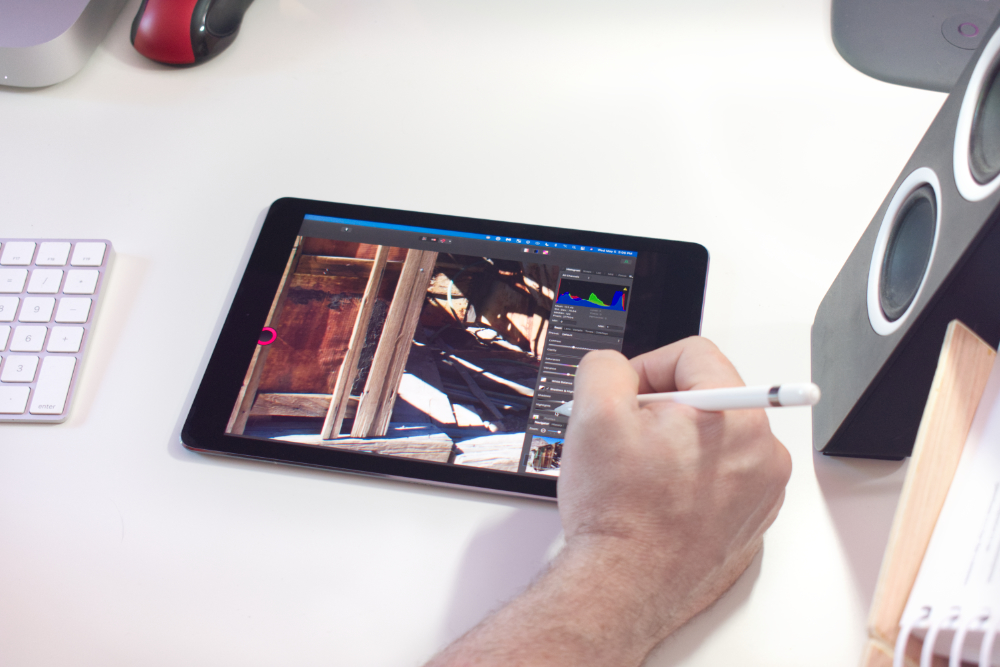
Getting started
Here’s the picture I decided to play with. (Oh, and I’m using Affinity Photo for editing by the way.)
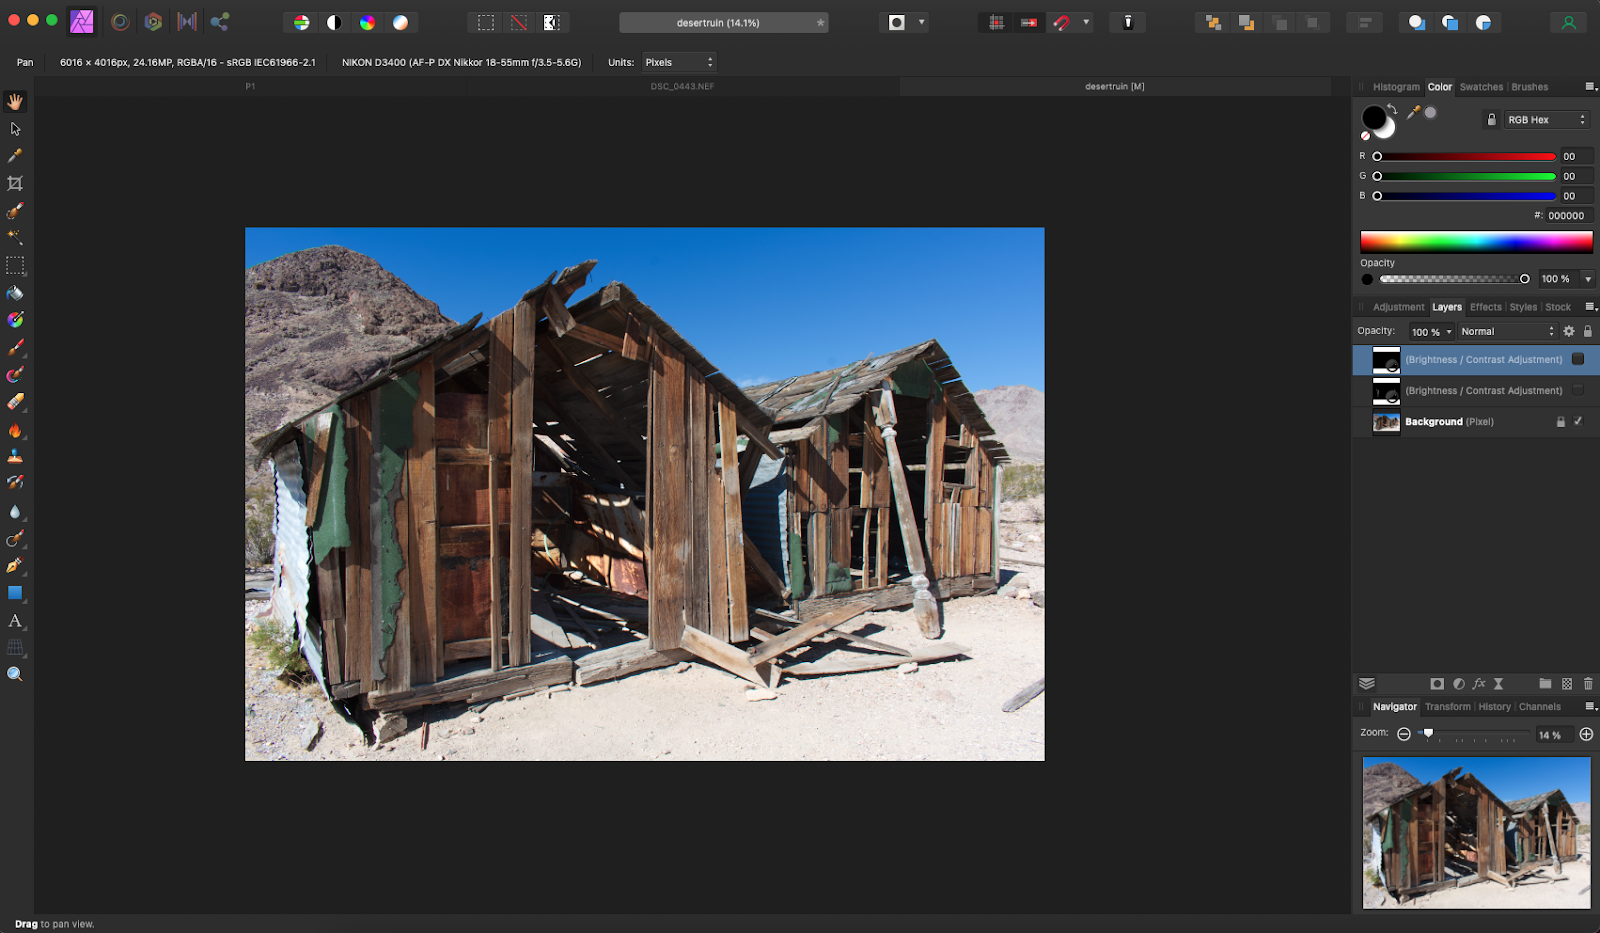
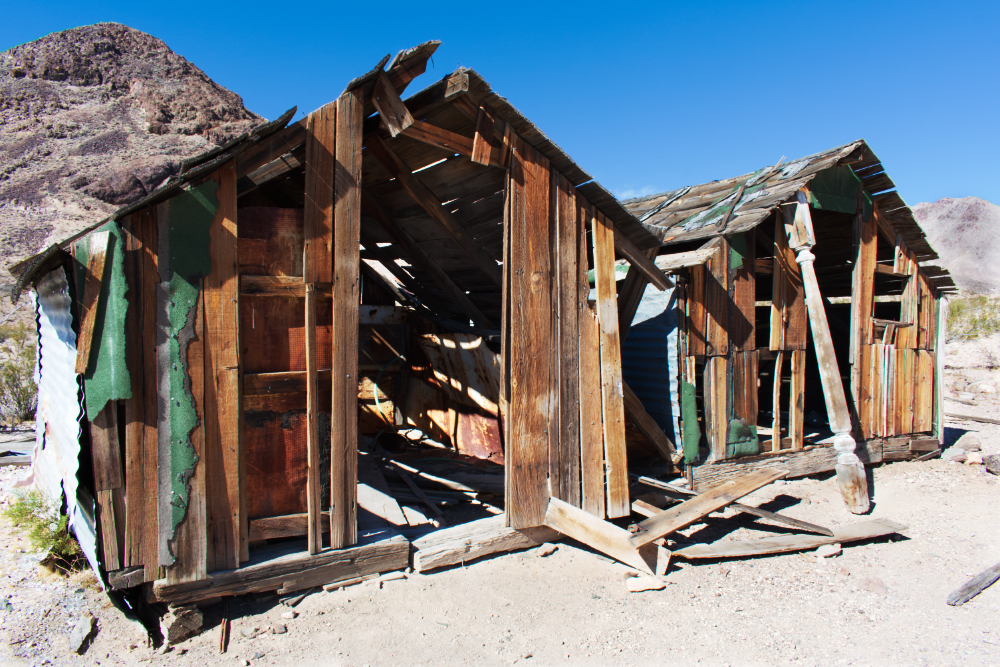
I took this shot on a long, dusty road trip through the Mojave Desert. It was my first time there. I won’t bore you with too many deets, but I was just stunned by how the sun can slowly eat a building away to dust.
I want to edit this picture to better capture how that moment felt: The vivid flashes of green paint; those odd angles of jagged, splintering wood; and the unsettling contrast of blazing sunshine against impenetrable shadows. Probably a bit ambitious for my first time with Astropad, but meh … I’m an “Amateur Enthusiast.” The foolhardy enthusiasm is right there in the job title.
I started by doing a few tutorials, and I’m glad I did.
Astropad Studio is remarkably intuitive, but having the theory down on navigation and working with the sidebar was vital knowledge. And it helped me later when I hit a few snags of my own amateurish making.
Do the tutorials. It’ll save you tons of time and it’ll shallow out your learning curve.
Finding my feet with some basic adjustments
Sitting down with my shiny new setup, I decided to start in the same place I always do, performing a few basic adjustments at the RAW image level. You know the deal — tweaking exposure, black point, white balance, shadows, and highlights.
Most of the changes I usually make at this early stage of post-processing are global in nature. I therefore didn’t really expect to use Astropad much. But just for fun, I decided to play around with masking, and this is where I got my first pleasant surprise.
I started painting parts of the photo for detailed exposure tweaks to some of the more blown-out areas.
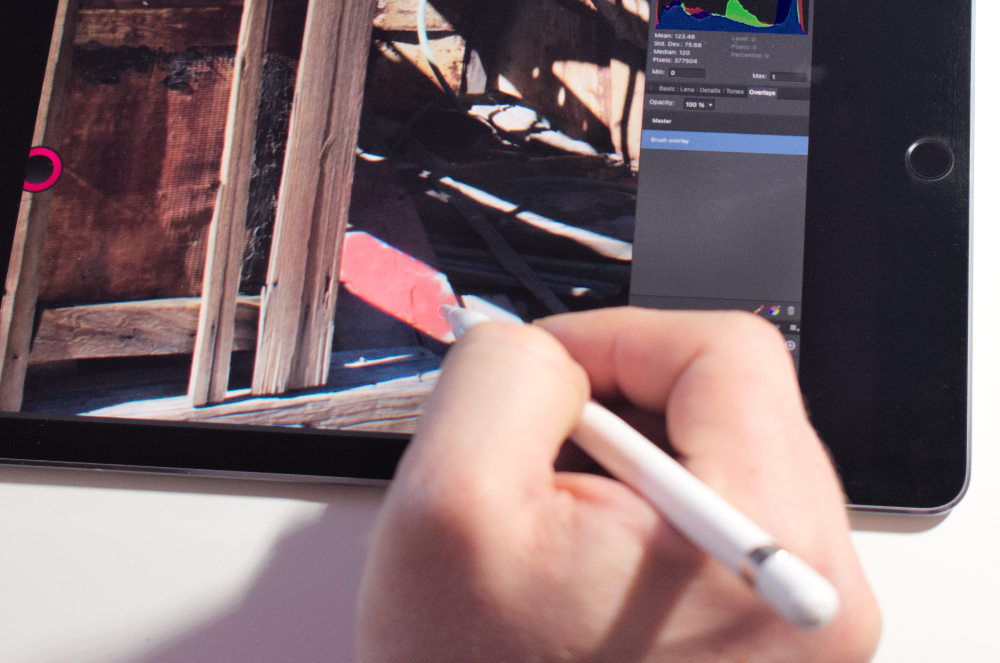
After going through those motions a few times, I realized I was looking at a zoomed-in part of the image. Without even meaning to, I’d used that familiar iPad reverse-pinchy gesture to zoom in and paint a troublesome area. I’d half completed the task by the time I realized what I was doing.
Once I was conscious of the option I started zooming in and out more organically.
At first, I was all, “left-hand zoom, right-hand stylus.” But I soon shifted to simply tucking the pen against my palm for a second while lettin’ my zoomy fingers do their work. That left my left hand to tweak brush sizes and flip between adding and erasing brush strokes. I have zero idea if that’s how you’re “supposed” to do it — folks in the know may have much smarter methods — but that little shift in how I multitasked my hands really helped.
I’m not entirely sure why, but the process felt organic.
Half a coffee and two cookies into my adventure, I was feeling excited about Astropad; and I’ll just come out and admit it, a teensy bit proud of myself.
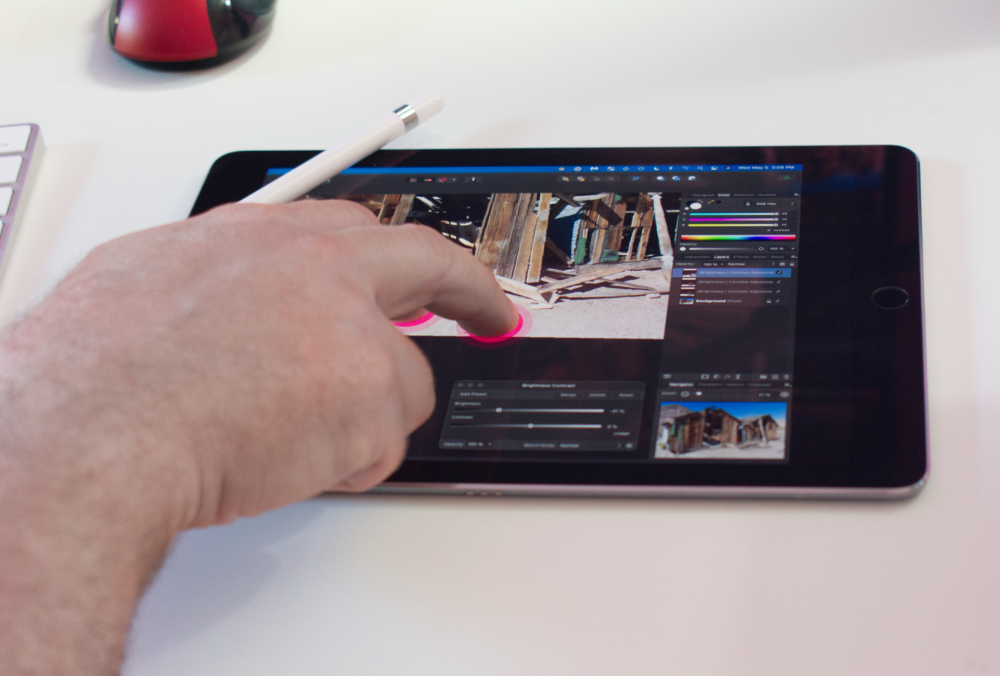
Diving into the details — and my first little stumble
I’d made a good start, but now I really wanted to tackle the picture elements that felt “off” to me. In particular, the peeling green paint wasn’t quite so vivid as I remembered it, and my camera (or my poor use of it!) failed to reflect the balance of shadow and dazzling daylight that I remember from my day out on that lonely stretch of highway.
The way I’d usually begin that kind of location-specific editing would be a chaotic combo of masking specific areas, applying live filters, and generally getting my hands virtually dirty with all the weird and wondrous options a modern graphics platform has to offer. I was interested to see if working with a stylus and multiple views on the same part of my photo might help or hinder that process.
I began to selectively paint brightness, contrast, and saturation over my pic.
And almost instantly I stumbled. Well, let’s call it a stumblette … a quasi-stumble … the diet coke of stumbles. Anyway, I messed up.
As an amateur, I’m no stranger to experimenting and getting things wrong. It’s part of my haphazard process for finding what works. But with this new setup of working with two screens, I just didn’t know where to look. Throw in a stylus, and I felt that curious, overloaded sensation of having too many devices, not enough hands. It was frustrating (but also oddly enjoyable in a creatively masochistic kind of way) to watch my right hand constantly reaching for the touchpad, hesitating, and reaching instead for the stylus — like a confused hamster trying to decide if it should nom down on lettuce or carrots.
I was all over the place.
I hit Command Z a few thousand times and started again. This time, I tried to be more mindful about when I should be fine-painting details, and when I should push the iPad away, and appraise the photo from afar.
It took some persistence, but I hit a point where it just kind of clicked.
My new workflow had my stylus hand painting areas I wanted to work on and then selecting the control I wanted to work with. My keyboard hand worked on the actual settings. It took some experimentation but I ended up feeling better-equipped to layer in subtle effects with a stylus and my “detailing screen,” as I was coming to think of it.
And there was an unexpected benefit.
The use of a pen and detailing screen forced me to think more carefully about what areas I wanted to change and why. I have a sneaking suspicion that Astropad nudged me into being a bit more systematic about my work. Never a bad thing.
I sailed through spot healing and removing unwanted elements. I felt more poised … if a bit humbled by the memory of my hand adopting the grazing habits of a confused domesticated rodent.
It was definitely time for more caffeine.
Time for a bit o’ experimentation
Reinvigorated, I came back and took a fresh look at the photo.
At this point, I’d probably usually step away and call my job done. But to be honest, I was having fun, and I wanted to see where else this new kind of workflow might take me. I decided to get a bit experimental.
Rocks. Everywhere.
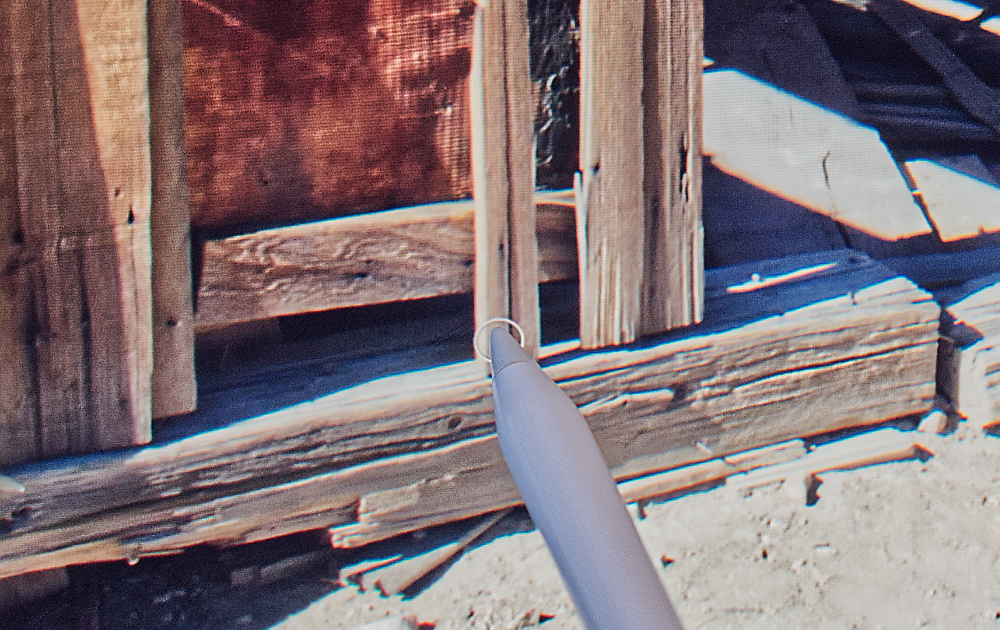
That was such an important part of that place, as I recall, so I opted to select parts of the ground for selective sharpening. At this point, the additional “eye-work” ™ of flicking my gaze up and down felt easy. I used my paddy to get up close and personal with the pebbles, but then sat back in my chair and gazed at the overall effect from afar.
This kind of work is something I’m certain I’ll do more of with Astropad. I enjoy how easy it is to zoom right in on the edges and just lightly dab in a bit of extra detail. A cracked bit of paint here, a nail there. I haven’t worked like that before. I like it. I feel like I have more choices.
My next experiment was to work with the sky, which just seemed too bright … and, well… cheerful. That blue is just relentless.
I used Astropad to manage the fiddly process of selecting sky around the structural foreground elements of the photo. Using a stylus while also being able to pinch and flick my way around the picture was great for fine area selection. That added tactile closeness to the image made it much easier to trust my software’s AI to figure out where sky ended and foreground began.
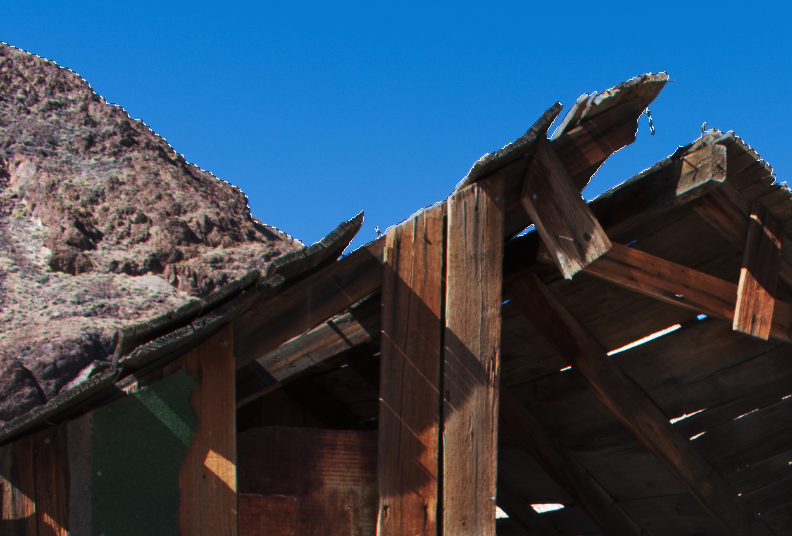
I got a nice little workflow going where I would toggle Add and Delete with my left hand while painting in the selection with the stylus. It felt easy after a few minutes. Why have I been so resistant to these kinds of workflows when a touchpad is such a blunt instrument? That question bubbled, squelched, and popped in my mind as I closed in on the final tweaks to the photo.
So, here’s what I learned — about Astropad and where I want to go next as a photographer
I’ll start with the big surprise for me. It was that weird moment when I realized I already knew how to use Astropad. Many of the intuitive little finger flicks and taps that come naturally to an iPad user just flowed across to the Astropad software. That said, I’m glad I did a few tutorials. That early grounding sidestepped a few points where I might have wondered what to do next.
Many of the intuitive little finger flicks and taps that come naturally to an iPad user just flowed across to the Astropad software.
The next thing I learned isn’t all that surprising, I imagine, to seasoned pro photographers. But Astropad helps with intuitive tasks. The combo of seeing where I’m painting and getting that tactile feedback of lightly brushing, firmly drawing and everything in between made the more delicate tasks that much more natural and … well… satisfying.
So here’s the bottom line, I guess. Historically speaking, I’m actually not much of a tablet guy, but Astropad bridged the gap for me. Working with my iPad was friendly in a way that post-processing with a standard graphics tablet never has been.
I wasn’t scribbling into a void.
Will I still use my touchpad as part of the process? Of course! But migrating completely across to Astropad isn’t the point… I think. It’s to find useful workflows that fit your own style. After my first little foray, I definitely see Astropad’s potential for that. So, will I keep going with Astropad and build on what I’ve learned?
Absolutely.
Oh! And for you kindred forgiving photograph enthusiasts out there, here’s my final result. This sun-blasted shack on the edge of nothing is at least close to how I remember it. ·
Mark’s toolkit
Hardware:
- iPad Pro (9.7 inch)
- Mac Mini M1 (8Gb RAM)
- Nikon D3400 DSLR
Software:
- Astropad Studio
- Affinity Photo
Try Astropad Studio free for 14 days
Interested in trying Studio for yourself? You’ve got nothing to lose and tons of photo-editing potential to gain.