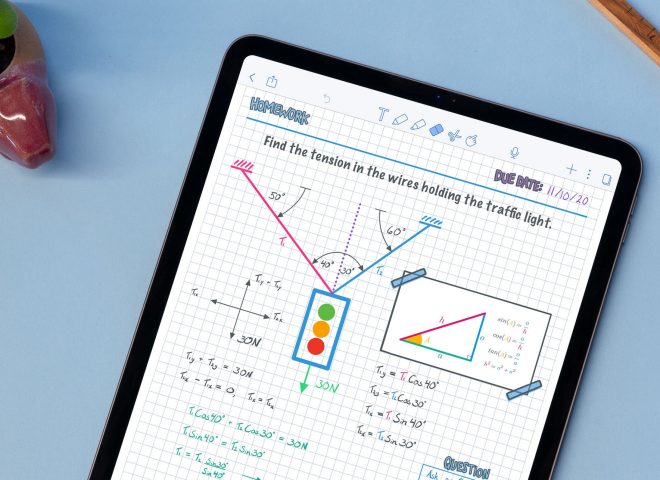
Blender has always been computer-centric and optimized for mouse and keyboard. But what if you could model with the convenience of a touch-enabled tablet and the power of your PC or Mac?
With Astropad Studio, not only can you use Blender on your iPad while utilizing your computer’s processing power, but you can also speed up and simplify your modeling workflow!
To help you get started, we are putting together some tutorials to build your confidence using Blender on your iPad, starting with one of the most common yet intimidating uses for 3D programs like Blender: character model creation.
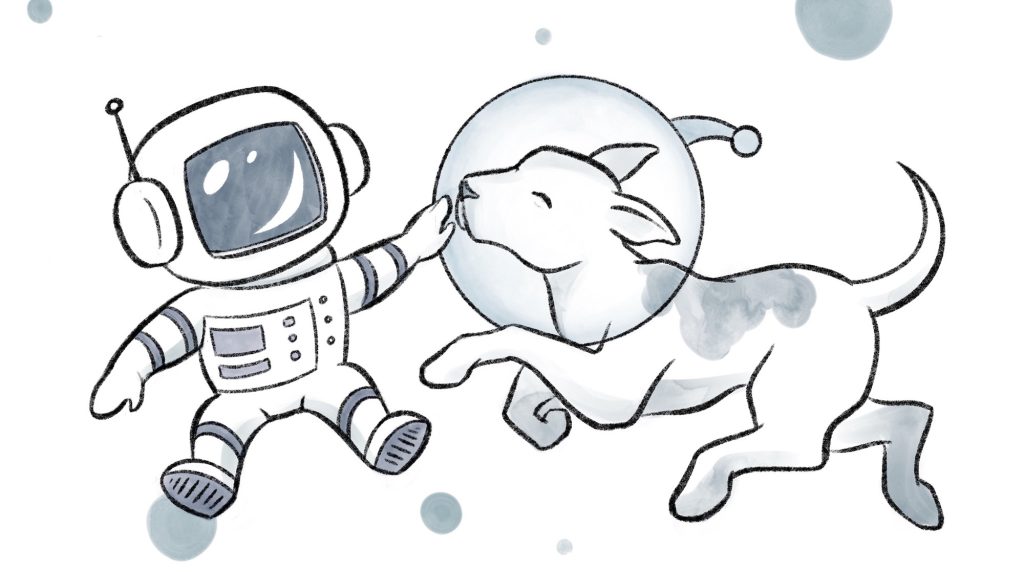
In this tutorial, we’ll be modeling a low-poly version of our Astrodog, but the process outlined here is applicable to any creature or character you would like to create. Let’s get started!
Set up Quick Keys and shortcuts for Blender on your iPad
Before we get into modeling, we will want to make sure we have the relevant quick keys and shortcuts to streamline our workflow. If you’re new to using Blender on your iPad, check out our guide for setting up Quick Keys and gesture shortcuts in Astropad Studio:
For reference, here’s how I have my Astropad Studio workspace organized for creating character models on my iPad:

Now that we have our Astropad Studio workspace perfected, it’s time to dive in.
Add a reference image
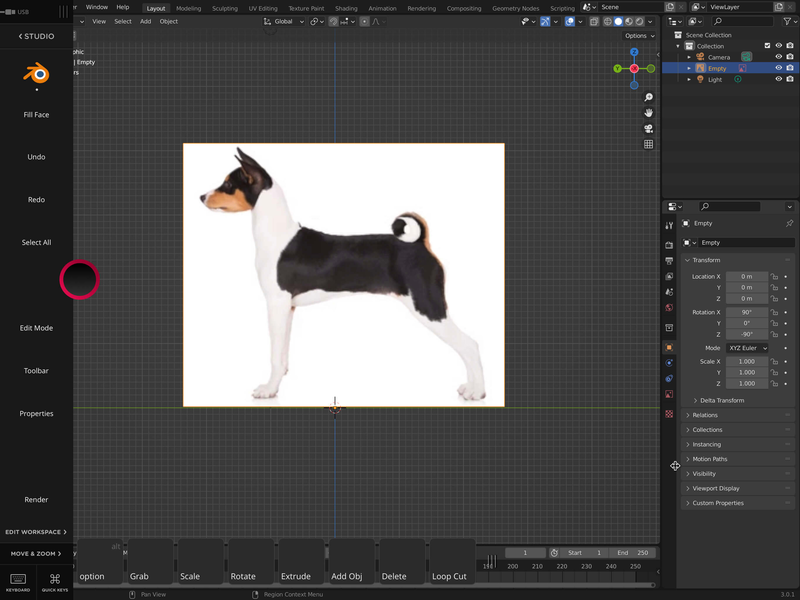
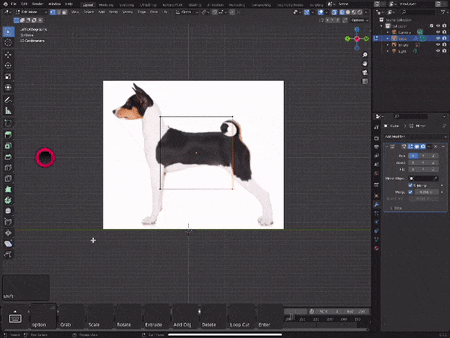
When you first open Blender, there will be a cube object, a camera, and a light source. For now, we are going to remove the cube so we can import a reference image unimpeded.
For my reference image, I will be using a simple stock image of a dog’s side profile view for the basic structure of the model I want to create.
How to upload a reference image in Blender:
- Tap your Shift+A (Add) quick key
- Tap Add Image and choose your reference image.
- For the sake of symmetry, it is recommended that you line up the paws or feet of your reference image with the green Y-axis line, and this will be considered the “floor” that our model will be standing on.
Prepare the cube for modeling
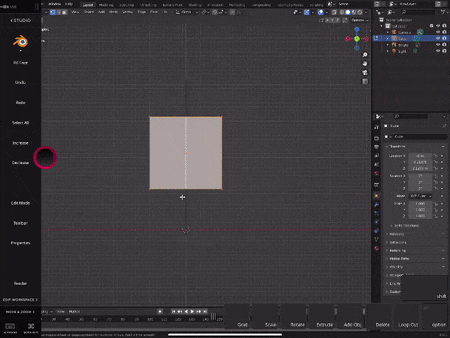
Now that we have our image in place, we will want to add a cube mesh back into our scene and prep it for modeling:
- Tap Add Object (Shift+A) and “Add mesh” → Cube mesh
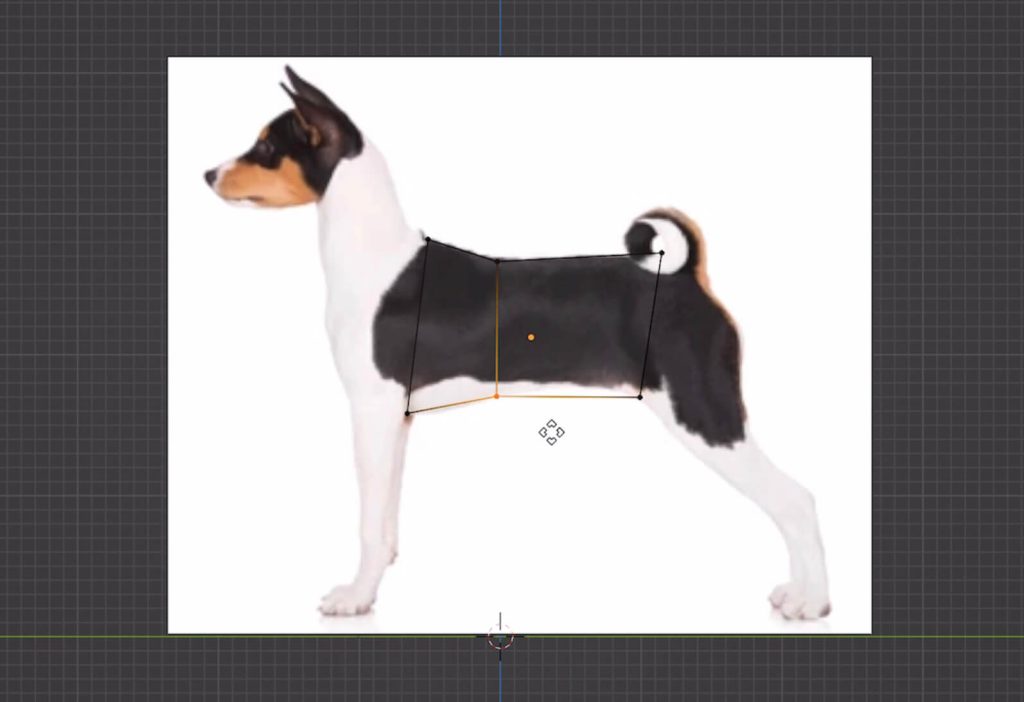
- Center the cube in the middle of your reference image using Grab and One-Finger Tap+Pencil Hover gesture.
Once we have the cube in place, we will set one side of it up to be a mirror so that we will have a completely symmetrical model when we start molding it to the shape of our image. To do so:
- Switch your view to the front of the Y-axis using the quick view buttons in the top right of your scene.
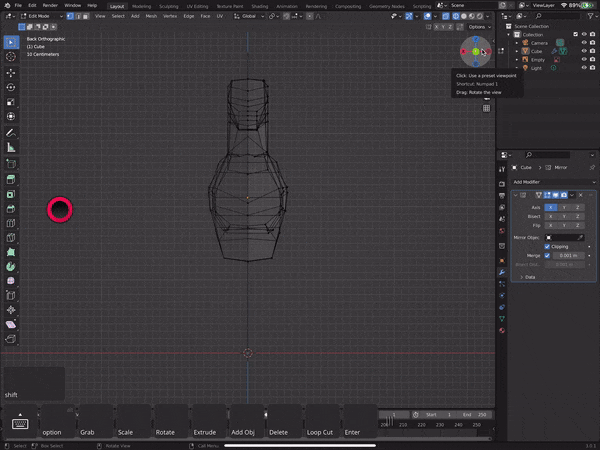
- With your cube selected, switch to Edit Mode using Tab or the Edit Mode shortcut.
- Create a Loop Cut in the middle of the cube by tapping our Ctrl + R or Loop Cut quick key. This will create what looks like a slice in the middle of the cube, splitting it in half.
- Select the vertices on the left side of the cube mesh by dragging your pencil across the left side of the mesh. You may need to rotate your view to select all of them, but remember to use the quick view buttons to snap back to the front.
- Tap X (Delete) and tap Vertices in the menu that appears. This will delete the left side of the cube.
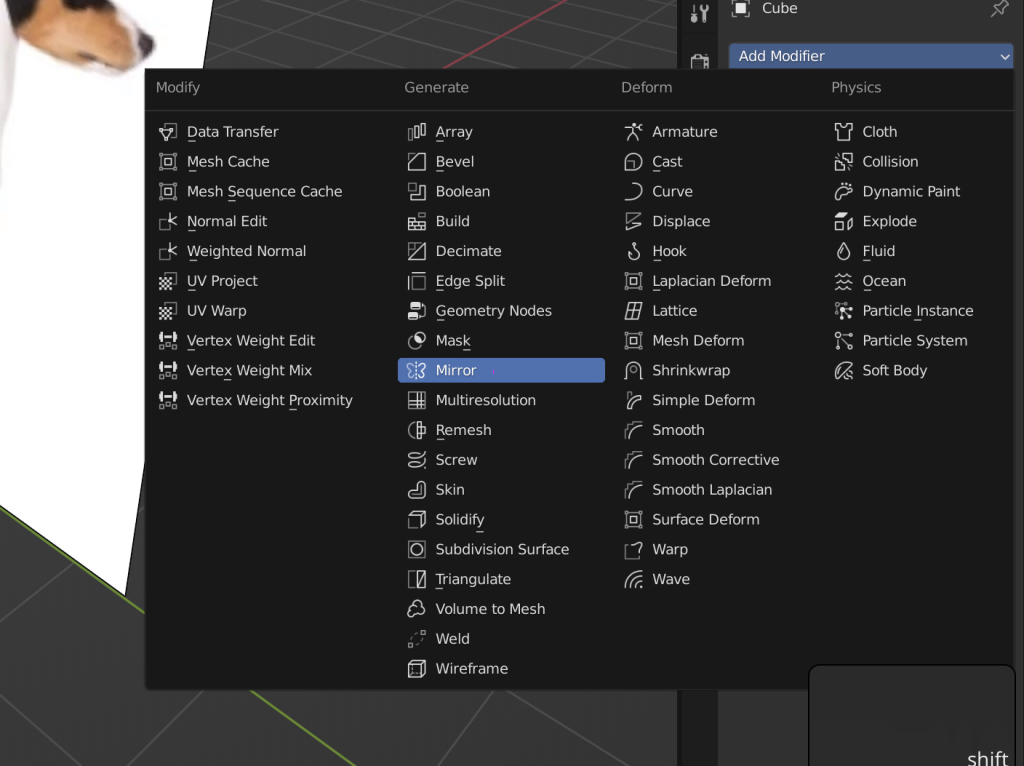
Now that we have just the right side of our cube, we will want to add the Mirror Modifier to it. This will give us the right side of our cube back, and this right side will automatically reflect any change we make to the left side.
The Mirror Modifier will be located on the right side of Blender’s screen in the toolbar. Tap on the Wrench symbol 🔧 while the left side of the cube is selected and select the Mirror Modifier. Be sure to check “Clipping” in the modifier toolbar as well.
We should now see a complete cube, but for the remainder of this tutorial, we are still only going to focus on the right side, and everything we do to it will also appear on the left!
Time to Model
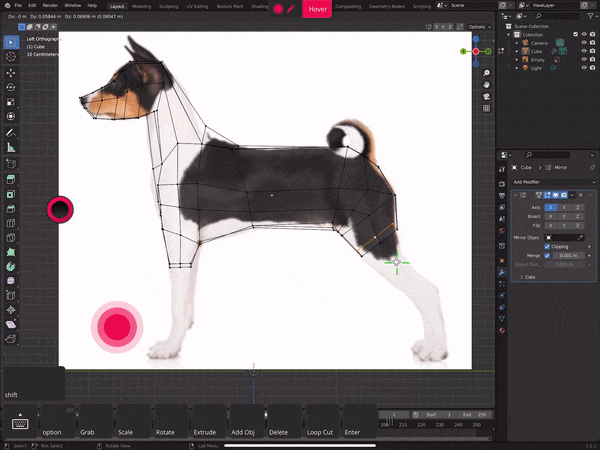
Ensure you are once again facing the front of your reference image, and switch to Wireframe Mode using our Shift+Z or Wireframe shortcut. This will hide the faces of our cube so that we can focus only on vertices and edges.
From here, we will select each visible vertex individually and drag them to encompass the abdomen of our character:
- Select the vertex you want to move
- Tap the Grab quick key
- Hold your finger down on the screen and use your pen to move the vertex. This will use the Hover gesture in Astropad Studio.
- Hit Enter to confirm the placement.
Add another edge in the middle of this shape through a Loop Cut (Ctrl + R) and use the vertices on this edge to refine the shape of our model.
Animals aren’t just squares, so we are using this extra edge and set of vertices to add any curves that are along the stomach and back.
Next, select the left-most edge and vertices and Extrude them (E). This will copy and extend the selected vertices outward. We will be using this to create the neck and head shape of our dog model. We will repeat the process with the right side, using Extrude (E) and selecting/moving individual vertices to follow the shape of the model.
Around the legs, we will be adding a loop cut in the middle of each portion above the legs to provide more vertices to create more intricate shapes as we move down since there are more moving parts when it comes to the legs and feet of creatures.
Round out the body
Next, switch to a view that encompasses the full model while still in Wire Frame mode. This kind of view would be around the top of the model. We are going to round out the model by selecting the edges along the portions of the model that need size variation. For a dog, this will be along the abdomen, neck, head, and haunches.
- With the edge selected, tap the Grab quick key.
- While holding your finger on the screen, use the Apple Pencil to now push these edges inward.
- Once the edges are in place, we can then select individual vertices and refine the shapes we’ve blocked out by moving our edges around.
We will further round things out by selecting the whole bottom edge of our current shape (Ctrl + Right click) and dragging it upwards using Grab. Do the same for the top edge.
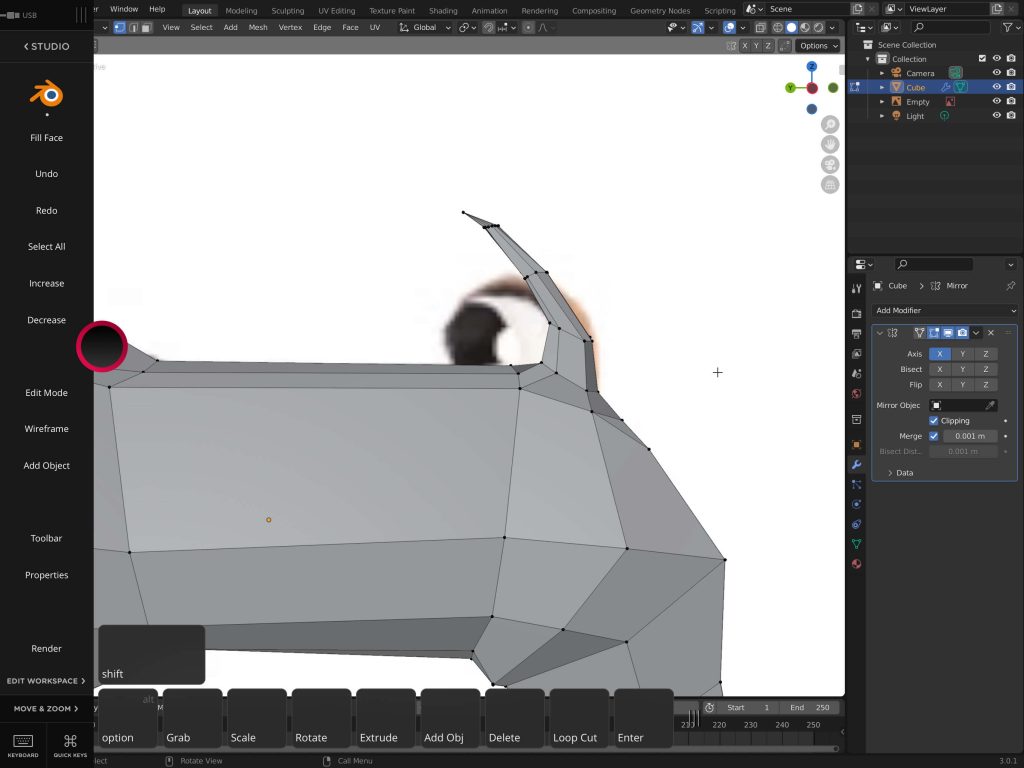
Add Legs
Select the bottom faces where the legs would be on the body we’ve built. The selected areas should be on either side of the loop cuts we made earlier. Extrude down and push the edges inwards to create a tapered shape, like a dog’s leg. Create loop cuts where dramatic curves happen on the leg, select the edge/vertices, and Scale (S) these down.
As we are building these legs out, you may notice the legs stick out a bit awkwardly to the sides. We can switch to a front view and select each layer of vertices and move them inwards to reflect how a dog would normally stand, repeating this for the back legs.
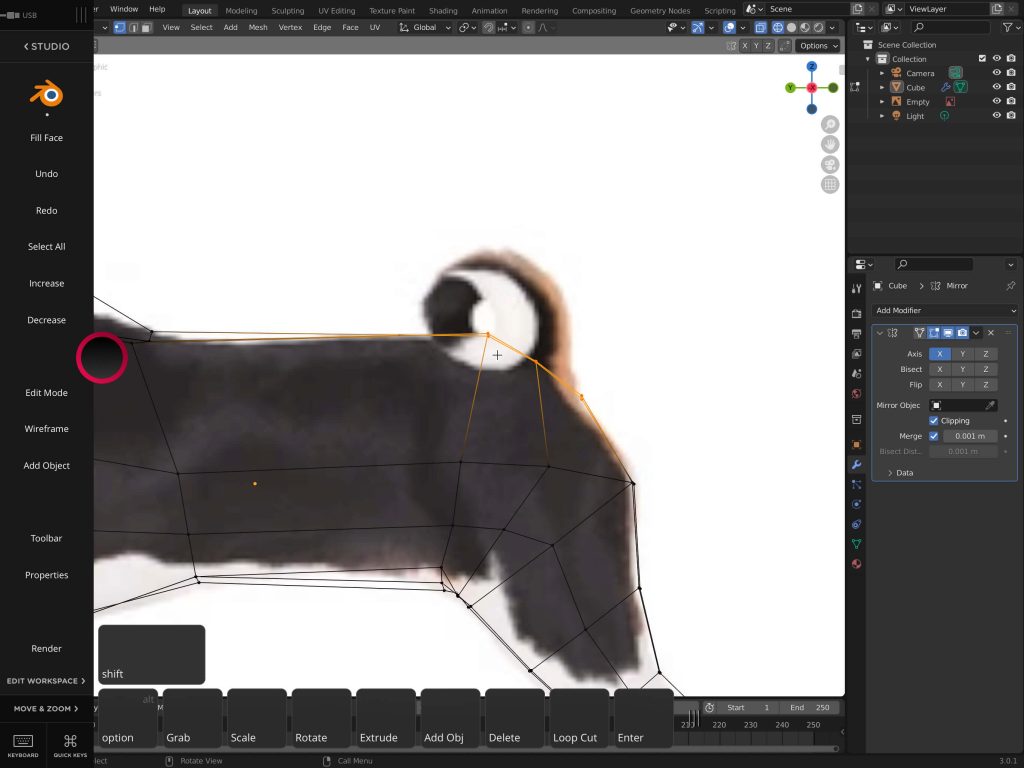
Create some ears
Use extrude and loop cut to create the shape of a head on the 2D side view we used previously, extruding from the front portion of the model. Then, as we did with the body, we want to round things out using the Hover gesture and Grab quick key to position the edges to reflect the tapered snout of a dog.
Create ears using extrude, and then scale down each extruded section until you get the ears to a point. Then, with the last extruded vertices selected, tap Merge (M). This will reduce the four vertices down to one, creating a true point.
While still in Edit Mode, enter Face Select mode by tapping the button for it in the header area. Then, select the front face of the ears and delete it. This will create a hollow, more realistic shape for the ears. With the edges surrounding the bottom of the ears selected, use Fill Face (F) to fill in the bottom of the ear so there are no holes left in our mesh from deleting that face.
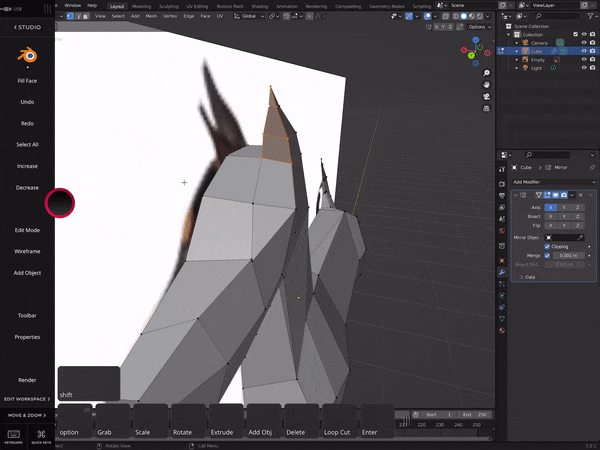
Add a tail
At the top of the haunches of the model, select the square area where a tail would normally be. It will be a rather large area, so we will create a loop cut in the selected area to split it up and create a more realistic base for the tail.
- With our area downsized by the loop cut, select the vertices/edges in this smaller area and extrude it.
- Scale down the extruded vertices/edges to start creating a tapered shape for the tail. Repeat this around 2-3 times with each extrusion being scaled smaller until a point is created.
- Merge the last vertices to create a true point and reduce the margin for error when we create a slight curl in the tail.
- Select and Grab each section to slide it slightly to the left. This will create the slight curl we normally see with a dog’s tail. It should end up looking similar to the image below.
Finishing up
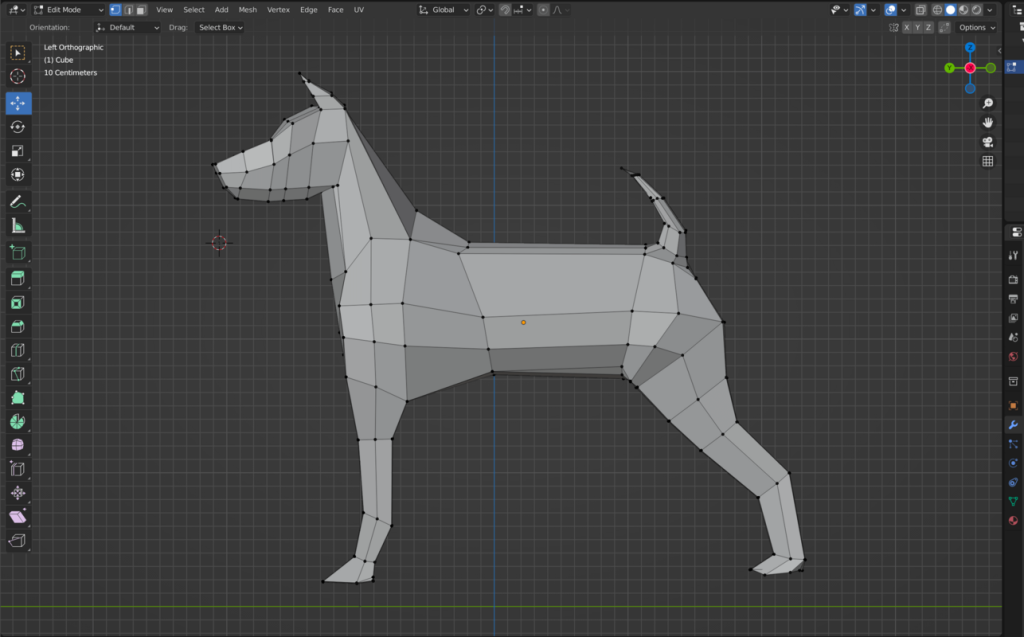
Once you have all parts of the model built out, make any adjustments needed to the proportions of the limbs or the angle of your edges and you are done!
From here you can apply additional modifiers to it such as smoothing and texture, and you can even go a step further to rig a moveable skeleton for your model.
Get started today with Blender on your iPad

Get the most out of Blender with your iPad! Try out Astropad Studio with our free 14-day trial. No commitments, cancel any time.
- Mirror any desktop app on your iPad
- Compatible with Mac and PC
- Build your own shortcut panel, custom gestures, and custom quick keys
- Utilize pressure-sensitive and precise sculpting and painting
- Connects over WiFi or USB cable