Are you looking for more variety in your Photoshop brushes? It’s easy to make your own custom brushes for Photoshop!
Custom Photoshop brushes can be made using images, shapes, or brush strokes. You can even turn traditional tools like ink and paint into custom Photoshop brushes.
There are two methods to create custom brushes in Photoshop, and we’ll go over each of them in this step-by-step guide:
- Method 1: Create a custom Photoshop brush with the “Brush” tool
- Method 2: Create a custom Photoshop brush with traditional media
For this tutorial, I’ll be using the desktop version of Photoshop on my iPad with the help of Astropad Studio. Let’s get started!
How to create a custom Photoshop brush with the “Brush” tool
1. Start with a Photoshop canvas
You can really use any canvas size to get started creating custom brushes in Photoshop. However, for best results, I recommend working on a larger canvas. When you create custom brushes using a larger pixel size, the details tend to be more visible and stay intact when you resize the brush.
2. Make a new layer
In Layers, make a new layer without a background. This helps make selecting the new shape easier.
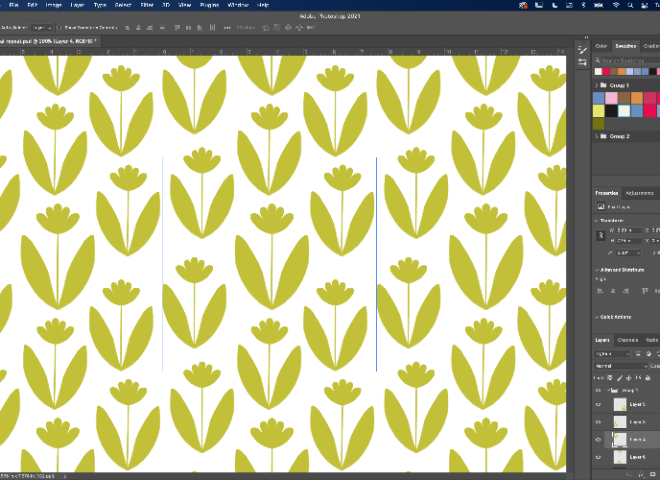
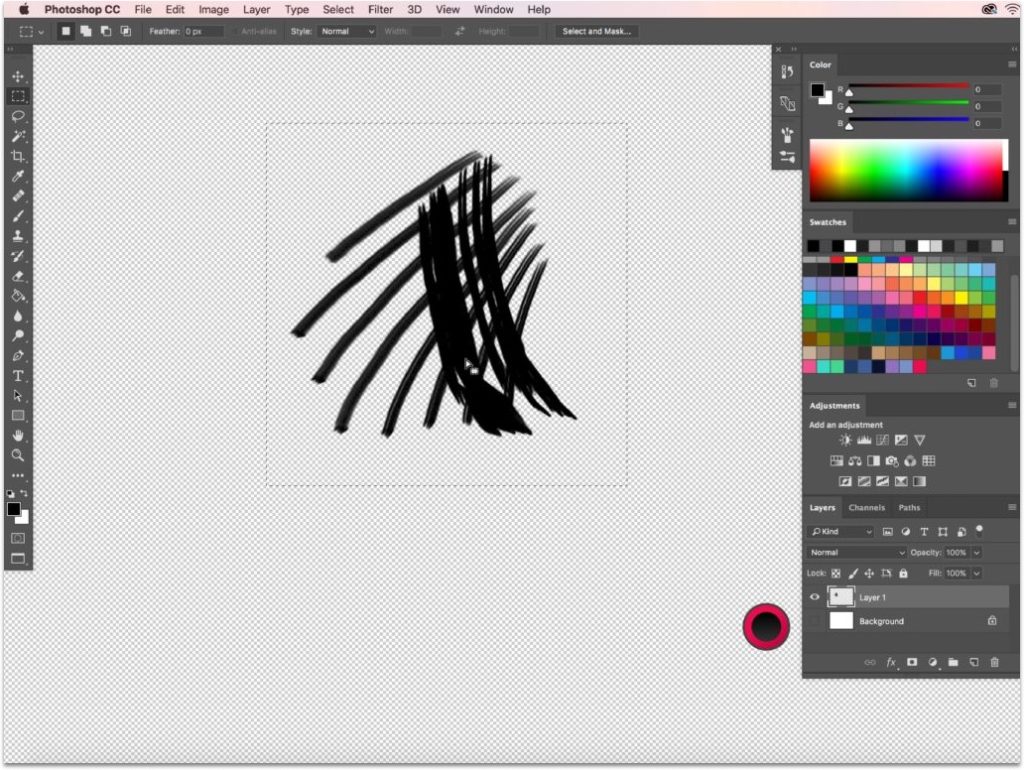
3. Draw or place an image
For custom Photoshop brushes, you can work with a file or drawing that has color, but the image will translate to black and white (wherein the black or color variation becomes the brush pattern).
For best results, play around with the contrast of the image to get a better idea of the results.
4. Select your object
Use the selection tool to select the object you want to use for the brush.
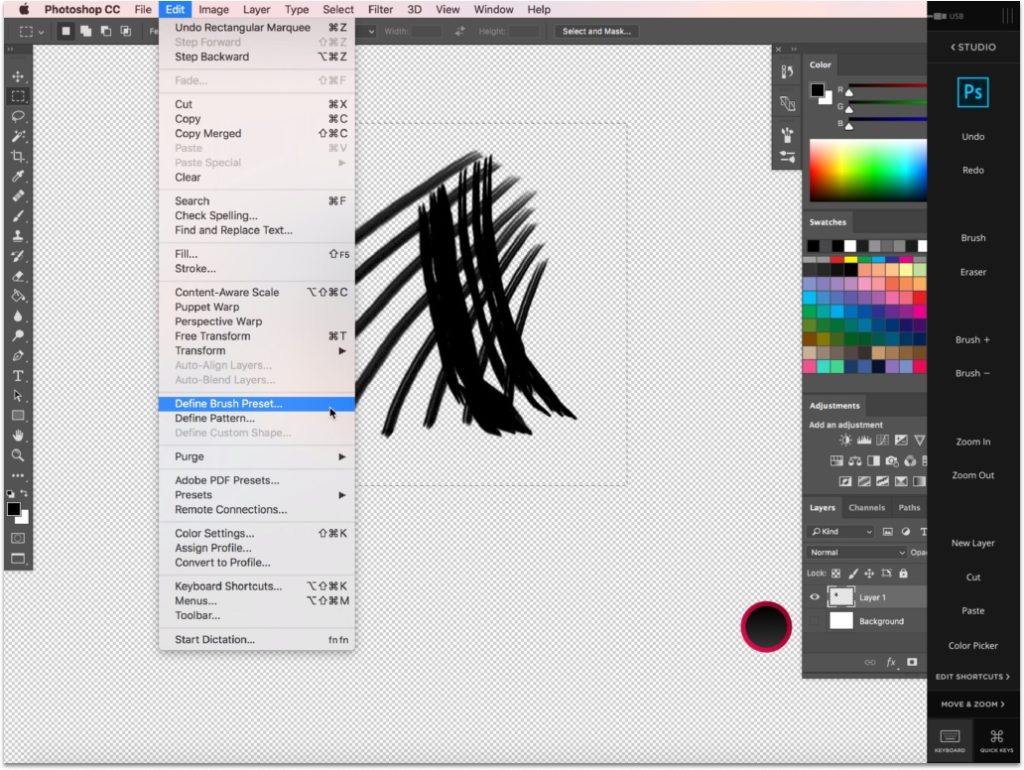
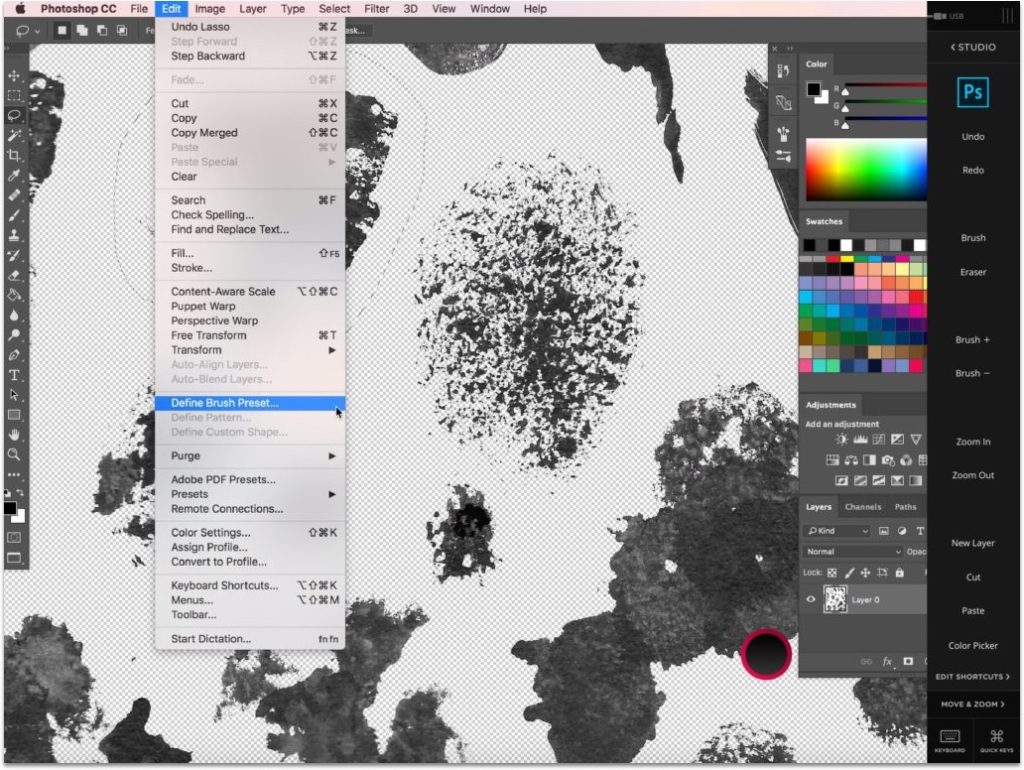
5. Choose “Define Brush Preset’
Then go to Edit in the top bar menu, and choose Define Brush Preset.
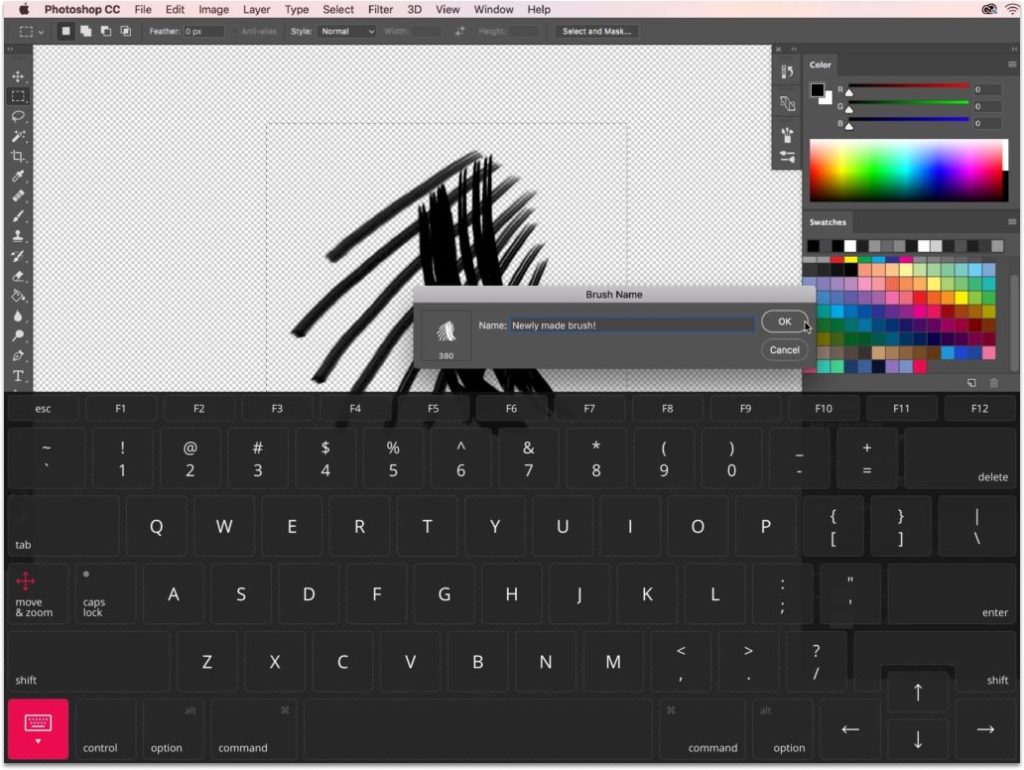
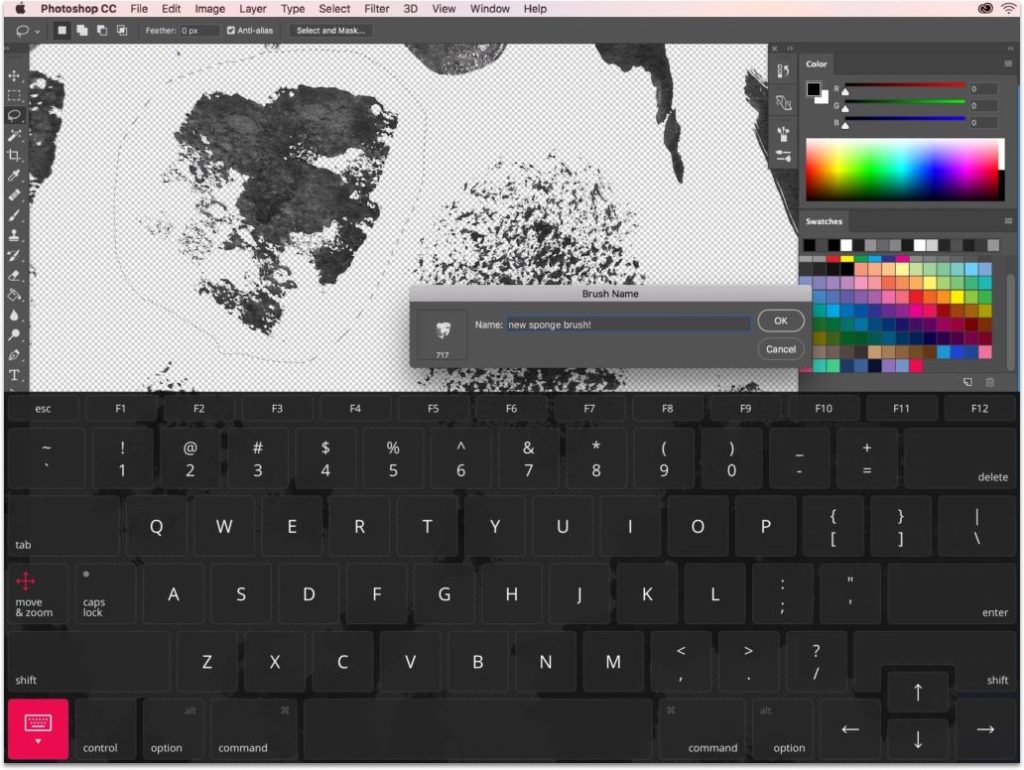
6. Name your custom brush
Give your new custom Photoshop brush a name. Then it will be added to your Brush Preset list.
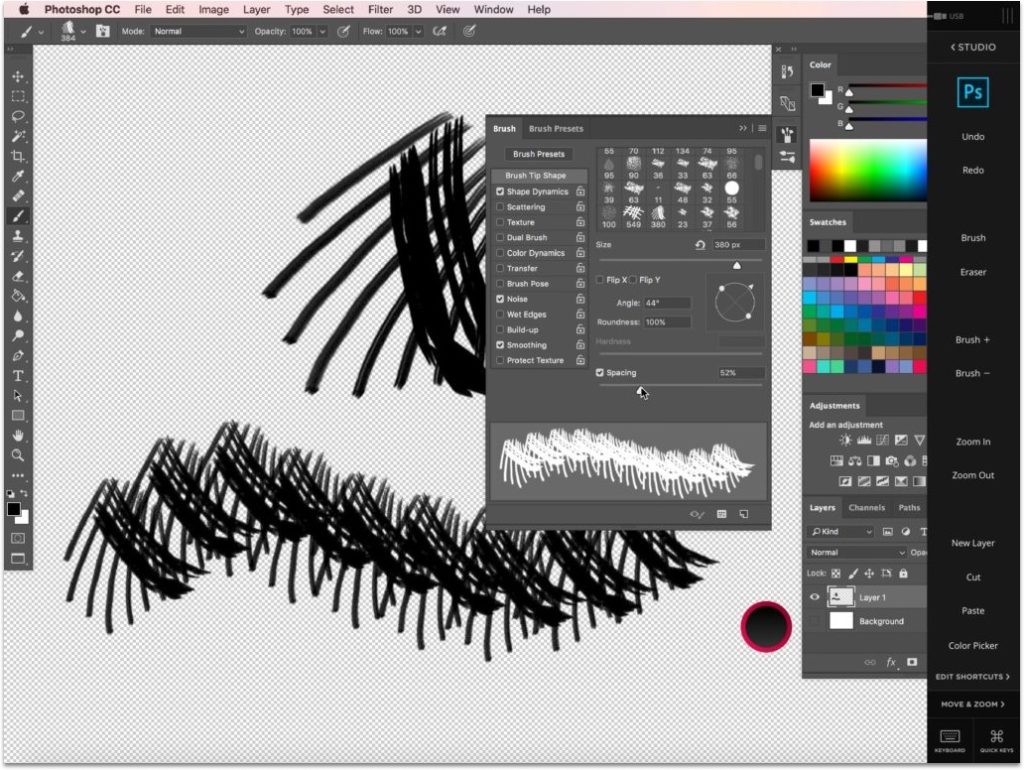
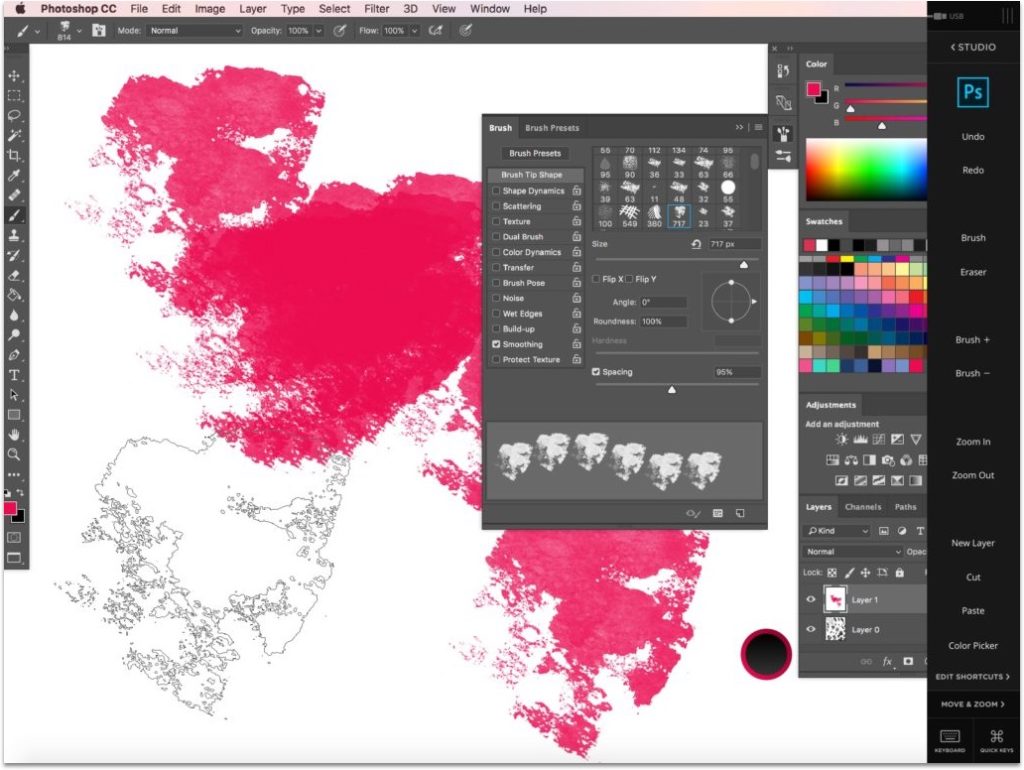
7. Make adjustments to your custom brush
Congratulations! You’ve just created your first custom Photoshop brush.
You can now further adjust your brush in the Brush panel. Change the angle, add spacing — anything you want!
How to create a custom Photoshop brush with traditional media
1. Using paper, make strokes, blobs, and shapes
You can use anything to experiment with finding new textures for your custom Photoshop brushes. Play around with using old sponges, inks, pens, paints, and pencils. Grab a piece of paper and make an assortment of strokes, blobs, and shapes.
👉 Feeling stiff? Try these 12 drawing warm-up exercises.
Once your blobs are dry, scan the paper with a scanner, or take a good photo using your phone. It’s important to get a clear, consistent background (a white or black background is best).
2. Open your file in Photoshop
After you create a file, open it in Photoshop.
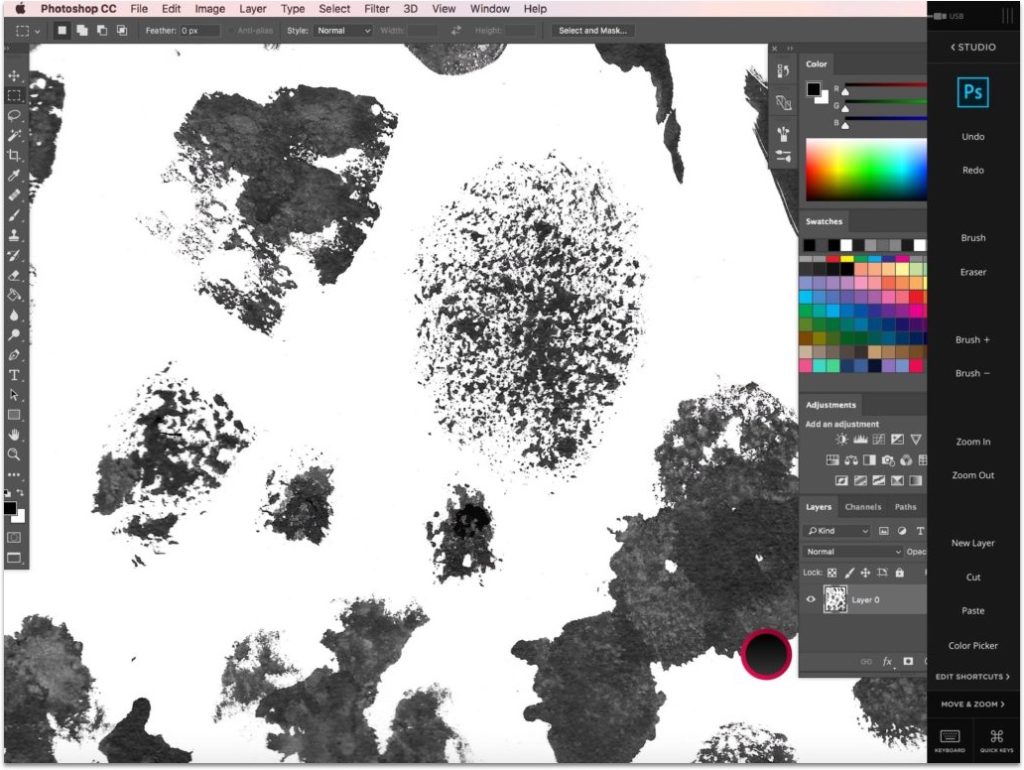
3. Remove the background color on your image
You’ll need to remove the background color in order to make your custom brush. The quickest way to do this is:
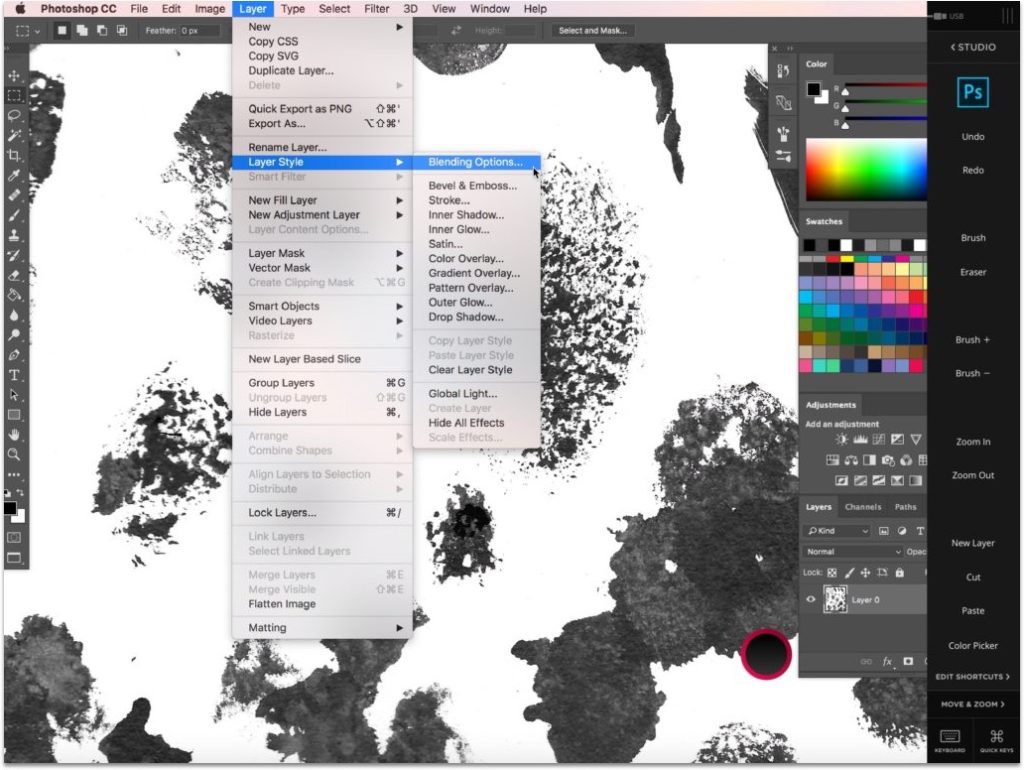
- Go to Layer in the top bar menu
- Select Layer Style
- Select Blending Options
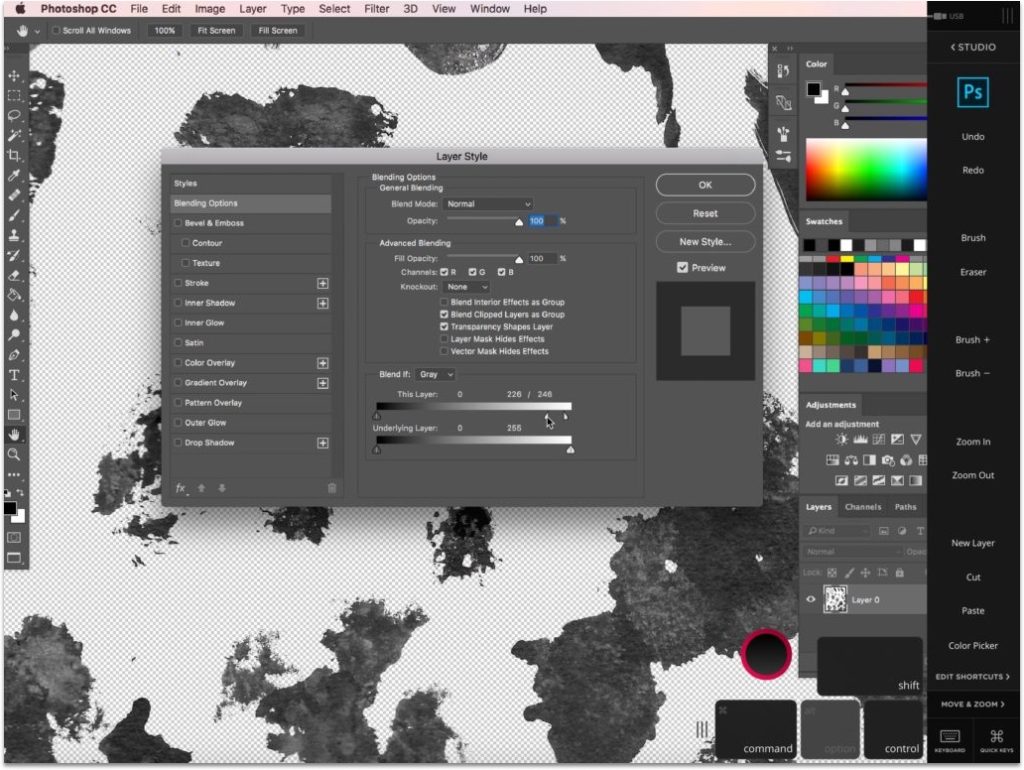
- In the Blending Options menu, go down to Blend If.
- Move the arrows along the gradient bar. If you have a white background, use the white arrow; if you have a black background, use the black arrow. Adjust the layer background until the background color is gone.
- Check to make sure the box next to Preview is checked, so you can see how your alterations affect the image.
- If the edges around your objects seem harsh, hold the Option/alt key to split the arrow. This will allow you to have more precision with blending.
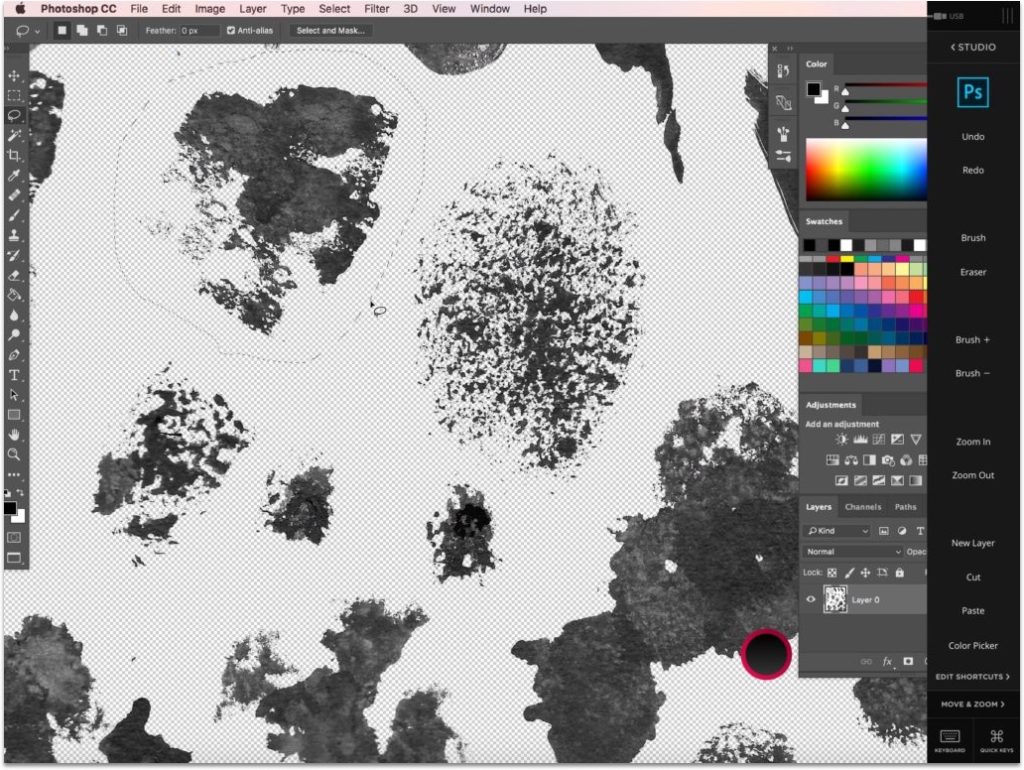
4. Select your object
After removing the background color, select your object with the selection or lasso tool.
5. Choose “Define Brush Preset’
Go to Edit in the top bar menu and choose Define Brush Preset.
6. Name your new Photoshop brush
Give your new custom brush a name. It will also be added to your Brush Preset list.
7. Save your custom brush
Now you have another new Photoshop brush for your toolkit!
Save all your custom Photoshop brushes in a folder. You can even make a materials library from photos, scanned smudges, or happy accidents. Have an arsenal ready for when inspiration strikes! See what you can create by adding your own artistic touch to Photoshop.
Get started today with Photoshop on your iPad
Use the full desktop version of Photoshop on your iPad! Try out Astropad Studio with our free 14-day trial. No commitments, cancel any time.

- Mirror any desktop app on your iPad
- Compatible with Mac and PC
- Build your own shortcut panel, custom gestures, and custom quick keys
- Utilize pressure-sensitive and precise sculpting and painting
- Connects wirelessly or over USB cable