Hey there, it’s Kayla Ann! I’m an artist and illustrator who uses Astropad and Luna Display to create my vintage-inspired digital art.
Animated lettering is becoming a popular trend in the digital arts community. Bouncing, squiggly letters with a hand-drawn feel give digital art pieces and social media posts a human touch. Today I’ll be guiding you through an animated lettering project using Procreate. Let’s get started!
Step 1: Open a canvas in Procreate
On your iPad, open Procreate to create a new project. I’m going to be using a 2000px by 2000px square canvas, but any size will do!
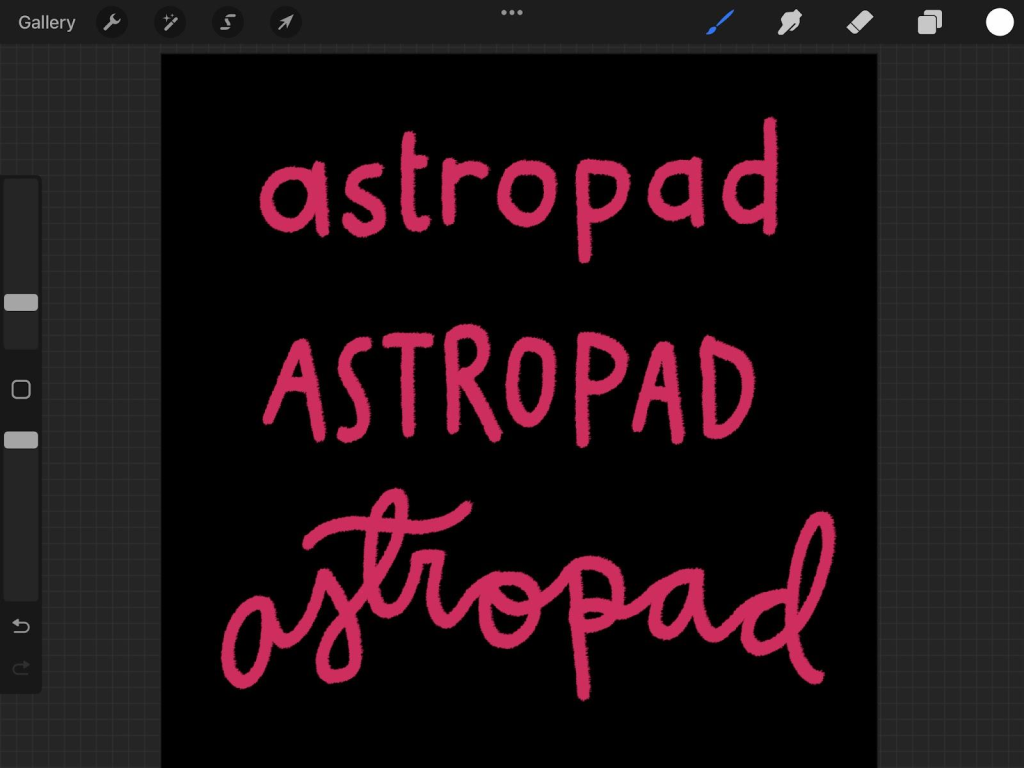
Step 2: Draw your first layer of lettering
Pick your favorite brush to use. Feel free to play around with the size, opacity, spacing, and jitter to customize the brush to your texture preference.
Open up a new layer and start sketching. Play around with different lettering styles and brushes. I like to use cursive and uppercase, as this gives the lettering a retro, hand-drawn feel.
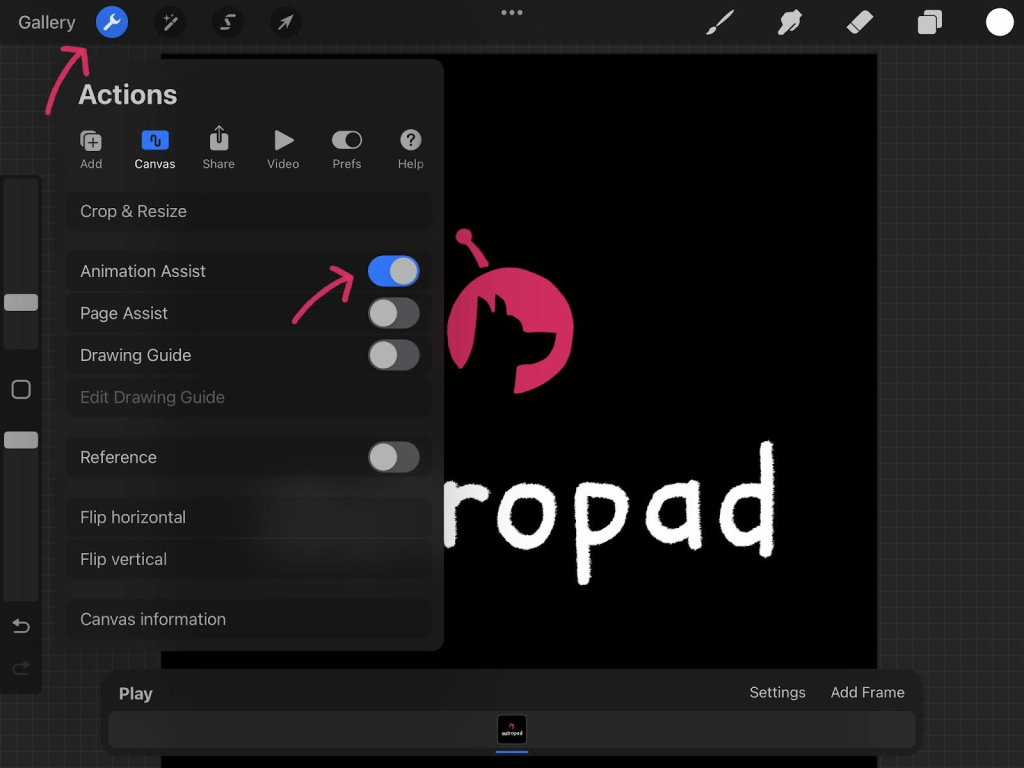
Step 3: Engage “Animation Assist” and create your first frame
In the top left toolbar, select the Tool icon. Then select Canvas > Animation Assist. This will open up the Animation toolbar at the bottom of your canvas.
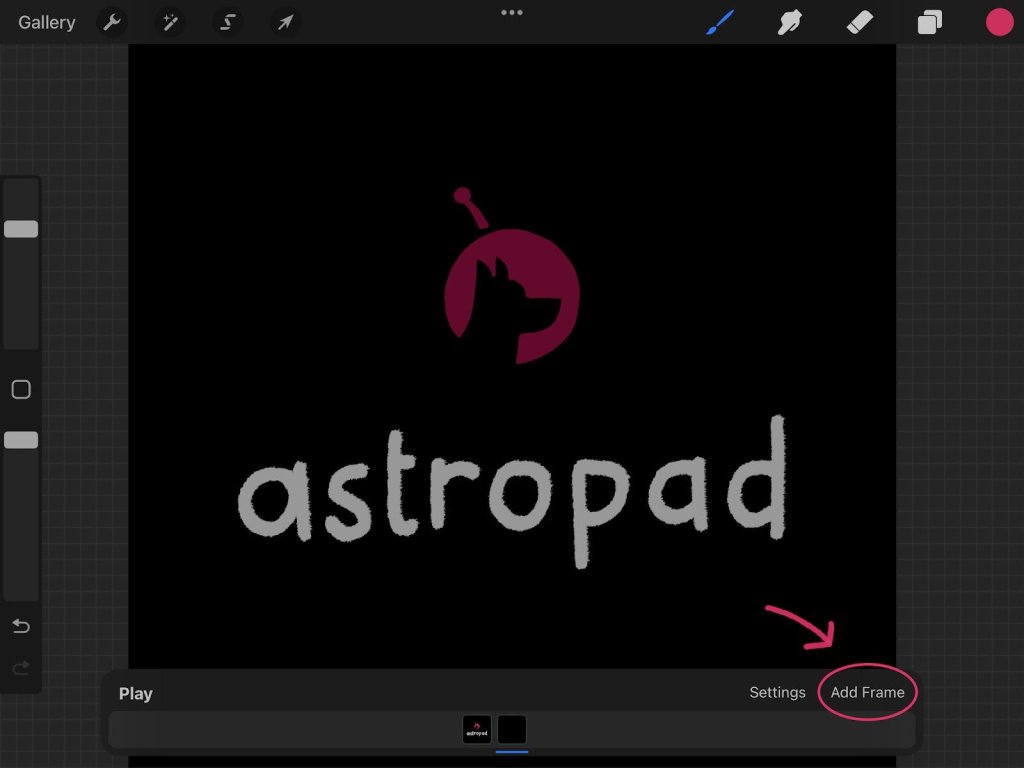
Step 4: Add three to four animation frames
Start by adding a new frame. You’ll notice that the first frame will become opaque. This is what you want!
Now, trace over the lettering in the first frame. Try to be exact, but a little difference in the strokes will add personality to the animation. Repeat this step until you have three to four total animation frames.
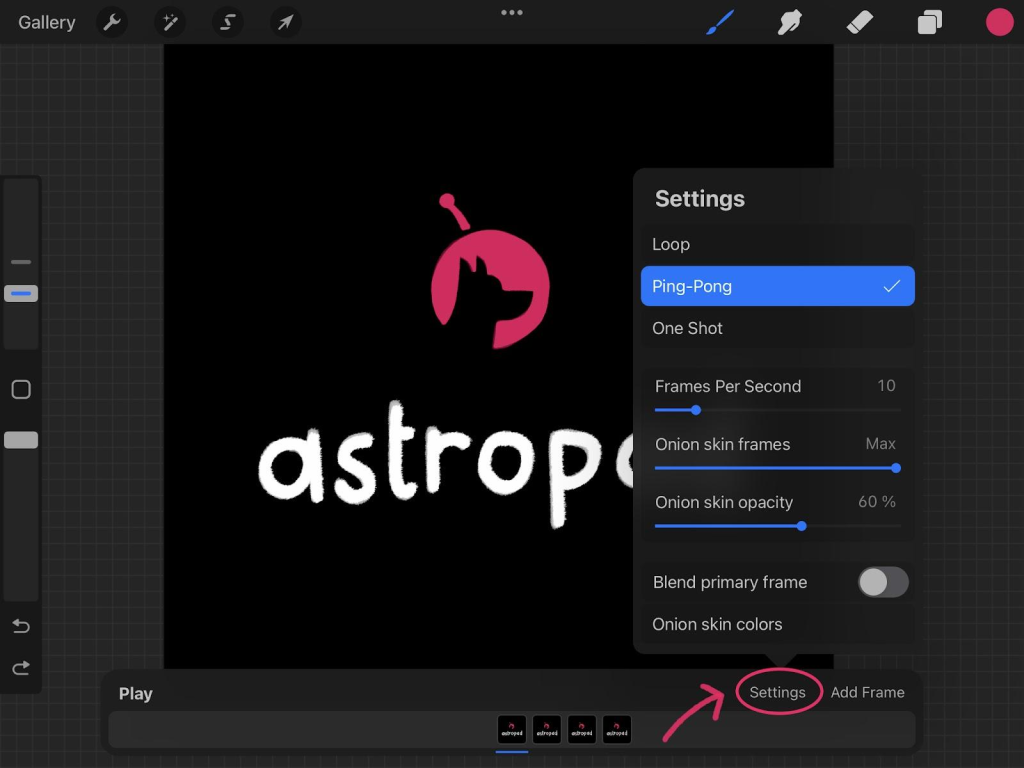
Step 5: Play your animation and adjust the settings
After you have added as many frames as you’d like, click the play button. You’ll notice the animation is moving fairly fast! I like to slow it down a bit, and also have it ping pong instead of loop. This creates a more organic movement in the animation.
In my animation, I have 10 frames per second selected. Tailor the settings to your own personal preference.
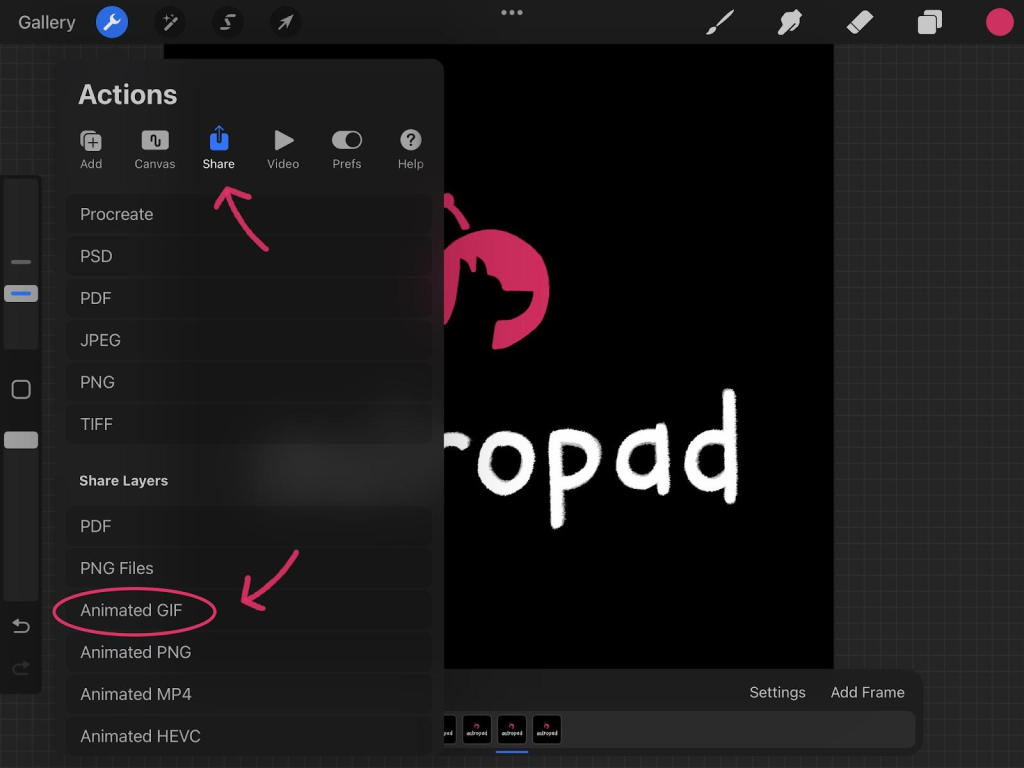
Step 6: Export as an Animated GIF
Under the Tool symbol click Share > Animated GIF > Export. You can now share your animated GIF to your computer, phone, or with anyone you’d like! To use as an overlay on video, export with a transparent background.
Here is what my final GIF looks like. I love how organic and natural the movement of the lettering is:
Let me know if you have any questions about hand-lettering or animation via Procreate. Tag your projects with the hashtag #astropad so I can see what you create!