Is your Apple Pencil acting up or suddenly unresponsive with your iPad? Don’t worry! You’re not alone, and in most cases, it’s a quick fix.
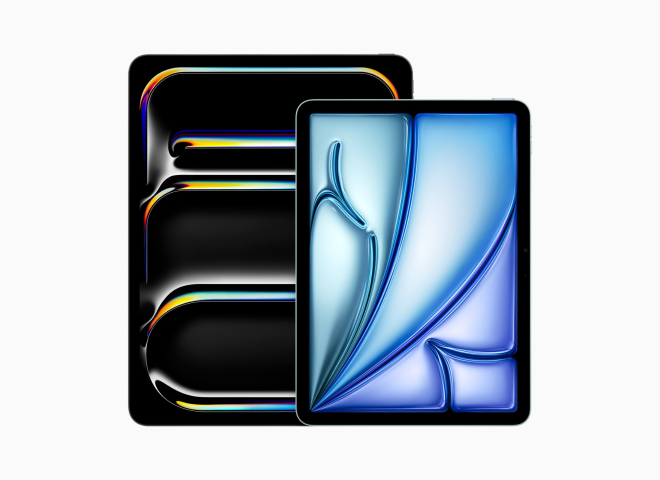
Whether you’re using the Apple Pencil (1st gen), Apple Pencil (2nd gen), Apple Pencil USB-C, or the new Apple Pencil Pro, this guide will help you get things working again.
What to do when your Apple Pencil isn’t working
There are three main steps to troubleshoot your Apple Pencil:
- Charge the battery
- Reconnect to your iPad
- Force re-pair the Pencil
Let’s walk through each one.
1. Charge your Apple Pencil battery
A dead battery is the most common reason your Apple Pencil might stop working. If you’re unsure whether your Pencil has charge, follow the instructions below and give it about 10 minutes to power up before trying again.
How to charge your Apple Pencil:
- Apple Pencil (1st gen): Remove the cap on the end and plug it into the iPad’s Lightning port.
- Apple Pencil (2nd gen): Snap the flat edge of the Pencil to the magnetic side of your iPad.
- Apple Pencil USB-C: Slide open the cap to reveal the USB-C port. Use the included USB-C cable to connect it to your iPad’s USB-C port.
- Apple Pencil Pro: Just like the 2nd gen, attach it magnetically to the side of your iPad.
Let your Pencil charge for about 10 minutes, then test to see if it’s working again.
💡 Tip: Want to check your battery level? Here’s how to view Apple Pencil battery on iPad →
2. Reconnect Your Apple Pencil
Still not working after charging? Your Pencil may have lost its connection to your iPad.
Try these steps to reestablish the connection:
- Toggle Bluetooth: Go to Settings > Bluetooth, turn it off, wait a few seconds, then turn it back on.
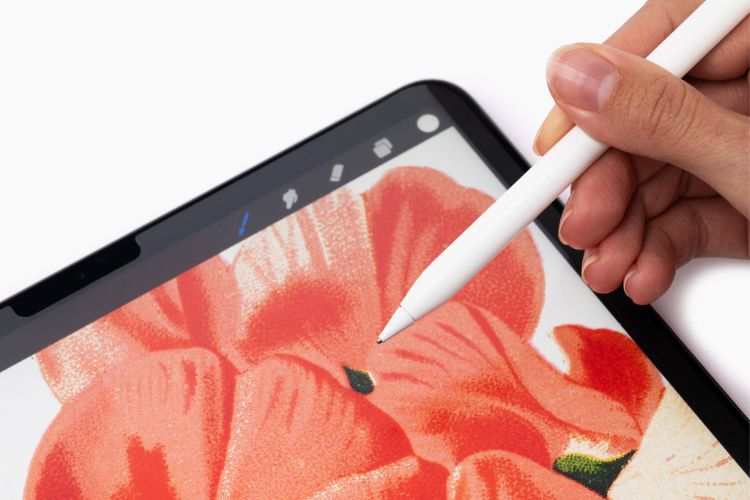
- Check the nib: Make sure the tip of your Apple Pencil is tightly secured. If you’re using a third-party nib (like Rock Paper Pencil), double-check that it’s twisted on properly.
3. Force Re-Pair Your Apple Pencil
If charging and reconnecting didn’t help, it’s time to force a fresh pairing.
Here’s how to do it:
- Charge your Apple Pencil for at least 1 hour using the instructions above.
- Open Settings > Bluetooth, find your Apple Pencil under “My Devices,” and tap Forget This Device.
- Re-pair your Pencil using the instructions below:
How to re-pair your Apple Pencil:
- 1st gen: Plug the Pencil into your iPad’s Lightning port and tap Pair when it appears.
- 2nd gen / Pro: Attach the Pencil to the side of your iPad. A pairing notification will pop up.
- USB-C: Connect the Pencil to your iPad using the included USB-C cable. Slide open the cap on the Pencil, plug in the cable, and tap Connect when prompted.
Once you’ve re-paired, test your Pencil to confirm it’s working.
Need more help pairing your Apple Pencil to iPad? Check out the guide: How to Pair Apple Pencil with iPad →
📈 Eager to get the most out of your iPad and Pencil? Visit The Complete Guide to Apple Pencil →
Upgrade your Apple Pencil tip with Rock Paper Pencil
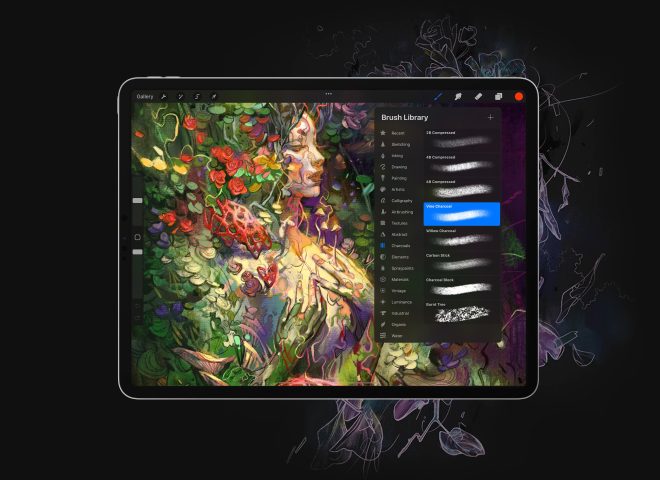
Now that your Apple Pencil is working again, make sure you have the right accessories to get the most from your iPad!
Rock Paper Pencil is a unique screen protector and Pencil tip pairing — designed for artists and notetakers.
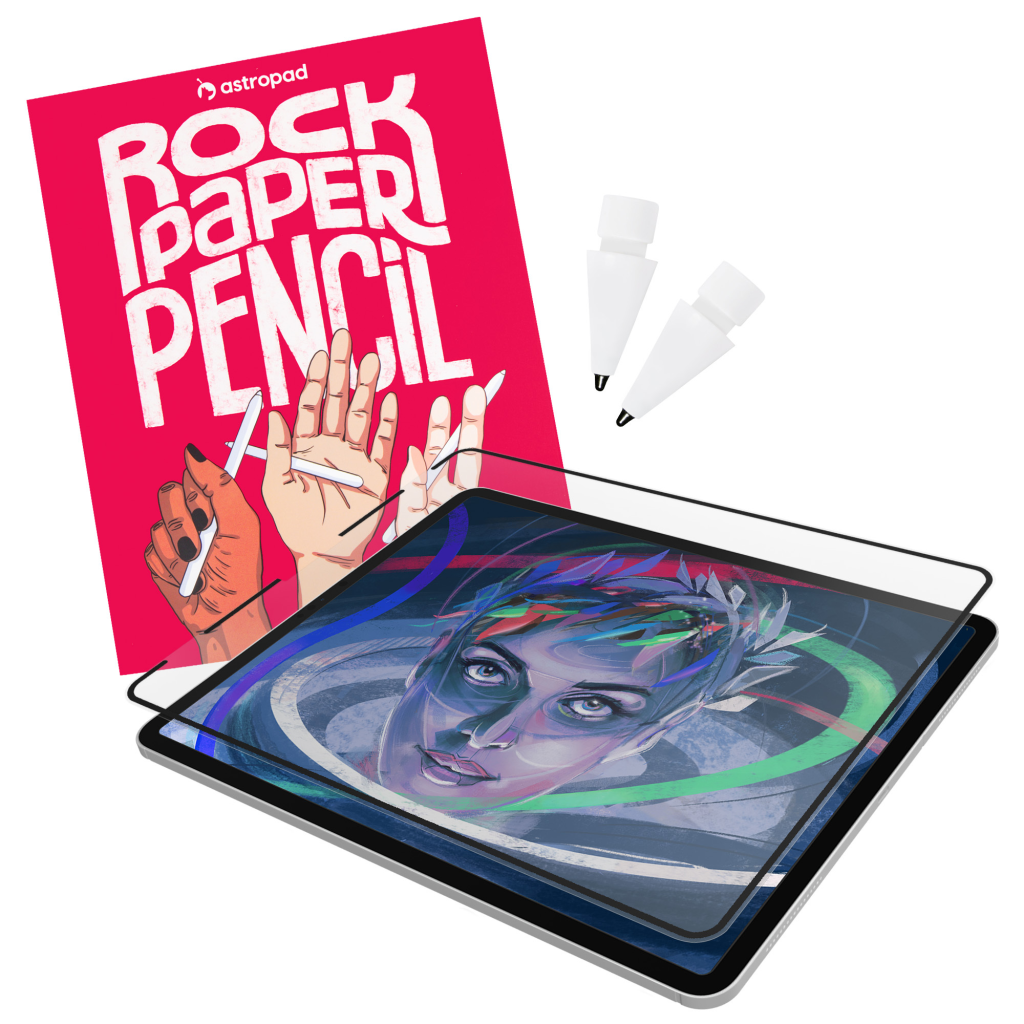
- Reusable iPad Screen Protector: Easy application, removable and reusable
- Matte Texture: Subtle friction mimics the feel of paper (no more slippery glass!)
- Precision Apple Pencil Tips: Smoother, more controlled strokes with the ballpoint Pencil tip
- Ditch the slip: On its own, the iPad’s glass screen is a slippery surface that creates an inconsistent drag on your Apple Pencil.
- Smoother, more precise strokes: Rock Paper Pencil adds subtle friction between your screen and Apple Pencil tip, giving you more control with each stroke output.