Procreate has a status for being one of the best apps for digital artists. Hobbyists and professional illustrators alike love this app, and not just because it ranks as one of the most affordable digital drawing apps on the market.
But like any app, Procreate takes a bit of time to master. To start your digital illustration journey on the right foot, we’ve outlined a few of the need-to-know Procreate basics and recommended some of our favorite video tutorials to help you get started!
The Need-to-Know Procreate Basics
Like all the best Procreate tutorials for beginners, we have to start with the basics.
Procreate Compatibility
Procreate is compatible with the following iPad models and Apple Pencils.
- iPad Pro 12.9-inch (1st, 2nd, 3rd, 4th, 5th, and 6th generation)
- iPad Pro 11-inch (1st, 2nd, 3rd, and 4th generation)
- iPad Pro 10.5-inch
- Apple Pencil (1st and 2nd generation)
Unfortunately for some, Procreate is only available on iOS. You can only access the full version of Procreate on your iPad, but there is a pocket version that is available for iPhones.
Procreate Cost
Procreate requires a one-off purchase of $12.99. Once the app is installed, you are free to use it forever at no extra cost.
Creating a Custom Canvas
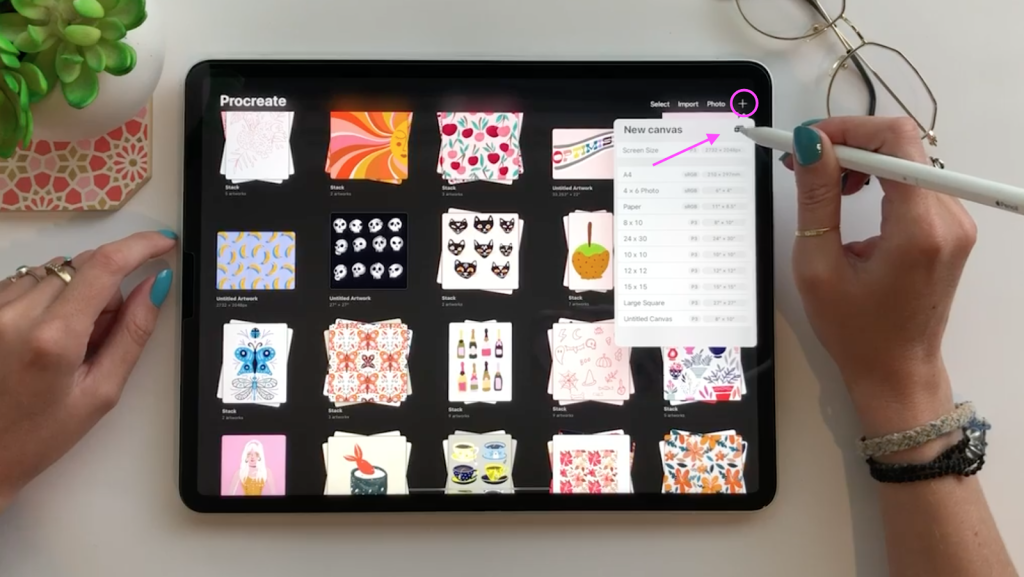
A Procreate tutorial for beginners would be incomplete without mentioning the first step to getting started, the canvas.
To create art, you need a canvas. Press the + symbol in the upper right-hand corner and either choose from a few preset sizes (such as A4) or create a custom canvas.
DPI Explained
Dots per inch (which translates to pixels per inch in the digital world) tells us how good the resolution is. The higher the DPI number, the higher the quality of the image. 300 DPI is the industry standard for printed and digital drawings, but you can afford to go a little bit lower if people will be viewing your art from a distance.
300 DPI allows you to zoom in and out and create small details without compromising the quality of the overall artwork. We don’t recommend going any lower than 125 DPI.
Organize Your Procreate Files
Once you have selected a canvas, you need to give it a name. The name does not make a big difference to the order of the canvases, because you can combine similar or related pictures into Stacks.
Most Procreate app tutorials fail to mention that Stacks only allow you to see the first picture in each collection, so you need to choose wisely!
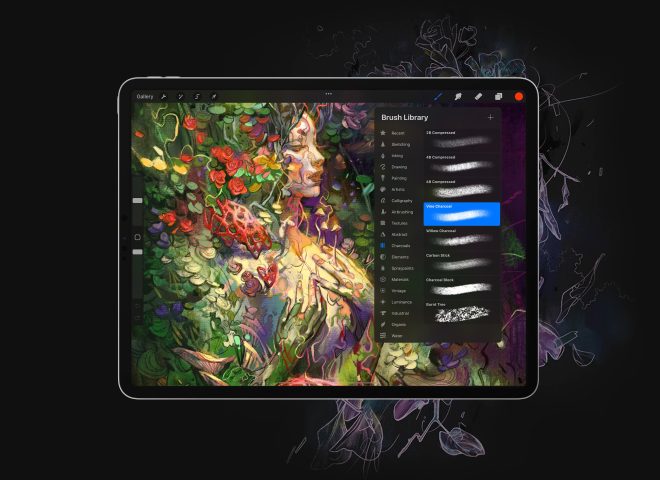
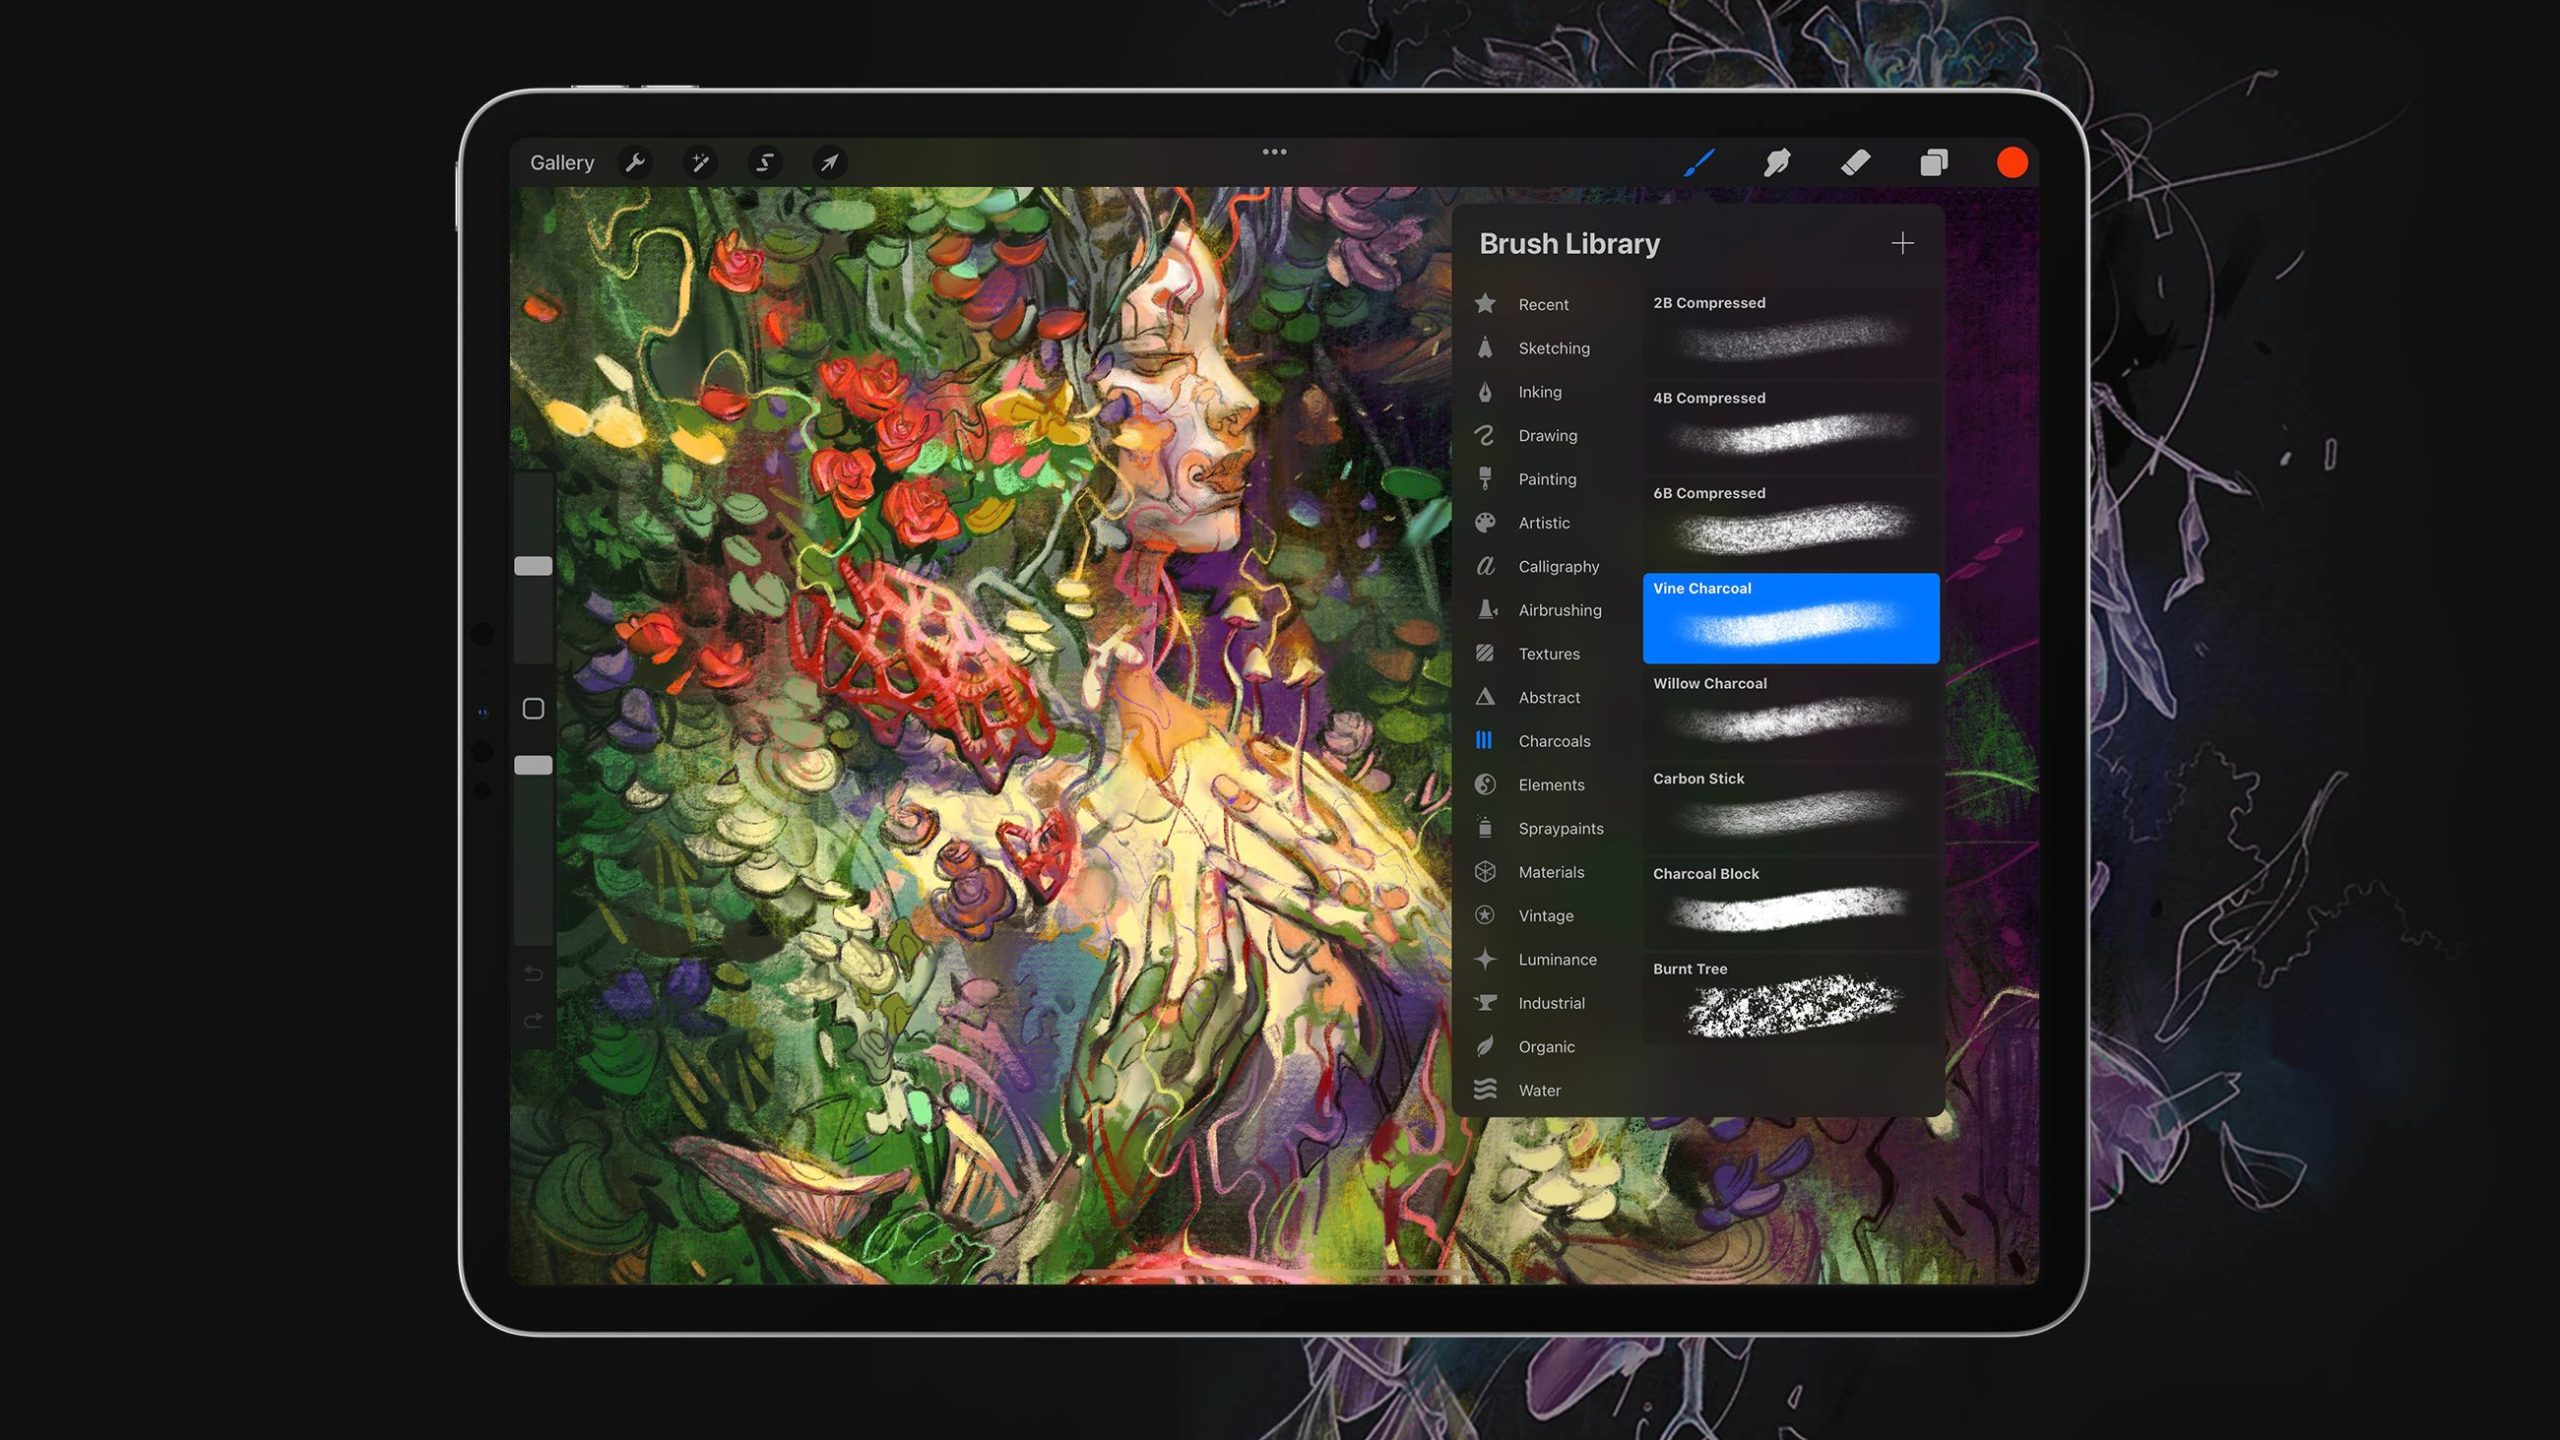
Brush Library
The Brush Library is located on the top right of your screen. It has dozens of options, including sketching, inking, drawing, calligraphy, and artistic brushes. On top of that, some brushes represent elements like smoke, flames, snow, rain, and more.
To select a brush, simply tap on it. You can use the two bars on the left side of the screen to alter the size and opacity. When you are ready to start using the brush, just tap the screen or the Brush Library button to see your full canvas.
Tired of drawing on your slippery glass screen? Get the most realistic pen-on-paper feel for iPad with Rock Paper Pencil – a reusable, paper-feel screen protector + ballpoint Apple Pencil tips.
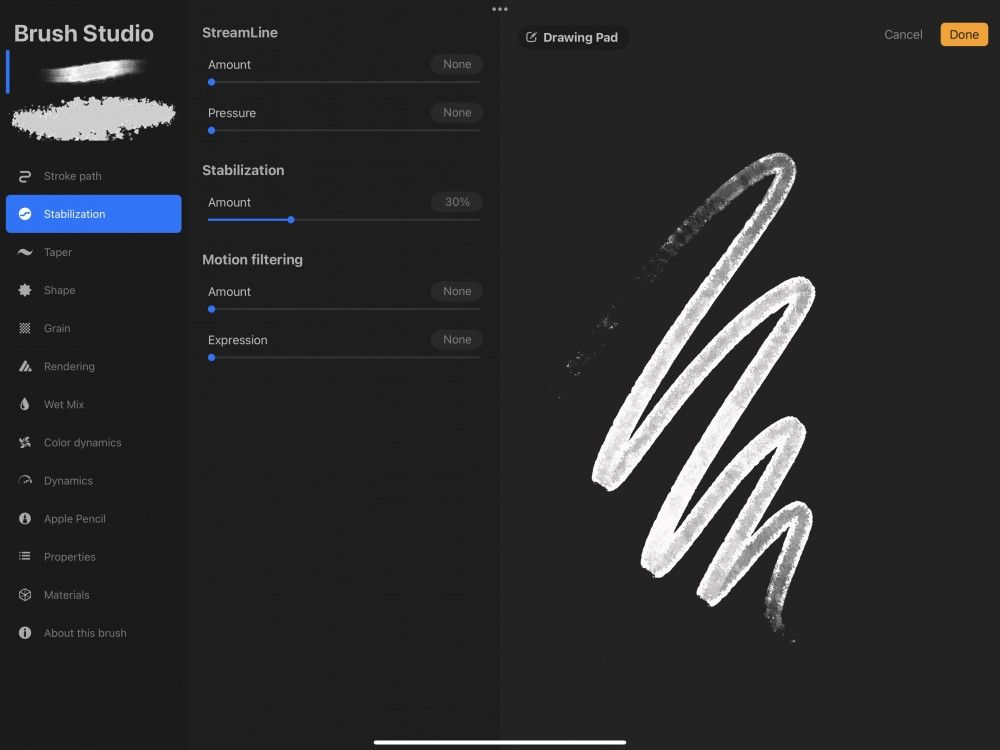
Brush Studio
If you want to get more out of your brushes, you can customize them in the Brush Studio. Tap the brush you want to edit, then tap the same brush again to access the studio. You can alter 12 aspects of your ideal brush, including the stroke path, stabilization, taper, and shape.
Let’s look at stabilization. The screen is divided into three sections, including the 12 aspects, the editing panel, and the Drawing Pad. You can alter the amount and pressure of StreamLine, Stabilization, and Motion Filtering in the editing panel, and test out your changes in real-time on the Drawing Pad.
Since this is a Procreate tutorial for beginners, this is as far as we need to go with the Brush Studio. Play around with the customization options and see what you come up with!
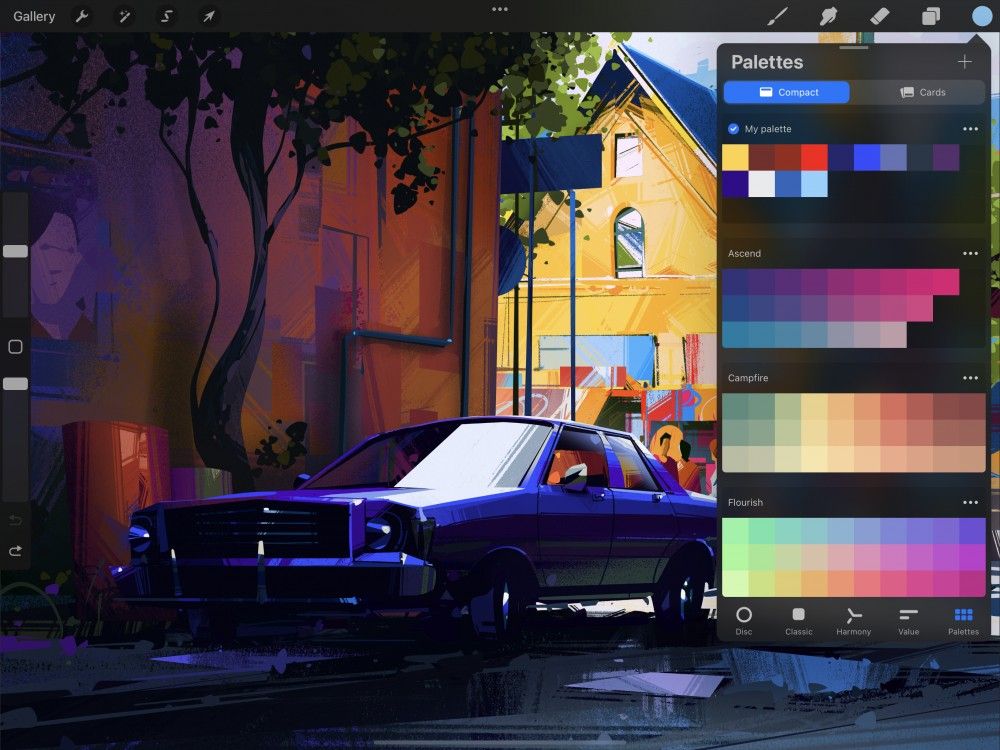
Color Palette
You can access the color wheel by clicking the circle in the top right corner of your canvas. Slide your finger or stylus around the wheel to explore all the color options, and switch to the innermost circle to explore the hue variations.
There are five sections at the bottom of the Color tool. Disc is the standard option, then Classic, Harmony, and Value offer you different ways to find your ideal color. The Color Palette section comes with three preset palette options to spark inspiration.
- To create your own palette, press + in the top right-hand corner
- Procreate will create an untitled palette with blank squares
- Select one of the colored squared in the other color palettes
- Press one of the blank squares and the color will transfer over
You can create your own custom color palette in seconds.
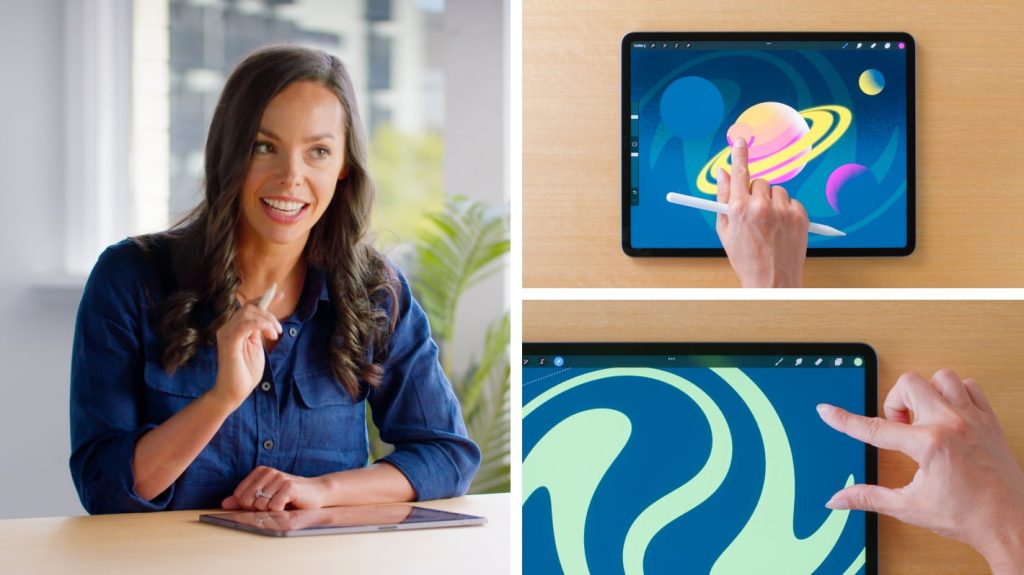
Gestures
Gestures can streamline your workflow, making it easier than ever to create works of art.
Here are the most important gestures.
- Two-finger pinch to zoom
- Two-finger pinch-twist to rotate the canvas
- Two-finger tap to undo
- Three-finger tap to redo
- Quick pinch to fit to screen
Procreate saves your artwork every time you lift your finger from the canvas, so you can open and close the app whenever you feel creative!

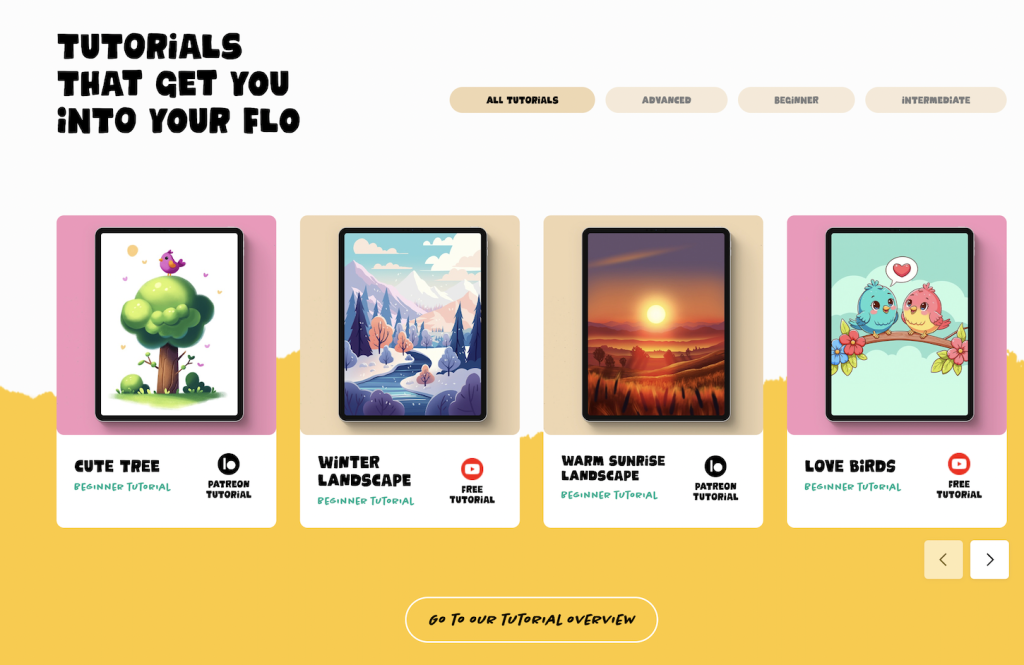
The Best Free Procreate Tutorials for Beginners
Let’s take a look at our top 3 Procreate video tutorials – perfect for people who want step-by-step guidance for creating their first drawings!
Procreate Beginners Series
Unsurprisingly, the Procreate Beginner Series offers some of the best Procreate tutorials for beginners.
If you’ve already read this blog, you can skip over The Fundamentals tutorial and go straight to the Painting Tools tutorial. It tells you all the basics of QuickShape, ColorDrop, Layers, Blend Modes, and more!
Art With Flo – Youtube
Flo is a digital creative who has taken her passion for drawing to YouTube. In her video, Procreate tutorial for beginners, Flo covers all the basics (including creating a canvas, filling areas with color, and using the smudge tool) while also showing you how to create your very first piece of art, a starry landscape.
This is one of our favorite tutorials, and others agree. Over one million people have watched it, making it a must-see for beginners.
Her channel has hundreds of other videos that take you step-by-step through drawings of landscapes, characters, food, and more!
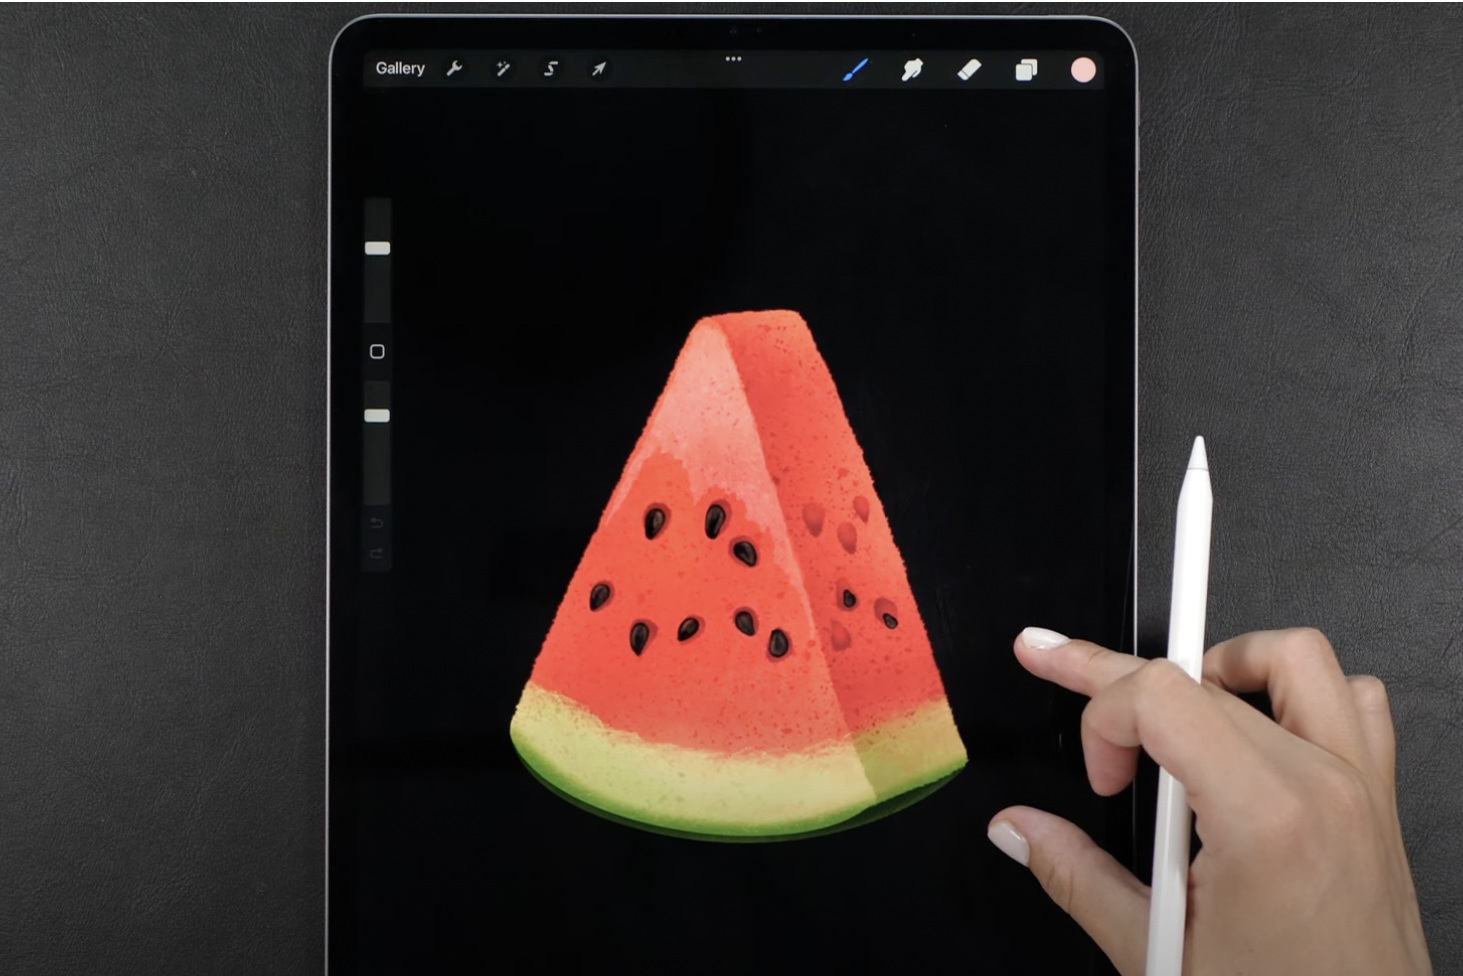
Illustrateria – Youtube
This tutorial is designed for artists who want to create individual graphics rather than landscape pieces of art. Illustrateria, the artist, takes us on a step-by-step journey to draw a watermelon slice. Along the way, we learn how to transform shapes, create perspective in digital art, and manipulate layers.
Once you’ve mastered this beginner drawing, Illustrateria has many other tutorials for more complex objects and drawing techniques.
More Procreate Tutorials on the Blog
Once you’ve mastered the basics with Procreate, you can find more tutorials for refining you skills on our blog:
- How to use Snapping and Magnetics to arrange objects in Procreate
- How to customize your Procreate brushes for your drawing style
- How I Customize My Quick Menu in Procreate
- Tips for Building Color Palettes in Procreate
- Tips for transferring your illustrations from Procreate to Photoshop
- Easy iPad watercolors using clipping masks in Procreate
- How to add ambient light in Procreate using ‘Multiply Blend Mode’
Rock Paper Pencil: A Pen-On-Paper Experience for iPad
Rock Paper Pencil is the best iPad drawing accessory for artists who are looking to ditch their slippery glass screen and get a realistic pen-on-paper feel for their iPad.
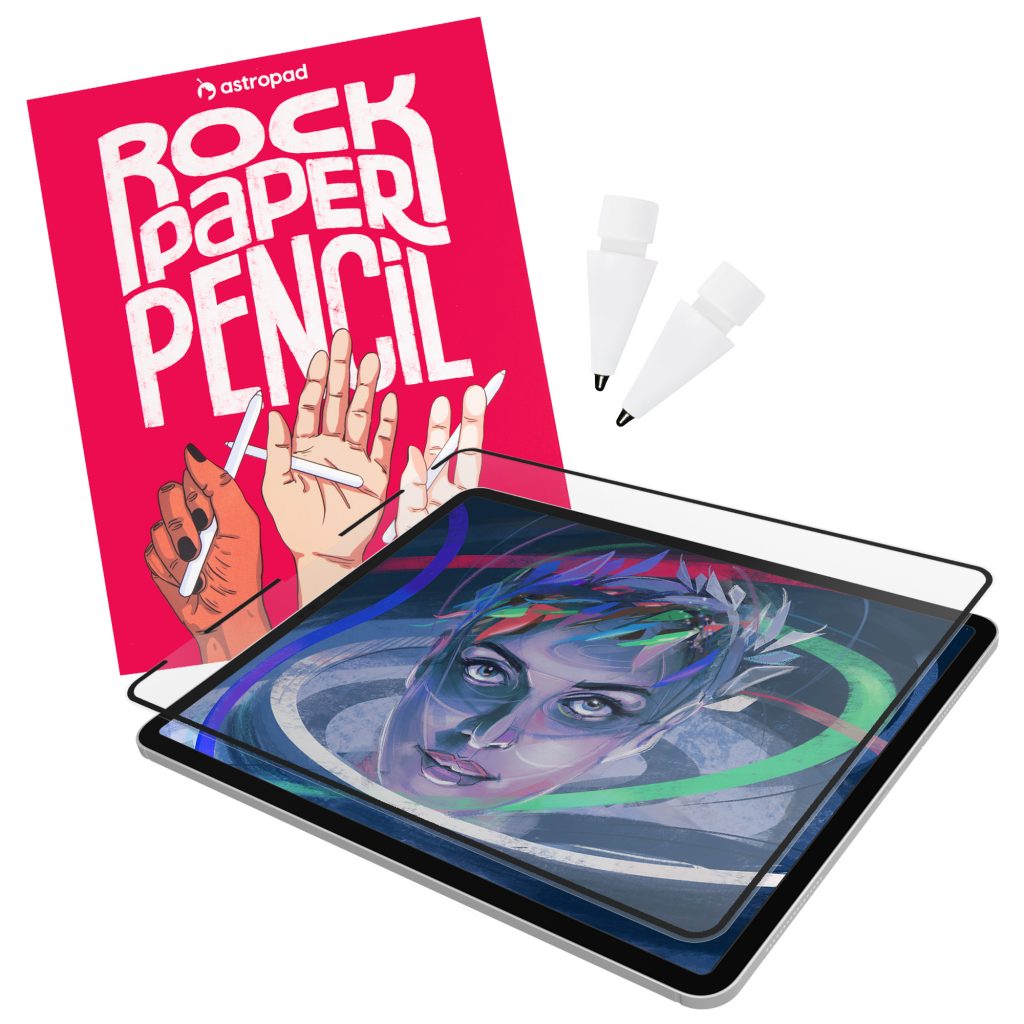
This product includes a reusable, paper-feel iPad screen protector and two ballpoint Apple Pencil tips. Built with nano-texture technology, Rock Paper Pencil adds subtle friction between your screen and Pencil, giving you more control while drawing or writing.
- NanoCling Screen Protector: Securely bond your screen protector to your iPad using static cling. Easy application, non-adhesive, removable and reusable.
- Matte Texture: Subtle friction mimics the feel of paper (no more slippery glass!)
- Precision Apple Pencil Tips: Smoother, more controlled strokes