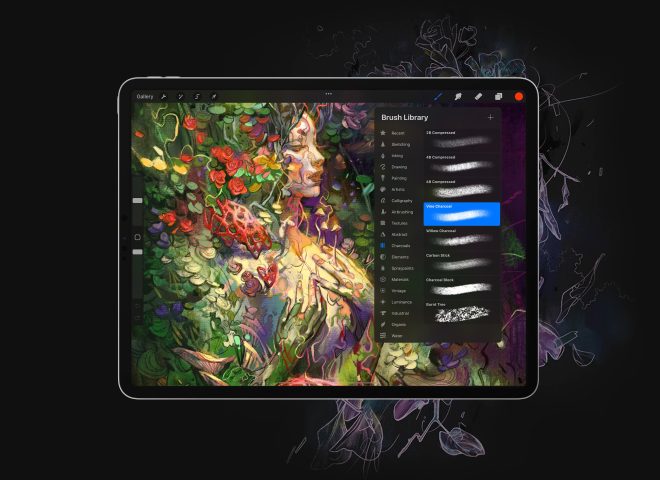
Hey there, it’s Kayla Ann! I’m an artist and illustrator who uses Astropad and Luna Display to create my vintage-inspired digital art. Today I’ll be showing you this super easy tutorial for creating a seamless pattern in Photoshop.
For those of you that don’t know, Surface Pattern Design is a huge industry that has recently gained popularity. You might be asking yourself: “What is Surface Pattern Design?” Surface Pattern Design is the practice of creating art for the surfaces of manufactured products including fabric, wallpaper, stationery, and clothing.
Typically, one or more motifs are created (digitally or traditionally) and then placed into a seamless repeat in Photoshop, Illustrator, or another program. Knowing how to create a pattern tile from your art is a great skill to have in your artist toolbox, and using Astropad makes it even easier!
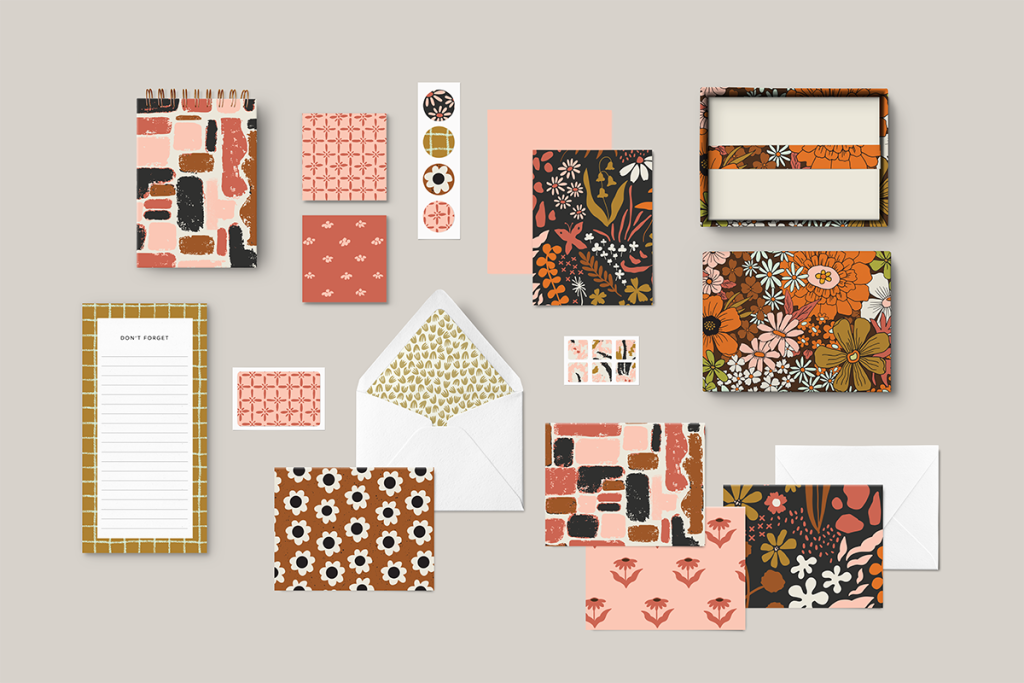
In Photoshop, there is a handy tool that I use called “Pattern Preview.” This tool helps you build a seamless repeating pattern tile from your digital art. Today, I’ll be leading you step-by-step on how to create your own seamless pattern using this tool. Let’s get started!
Step 1: Draw a motif, shape, or re-use a drawing from your sketchbook.
I quickly sketched this simple floral motif in Photoshop using Astropad Studio. I find it easier to sketch and build patterns on my iPad vs a keyboard and mouse, so Astropad Studio comes in handy for this step.
I’ll be using this shape to create a tossed repeat (there are many kinds of technical patterns, but we’ll get into that another time). Feel free to use an existing piece of art, a logo, or brand mark to create a pattern.
Step 2: Place motif around the canvas
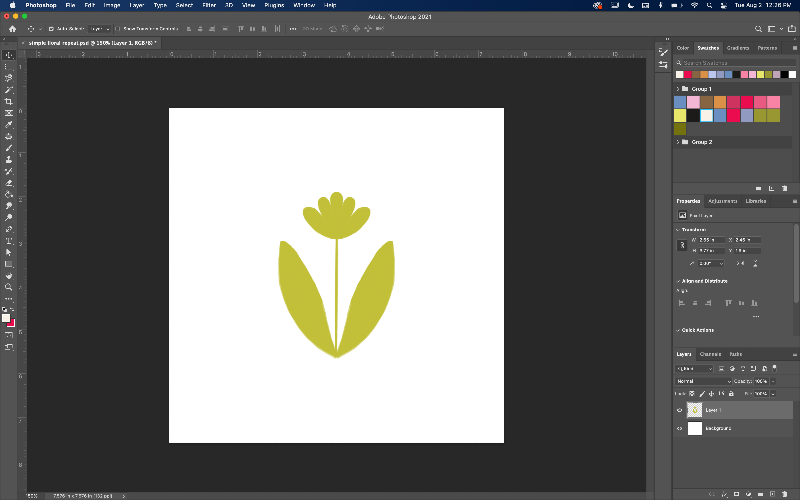
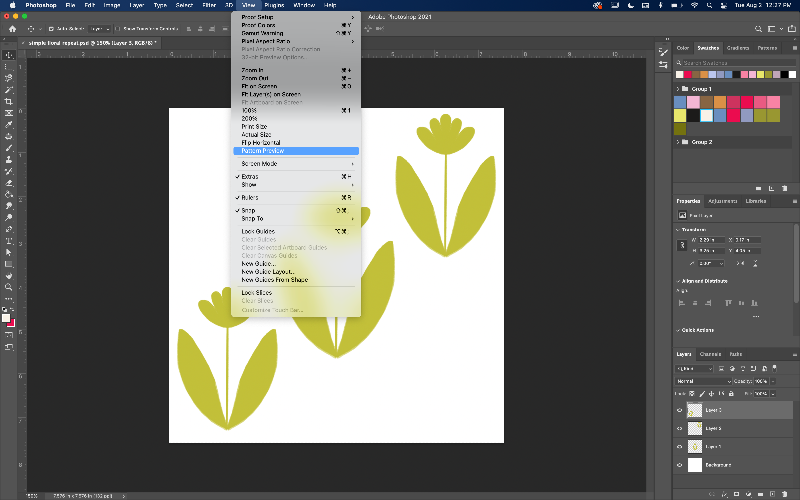
First, start by creating a square canvas. I’m using a 1000px by 1000px canvas size. Next, begin placing your motif randomly around the canvas. Ensure that the motifs are placed within the canvas bounds (do not let any motifs fall off the edge just yet) Have each motif be on its own layer so you can easily duplicate and move motifs around.
Step 3: Use “Pattern Preview”
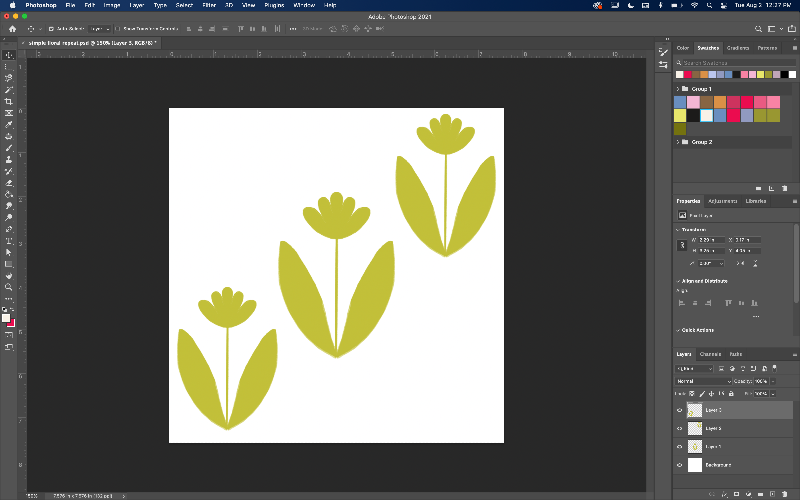
Next, go to View > Pattern Preview. This will allow you to see how your pattern is looking as you start adding more motifs. Begin placing your motifs so they fall off the edge and overlap the blue box.
You will start seeing that same motif repeated on the opposite side. This is what you want! Your repeat pattern is now starting to take shape. Use this time to play around with different positions and sizes of your motif. The best part about a tossed pattern is that it doesn’t have to be perfect!
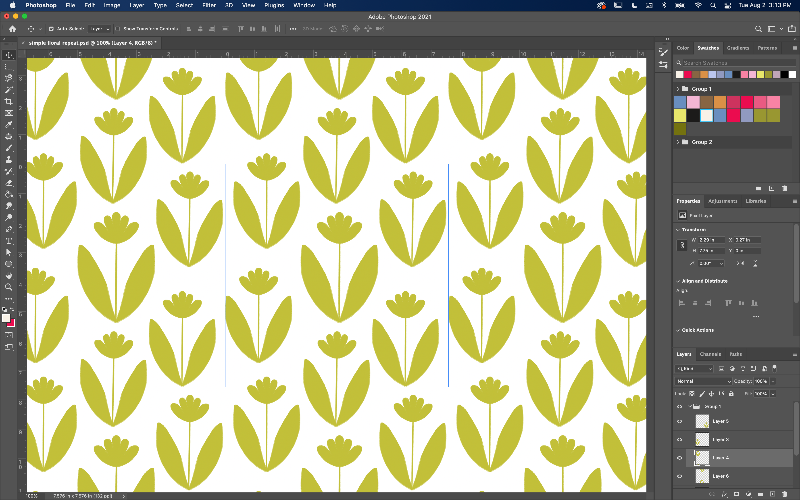
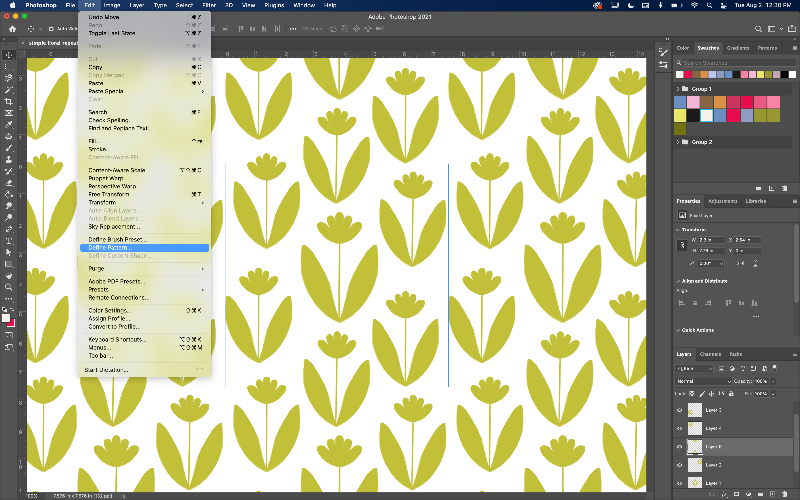
Step 4: Select “Define Pattern” to save your seamless repeat to your Pattern folder
Once you have your motifs scattered and placed how you like, go to Edit > Define Pattern. This will create a seamless repeating pattern from your canvas. You will find your pattern in the upper right-hand corner in the “Patterns” window. Use your pattern to fill different shapes, create mockups, or even print your own fabric! The possibilities are endless.
I hope this simple tutorial opens a new door for your digital art practice and inspires you to add patterns to your portfolio. Have any questions or want to learn how to make other types of technical patterns? Let me know!
Try Astropad Studio free for 14 days
Ready to level up your creative workflow?
Astropad Studio turns your iPad into a customizable drawing tablet. Draw directly into your favorite desktop apps like Photoshop, Illustrator, Clip Studio Paint — right on your iPad!


