Blender has always been computer-centric and optimized for mouse and keyboard. But what if you could model with the convenience of a touch-enabled tablet and the power of your PC or Mac?
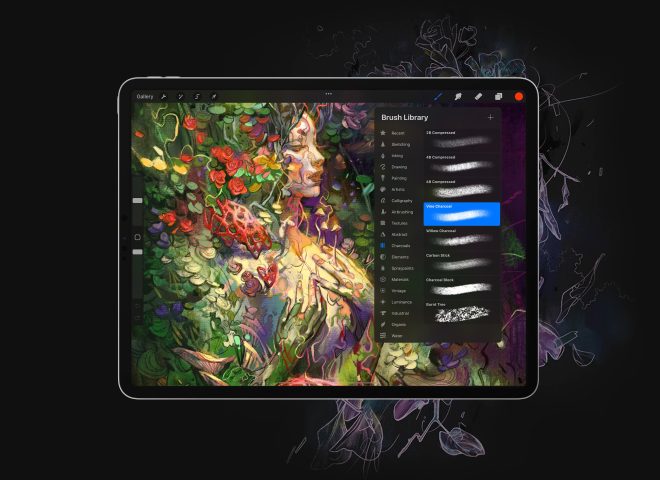
With Astropad Studio, not only can you use Blender on your iPad while utilizing your computer’s processing power, but you can also speed up and simplify your modeling workflow!
To help you get started, we are putting together some tutorials to build your confidence using Blender on your iPad, and the next stop on our journey is an easy way to add textures to a model: UV Mapping.
UV mapping is the process of projecting a 2D image onto a 3D object in order to texture it. In Blender, the UV mapping process involves creating a UV map, which is a 2D representation of your 3D object’s surface. The model is unfolded at the edges we create when building it and essentially laid flat so that we can see all of the model’s faces at one time.
set up quick keys and shortcuts for blender on your ipad
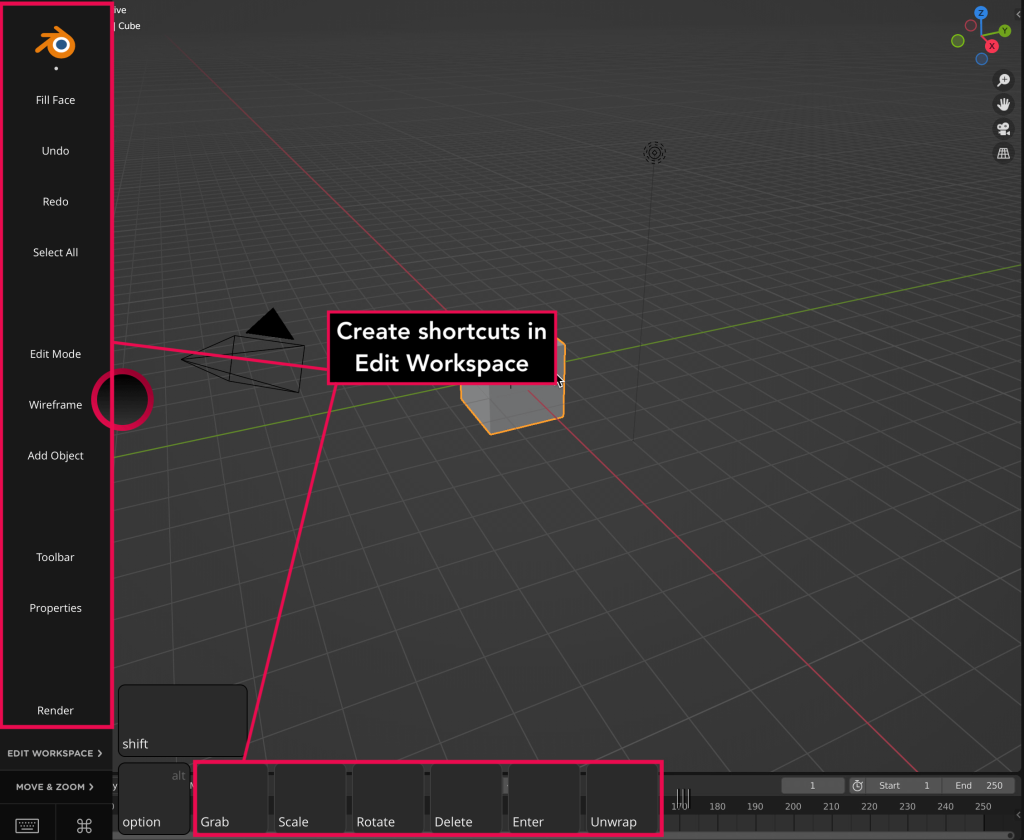
Before we get into adding texture to a model, we will want to make sure we have the relevant quick keys and shortcuts to streamline our workflow. If you’re new to using Blender on your iPad, check out our guide for setting up Quick Keys and gesture shortcuts in Astropad Studio:
For reference, here’s how I have my Astropad Studio workspace organized for adding texture in Blender on my iPad:
Add materials and texture
Adding texture can be done using any image that is in supported Blender formats. For this tutorial, we will be using a royalty-free image from Unsplash. These are typically PNG or JPG in format. You will want to be sure that the image you use is uniform and does not contain any items in it aside from what you are wanting to be applied to your model for the easiest application.
Before adding any actual texture to the model, we will need to assign a material to the object. Follow the steps below:
- While in Object Mode, tap on your model and select Material Properties in the menu on the right side of the screen. The icon for this looks kind of like a red beach ball.
- You can either modify the material already there or tap the plus icon (+) to add a new material to the model.
- Double-tap the label for the material to rename the material to something recognizable. This is a good habit to get into if you are going to be adding multiple materials and textures to an object.
Now that a material has been assigned to the object and named, we will now want to apply the texture to it.
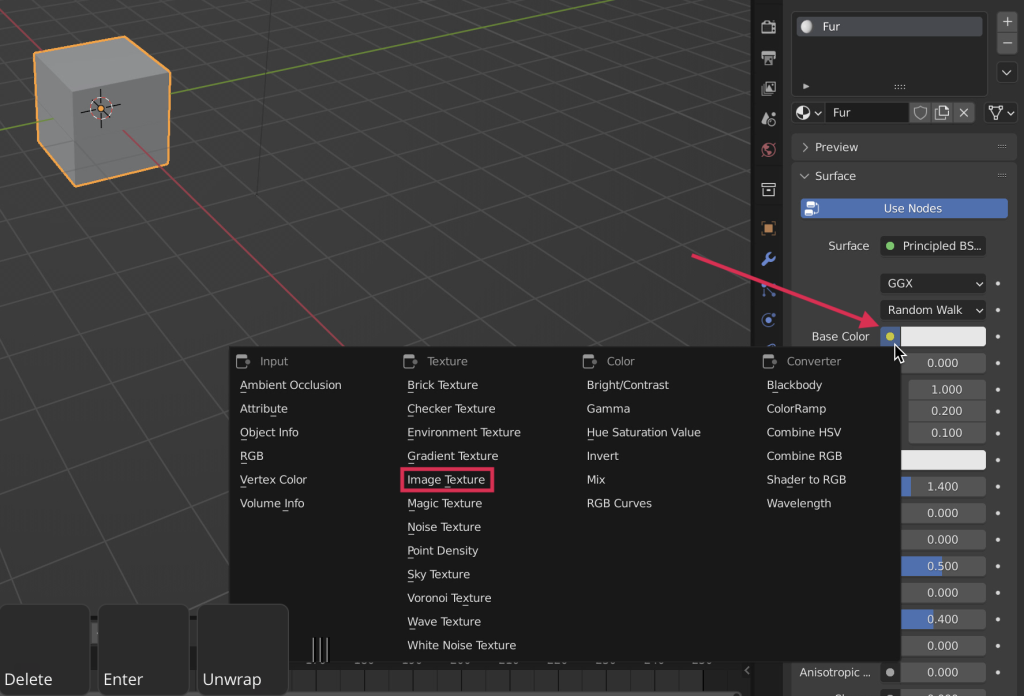
- In the Materials menu, locate the Base Color, and tap on the yellow dot next to it.
- Tap on Image Texture.
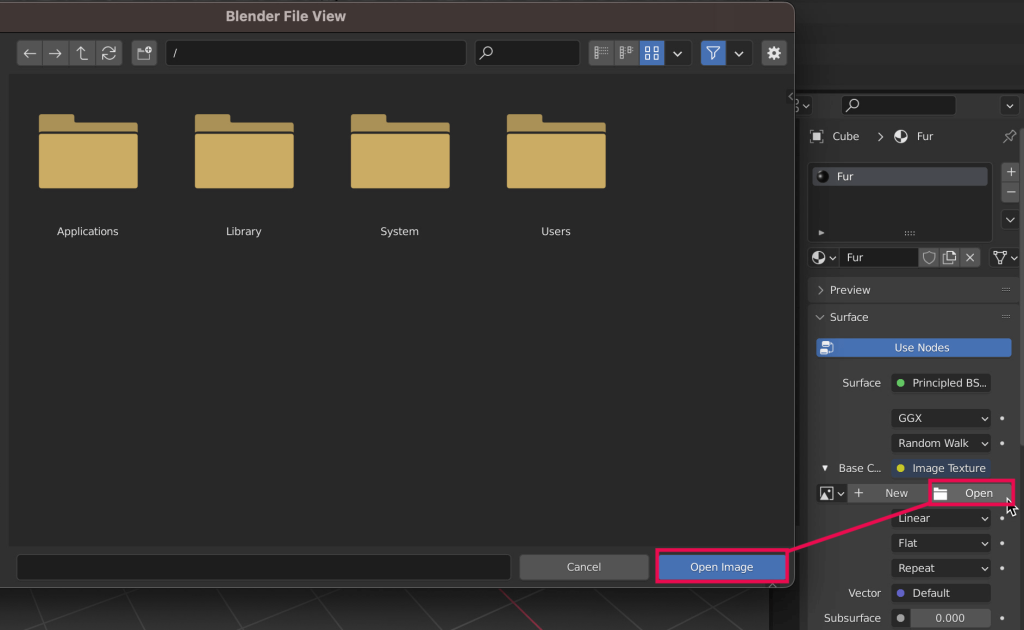
3. Tap Open and locate your intended texture file to import it.
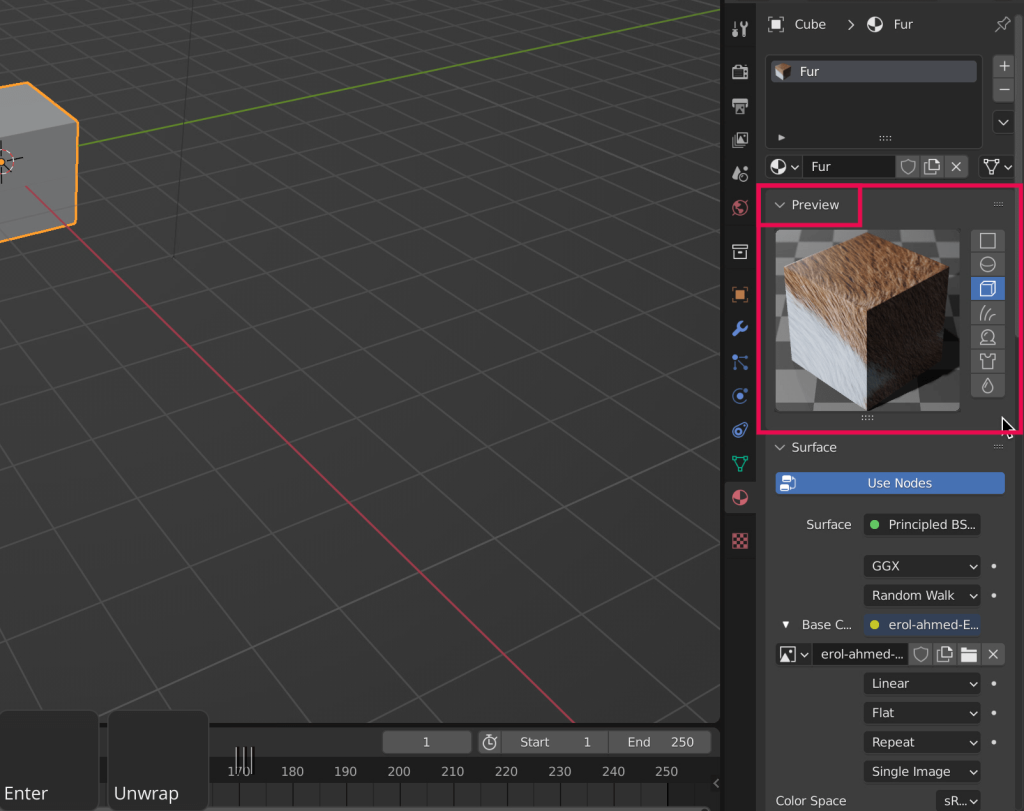
Two ways to preview
- Materials Preview – You can tap on Preview in the Material Properties menu and view the texture applied to multiple basic objects within the small preview window. Since we are simply using the cube for this exercise, I’ve opted to preview it on the cube in this window.
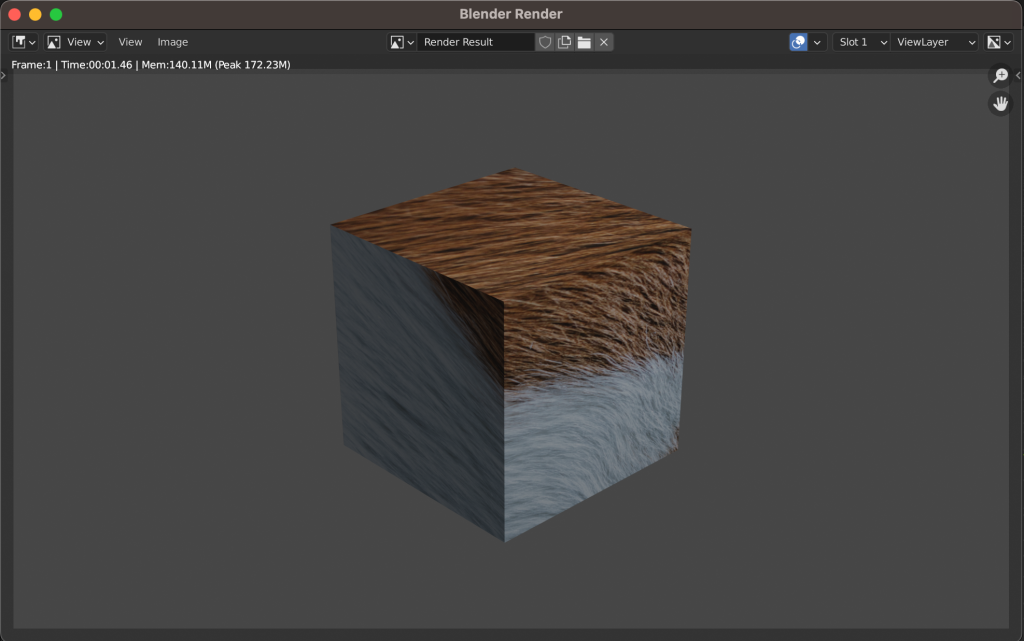
2. If you are using a model that is more complicated than a cube or sphere, you can also do a rendering of a still image of your model. To render this still image, make sure you are in the 3D Viewport → View → Viewport Render Image.
Adjust using UV Mapping
When you first apply your texture, it will more than likely be in the wrong position. If you would like to have control over how the texture is applied, you can do so by telling Blender how to map your applied texture to the faces of your object. We will do this through a method called UV Mapping.
First, we will need to unwrap our model. This will look like we are unfolding the model into a flat version of itself. We are turning the surface of a 3D object into a flat 2D plane.
- Select your object and then tap UV Editing at the top. You’ll see the 3D viewport on the right and the UV Editor on the left.
- Select the object if it isn’t already selected by pressing A.
- To unwrap the object, press U.
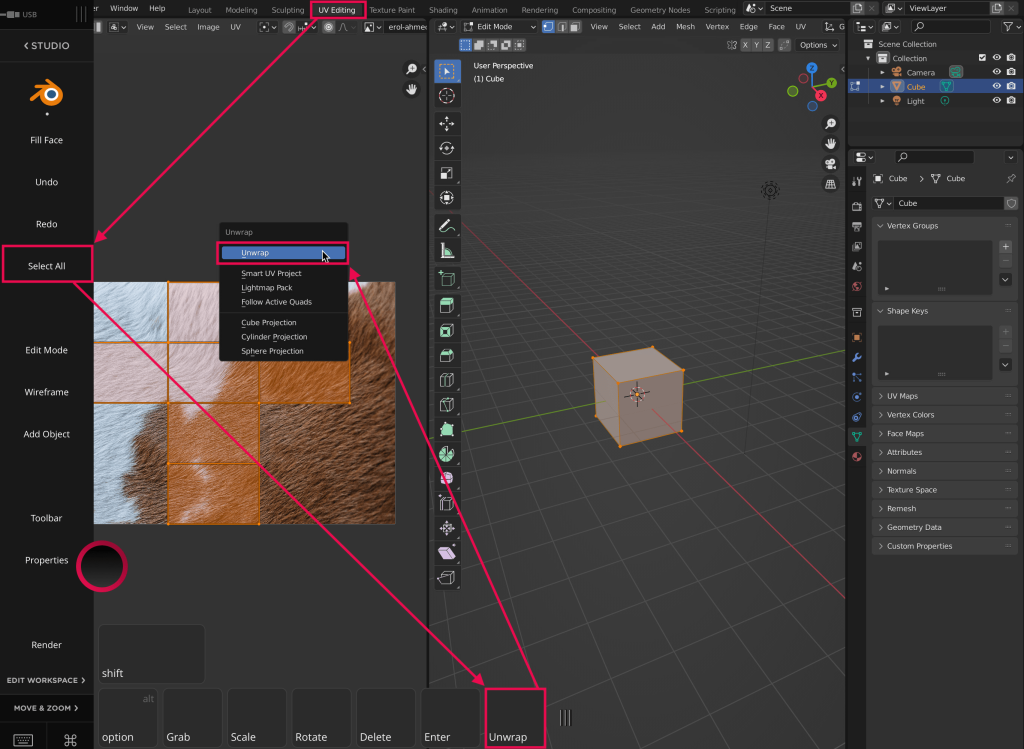
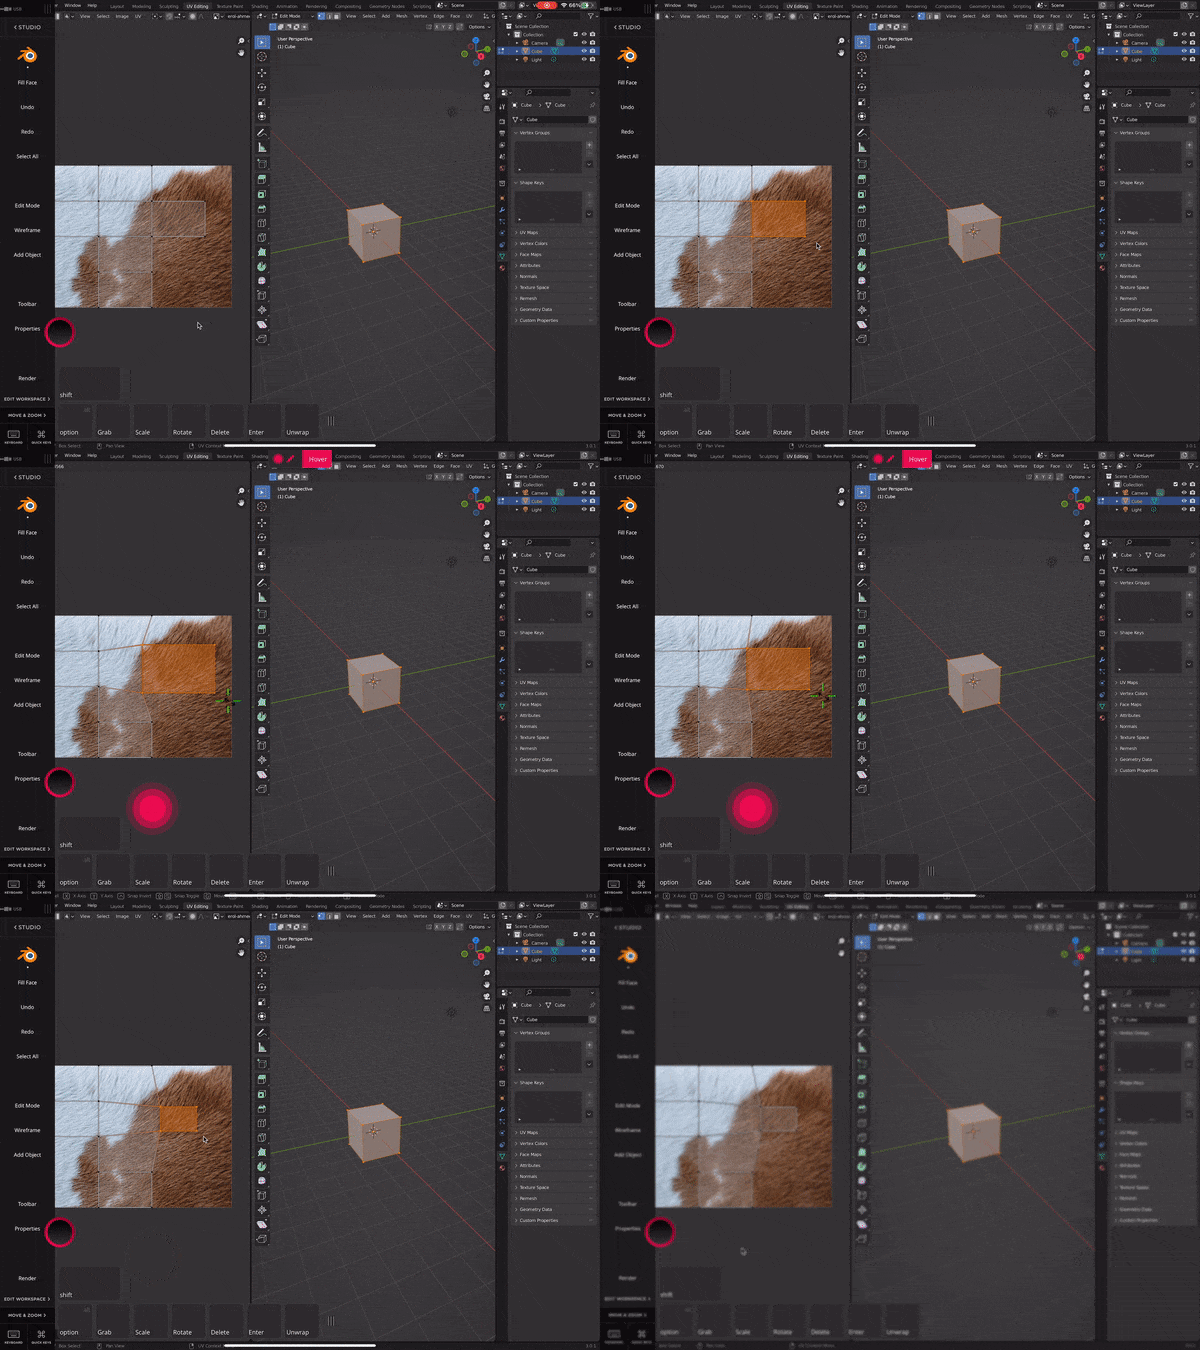
Sometimes, the texture may not display the way you intended right after UV unwrapping. This can happen if the texture wasn’t made specifically for the object. Follow the steps below to work around this:
- Select the object and go into Edit Mode by pressing the Tab key.
- Change the editor type box to UV Editing.
- Select the parts of the unwrapped object you want to edit. To scale it, press S and move your mouse accordingly. This will not change the size of the model but will give you control over how much of the image is shown on your object. This is when having a preview render open will be beneficial so you can see how these changes look in real-time.
Get started today with Blender on your iPad
Get the most out of Blender with your iPad! Try out Astropad Studio with our free 14-day trial. No commitments, cancel any time.
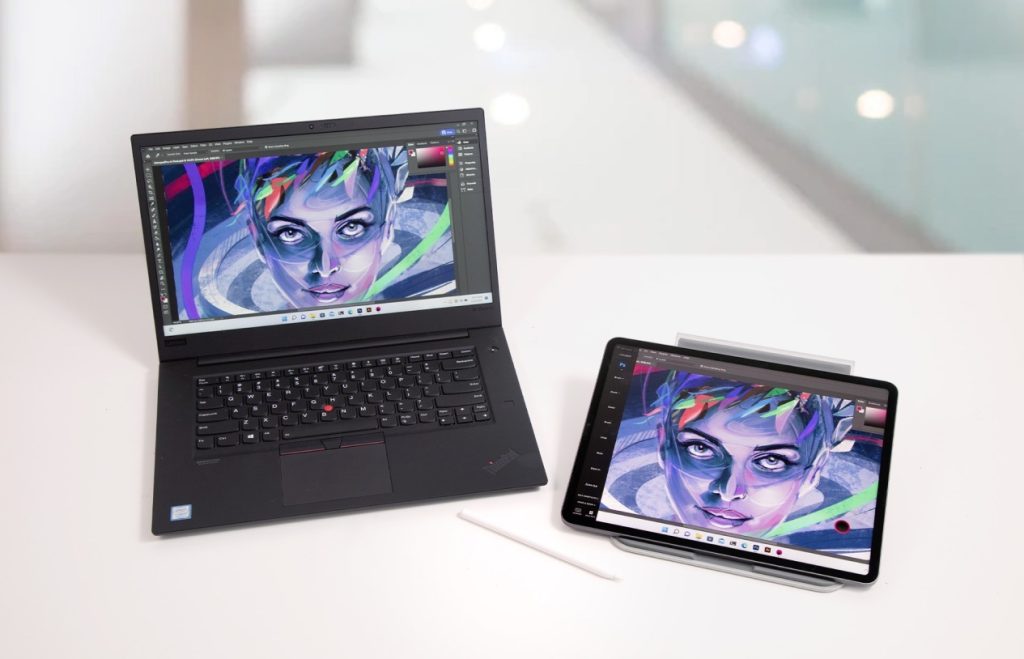
- Mirror any desktop app on your iPad
- Compatible with Mac and PC
- Build your own shortcut panel, custom gestures, and custom quick keys
- Utilize pressure-sensitive and precise sculpting and painting
- Connects over WiFi or USB cable
