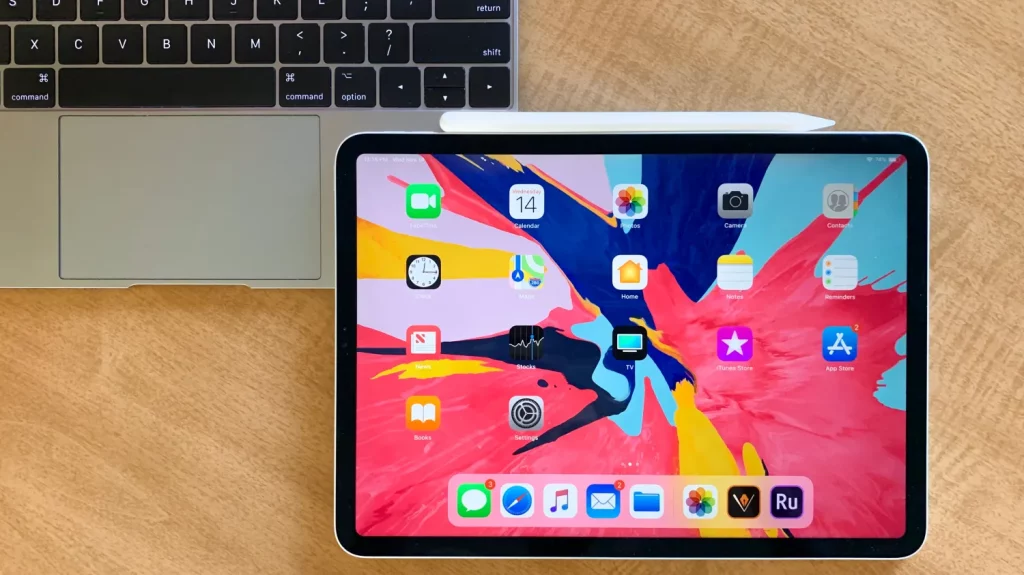
Apple Pencils are a powerful tool for digital artists, students, and note-takers alike. But before you can sketch your next masterpiece or annotate lecture notes, you’ll need to turn on and pair your Apple Pencil.
In this guide, we’ll walk you through how to set up and pair every Apple Pencil model:
- Apple Pencil (1st gen)
- Apple Pencil (2nd gen)
- Apple Pencil (USB-C)
- Apple Pencil Pro
What’s the difference between Apple Pencil 1, 2, USB-C, and Pro?
Here’s a quick overview of how the different Apple Pencils compare:
| Feature | Pencil 1st Gen | Pencil 2nd Gen | Pencil USB-C | Pencil Pro |
|---|---|---|---|---|
| Year Released | 2015 | 2018 | 2023 | 2024 |
| Charging | Lightning Port | Magnetic | USB-C Cable | Magnetic |
| Pairing | Manual | Wireless | Cable | Wireless |
| Pressure Sensitivity | ✅ | ✅ | ❌ | ✅ |
| Additional Features | Basic | Double-tap | None | Haptics, Barrel Roll |
| Price Point | $$$ | $$$$ | $$ | $$$$ |
💡 Want to learn more? Check out our full breakdown:
👉 Which Apple Pencil is Better?
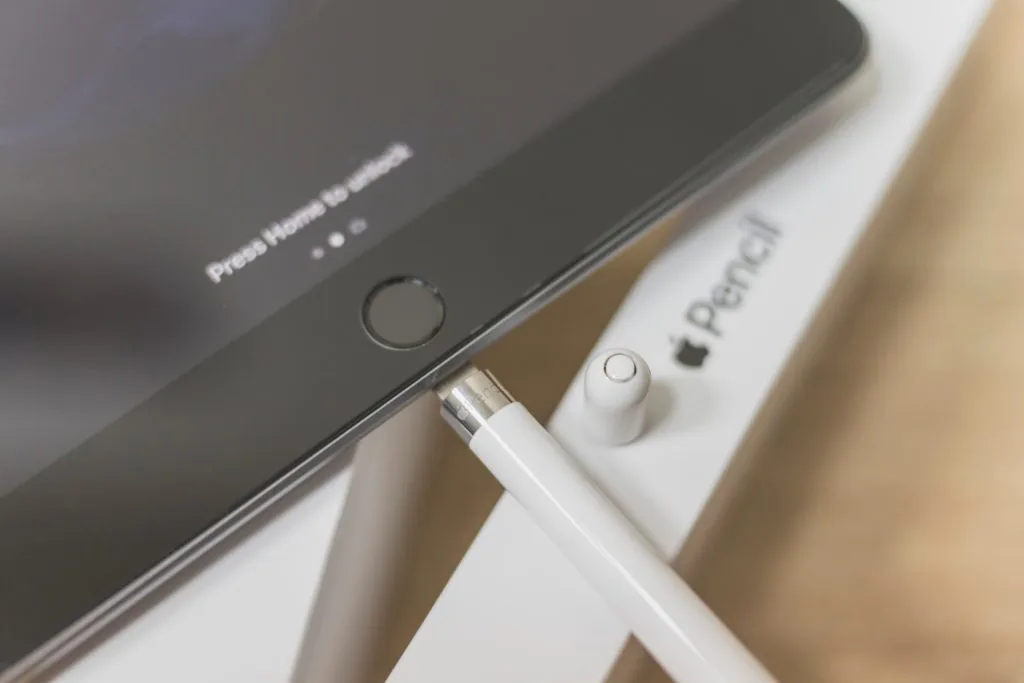
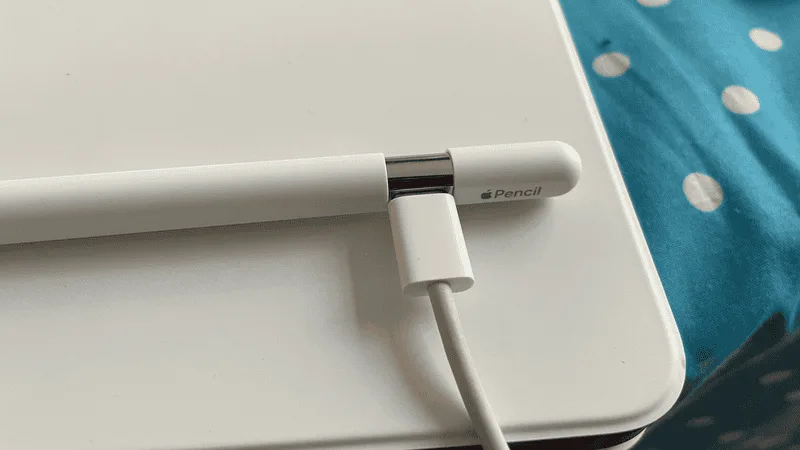
How to turn on your Apple Pencil (1st generation)
The original Apple Pencil uses a Lightning connector for pairing and charging.
To turn on and pair:
- Go to Settings > Bluetooth and make sure Bluetooth is turned on.
- Remove the cap at the end of your Apple Pencil to reveal the Lightning connector.
- Plug the Pencil into your iPad’s Lightning port.
- When the “Pair” button appears, tap it.
- Unplug the Pencil. It’s now ready to use.
⚠️ Your Apple Pencil will stay paired until you restart your iPad, turn off Bluetooth, or pair with a different device.
Using Apple Pencil 1 with a 10th-gen iPad
The 10th-generation iPad uses a USB-C port, so you’ll need a USB-C to Apple Pencil adapter to connect your 1st-gen Pencil. Just plug the adapter into your iPad and connect your Pencil to the adapter’s Lightning port to pair.
How to turn on your Apple Pencil (2nd generation)
The Apple Pencil 2 offers a much simpler, wireless pairing experience. No cables or caps to worry about!
To pair your Apple Pencil 2:
- Go to Settings > Bluetooth and turn on Bluetooth.
- Attach the flat edge of the Pencil to the magnetic side of your iPad.
- A notification will appear confirming the connection and showing the battery level.
Once paired, you can detach the Pencil and start using it. It also charges automatically when magnetically attached.
🔄 Your Pencil might unpair if Bluetooth is turned off, the iPad restarts, or a different Pencil is paired.
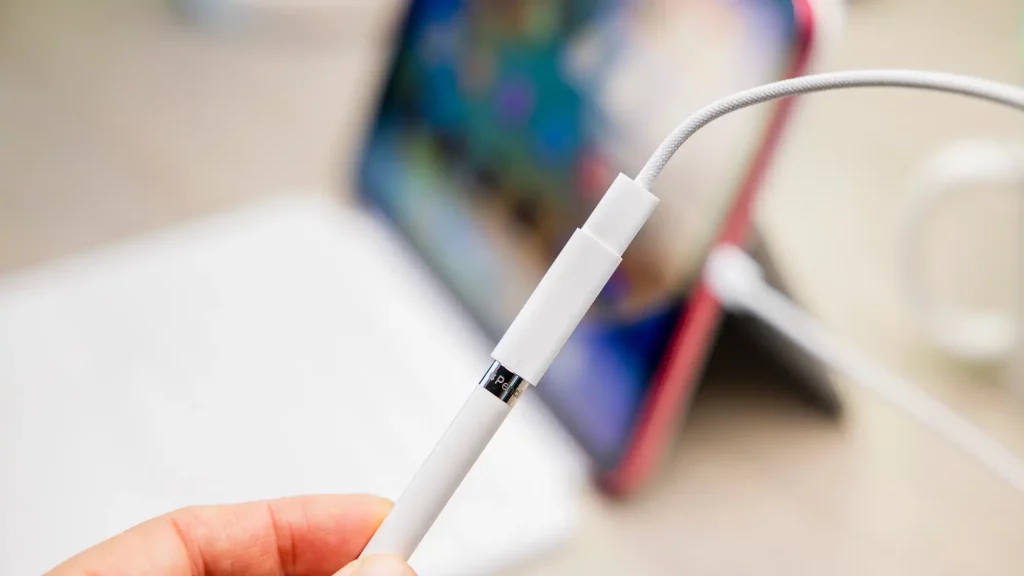
How to turn on your Apple Pencil (USB-C)
Released in November 2023, the USB-C Apple Pencil is a more affordable option with solid features, though pairing is a little less seamless.
To turn on and pair your USB-C Apple Pencil:
- Turn on Bluetooth in your iPad’s settings.
- Open the hidden USB-C port on the Pencil by sliding back the cap.
- Connect the Pencil to your iPad using the included USB-C cable.
- Wait for the pairing prompt, then tap Connect.
💡You can use the Pencil while it’s plugged in or disconnect it for wireless drawing and writing. Just note that it doesn’t support pressure sensitivity or magnetic charging like higher-end models.
How to turn on your Apple Pencil Pro
Launched in May 2024, the Apple Pencil Pro builds on the 2nd-gen design and adds new features like haptic feedback and barrel roll support.
Pairing is just as easy as with the Apple Pencil 2:
- Make sure Bluetooth is on.
- Snap the flat edge of the Pencil Pro to the right side of your iPad.
- A pairing message will pop up, and just tap to connect.
Once paired, your Pencil Pro charges magnetically and stays connected until you restart the iPad, turn off Bluetooth, or connect a different Pencil.

upgrade your Apple Pencil tip with Rock Paper Pencil

Once your Apple Pencil is connected, you can explore all the brilliant tech that iPads have to offer. If you’ve invested in an Apple Pencil, chances are that you want to take realistic handwritten notes or even create digital art.
You can use Rock Paper Pencil to enhance your iPad writing/ drawing experience. Rock Paper Pencil combines a ballpoint Apple Pencil tip and a reusable, matte screen protector. Together, they create the most realistic pen-on-paper feeling for iPad.
- Ditch the slip: On its own, the iPad’s glass screen is a slippery surface that creates an inconsistent drag on your Apple Pencil.
- Smoother, more precise strokes: Rock Paper Pencil adds subtle friction between your screen and Apple Pencil tip, giving you more control with each stroke output.