Across the globe, tech-forward individuals use iPads and Apple Pencils as alternatives to traditional pen and paper. But the truth is, the experience just isn’t the same. The smooth, slippery surface of an iPad isn’t comparable to a piece of paper, and Apple Pencils can’t compete with the traditional handwriting experience. For some, neat handwriting is a thing of the past.
As a result, more and more people are seeking advice on how to write neatly on iPad. Luckily, we have a whole host of tips and tricks for people who want to transition from traditional to digital handwriting without compromising on legibility.
In this article, we’ll take a look at what you can do to improve your handwriting including tips for optimizing your Apple Pencil, tweaking the settings in your iPad model, and adjusting to digital writing.
→ Quick note: In this article, we use Goodnotes, Notability, and Apple Notes when talking about note-taking apps because these apps are the most widely used. Other apps may also offer similar features.

Why you should switch to digital note-taking
Before we jump into the tips, let’s explore the benefits of digital note-taking.
- Accessible. You can access your notes from any device with an internet connection — so you can wave goodbye to heavy notebooks.
- Audio recording. Some apps (like Goodnotes and Notability) have a built-in audio recording feature, perfect for people who want to maximize their recall by exploring different ways to revise. Notability even links audio recordings to your annotations, meaning you can tap anywhere in your notes to jump to that point in the recording.
- Environmentally friendly. Digital note-taking is an environmentally friendly alternative to traditional note-taking, eliminating a bunch of wasteful products. There’s no need for physical paper, highlighters, pens, or any of the other thousands of note-taking accessories out there.
- Built-in templates. Templates make it easy to organize your work, allowing you to create comprehensive layouts in just a few seconds. Once you’ve found your preferred template, you can start writing straight away.
- Cloud backups. Choose wisely, and you’ll find a note-taking app that stores your notes in the Cloud. Just like that, you’ve got a backup of every single note you’ve ever taken. And most apps back up your work automatically, further streamlining your workflow.
- Customization options. Nothing is set in stone; you can resize, move, and alter the color of your notes. And don’t forget backgrounds, stickers, and highlighters — the sky is the limit.
- Multimedia. There’s no limit to the amount and type of multimedia you can add to digital notes — think GIFs, static photos, and even videos.
- Real-time collaboration. Goodnotes is a prime example of a note-taking app that allows for real-time collaboration, streamlined workflows, and improved communication between friends, colleagues, and peers.
- Instant feedback. As well as real-time collaboration, digital notes allow for instant spelling and grammar feedback. This is especially useful for students, professionals, and hobbyists who have dyslexia.
- Organization options. You can create separate folders for different topics to easily organize your notes.
Traditional note-taking isn’t without its benefits, but many people think digital note-taking is the more time-efficient, cost-effective option. Granted, the cost-effectiveness can be questioned; digital note-taking only really ticks this box if you already have an iPad.
So, we’ve established that digital note-taking has a whole host of benefits. But what about people who want to learn how to make handwriting neater on iPads? It’s no secret that transitioning from pen and paper to stylus and screen can take a bit of getting used to, and some people become so frustrated that they give up completely.
Luckily, we’ve collected the best tips for easing the transition period and writing as neatly and legibly as possible.
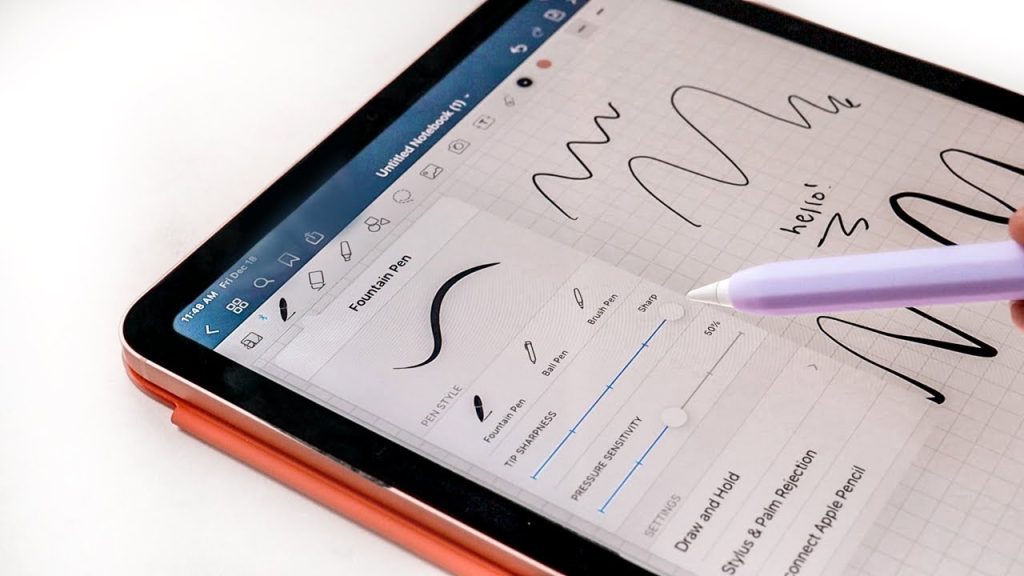
Adjust Apple Pencil sensitivity
The sensitivity software in digital note-taking apps can make your handwriting feel inconsistent or unnatural. This is because the way your Apple Pencil responds to pressure varies from app to app, which may cause strokes to appear too thick, too thin, or even wobbly.
The good news is that you can tweak the settings in your favorite note-taking apps.
With the right adjustments, you’ll notice:
- Consistent line thickness. Reduce unwanted variations so that letters stay uniform.
- Paper feel. Lessen the “slipperiness” and make your screen feel more like a piece of paper.
- Stroke precision. Maintain control and accuracy, even when you’re quickly scribbling notes.
Tweaking the sensitivity can be an easy fix, but there’s one big barrier. Apple doesn’t offer built-in options for adjusting pressure sensitivity in iPadOS — the iPad-specific version of iOS.
In an ideal world, you’d be able to adjust your pen settings and roll the changes out across your iPad. But, unfortunately, you have to adjust the settings in each app individually. Some apps (like GoodNotes) allow for detailed adjustments, but others (like Apple Notes) use default Apple Pencil settings.
The difference can be jarring, so it’s worth playing around with the settings in your app. After all, small changes could make your handwriting much neater, leaving you pleasantly surprised.
How to do it
We can’t cover every note-taking app on the market, but we can cover some of the most popular options.
- Apple Notes: Settings > Accessibility > Apple Pencil > adjust the Squeeze, Double Tap, and Pressure Sensitivity settings
- GoodNotes: Pen Tool Settings > adjust the Pressure Sensitivity slider
- Notability: iPad Settings > Accessibility > Apple Pencil*
*Notability is designed to work seamlessly with Apple Pencil. There are no built-in sensitivity settings in the app itself, but adjusting the Apple Pencil settings on your iPad will do the trick.
Buy a Matte Screen Protector
Even with all the tips in the world, even we can admit that glass iPad screens will never be comparable to a piece of paper. With handwriting tips alone, there will always be a degree of separation between traditional and digital note-taking.
When digital notetakers realized this, a new iPad accessory was born. Now, the only way to achieve a truly pen-on-paper feeling is to invest in a matte screen protector. These protectors are specifically designed to create a pen-on-paper feeling, meaning you can easily transition to digital note-taking while retaining your usual pressure, posture, and handwriting style.
What to look for
Matte screen protectors are engineered to feel just like a piece of paper, complete with minuscule textured nodes that replicate the pressure, friction, and overall feeling you’re used to.
Yet most screen protectors forget one vital piece of the puzzle — what’s the point in having a paper screen if your stylus still slips and slides?
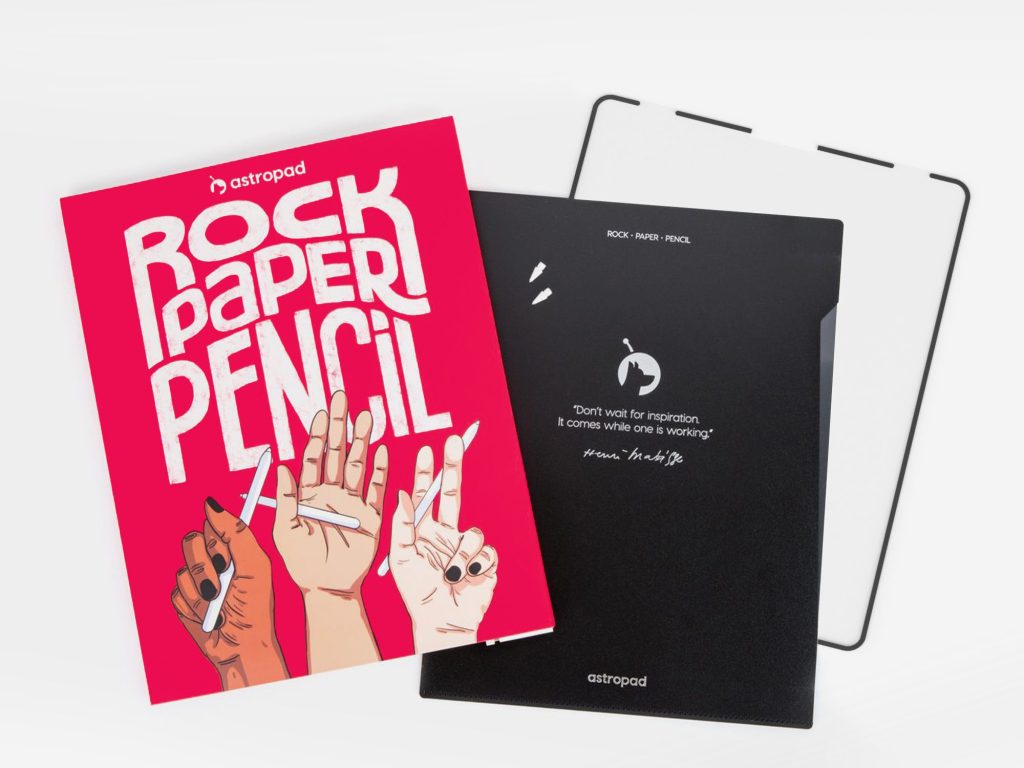
Only one iPad screen protector combines a paper-like screen protector with a pen-like stylus: Rock Paper Pencil.
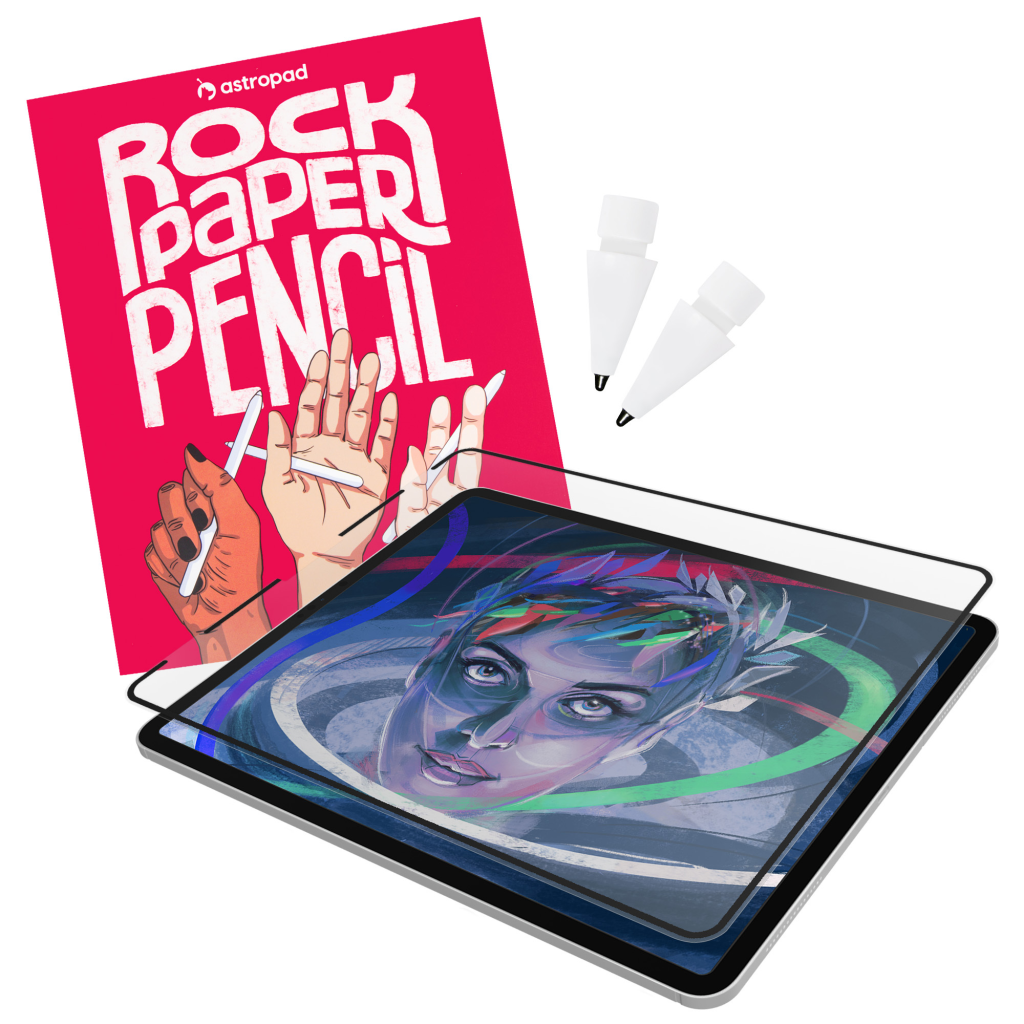
Rock Paper Pencil is a pioneer in the digital note-taking world, instantly transforming your slippery iPad screen into a piece of paper. But it’s much more than that — it’s the only screen protector that comes with matching Apple Pencil replacement tips, creating a dynamic duo that’s hard to ignore.
- Nano-texture screen protector. Rock Paper Pencil’s screen protector is infused with microscopic textured nodes that mimic the ‘tooth’ of fine-grain paper, ensuring a realistic experience with the perfect amount of friction.
- Precision-engineered ballpoint tip. Astropad’s proprietary Apple Pencil replacement tip delivers a subtle ‘bite’ comparable to a ballpoint pen.
These two components work in harmony to create a truly pen-on-paper feeling for iPad users.
Another benefit is the easy installation. The screen protector uses NanoCling technology to attach to your iPad in seconds. That’s right, there’s no overly-complicated installation process, no fuss, and absolutely no hassle. Just place the protector on your screen and, hey presto, you’ve got a screen that feels just like paper.
And because Rock Paper Pencil is reusable, you can easily install the protector to write notes and remove it to game, watch movies, and catch up with friends.
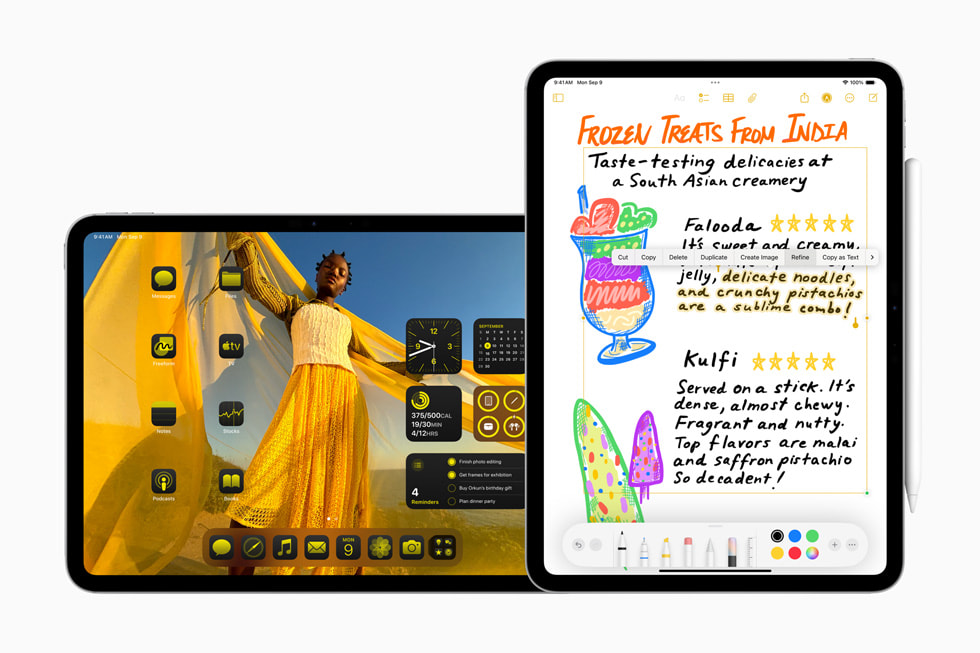
Turn on Smart Script
Some notetakers worry that transitioning to digital note-taking will get rid of their natural handwriting style.
Introducing Smart Script. This relatively new feature was released as part of iPadOS 18 and promises to make your handwritten notes smoother, straighter, and more legible while still looking like you wrote them. It’s designed for Apple Notes, but some note-taking apps also have a comparable feature.
It uses on-device machine learning to refine your handwriting in real time. And it allows you to paste typed text in your own handwriting, as well as add spaces, correct spellings, reflow text, and scratch out writing to remove it. Basically, you don’t have to compromise on customization just because you choose to write your notes.
When you write you’ll see your own handwriting, albeit more polished and compatible with digital notes.
How to do it
Remember, Smart Script is Apple’s proprietary software and only works on Apple Notes.
Here’s how to activate it:
- Open Apple Notes
- Tap the Pencil icon
- Choose the Marker tool
- Tap the ellipses icon
- Toggle on ‘Auto-refine Handwriting’
There you have it! With Smart Script installed, your digital notes will be instantly neater.
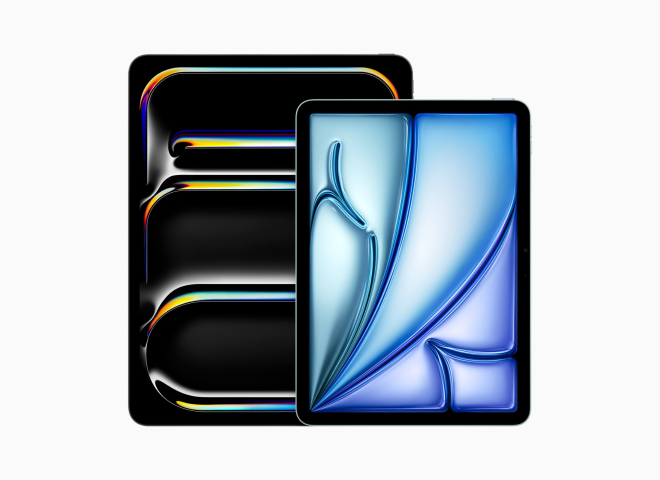
→ Note: Smart Script is available on any iPad that supports iPadOS 18, including:
- iPad Pro (M4 chip)
- iPad Pro 12.9-inch (3rd generation and later)
- iPad Pro 11-inch (1st generation and later)
- iPad Air (M2 chip)
- iPad Air (3rd generation and later)
- iPad (7th generation and later)
- iPad mini (5th generation and later).
Zoom in (or out)
While you’re investigating how to write neatly on iPad, you’ll come across plenty of technical tips. But sometimes, the simplest solution is the best.
Most of us have a distinctive handwriting style that we’ve developed over the years, starting as far back as kindergarten. And back then, you probably learned to write on standardized, ruled paper.
Plenty of popular note-taking apps have an infinite canvas, which completely changes the dimensions you’re used to. The hand movements you’ve developed over decades might not fit an infinite, uncontrolled canvas, leaving you with less-than-stellar notes.
How to do it
This is a two-pronged solution: you either need to adjust the size of your letters or zoom in to reduce the size of your canvas. Maybe even both — there are no rules, so just do what works for you.
The only solution is to try, try, and try again. Zoom in and out and write in different sizes to find your sweet spot.
If you want smaller, neater handwriting, zoom in, write your notes, and then zoom back out. For larger (but still neater) handwriting, zoom out, write your thoughts down, and zoom in.
→ Tip: An infinite canvas can be intimidating, and most people write neater notes when they have a frame of reference. Note-taking apps like Notability and Goodnotes have preset templates, allowing you to zoom in and write on lined paper.
Alternative: use the lasso tool
Still struggling with the zoom dilemma? Another option is the Lasso tool, which allows you to resize and reshape your notes.
Goodnotes, Notability, and Apple Notes have a Lasso tool that can reshape, resize, move, and rotate your notes. All these apps give you the option to transform your handwriting into text, meaning you can scribble down thoughts before they disappear and turn them into standardized notes at a later date.
Ultimately, the Lasso tool is great for people who take an aesthetic approach to note-taking. It can help you create revision-ready notes in just a few seconds. You can find more tips on how to take aesthetic notes on iPad on our website — and this article covers typed notes too!
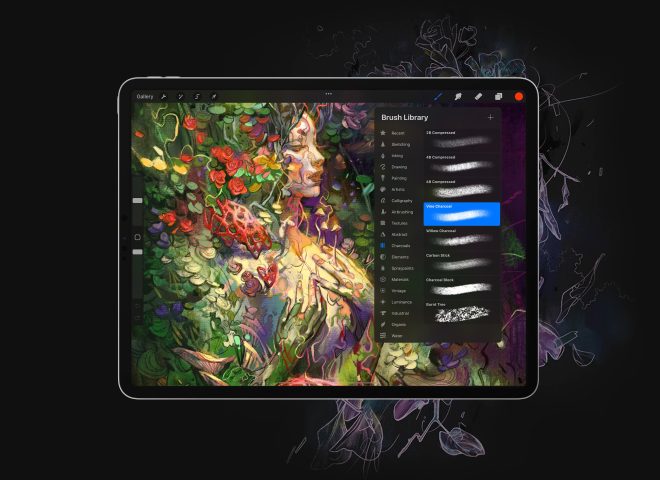
Find a better pen tool
The truth is, that not all digital Pen tools are created equal. Some are, well, best left on the drawing board. If you’re really struggling to write clean, concise notes on Goodnotes, Notability, or Apple Notes, you might want to switch to a different Pen.
What to look for
The best thing to do is try different Pen tools. Have a scroll, Google your options, and try a bunch of different pens to see what works for you. Slight variations in pressure, line thickness, and smoothness can make all the difference, leaving you with far neater notes.
And if you find a tool that’s almost perfect, you can tweak the settings. Goodnotes, Notability, and Apple Notes allow you to edit writing tools with just a few taps.
Enable Palm Rejection
A big barrier to neater handwriting is your screen. When writing with a pen, you can lean on a piece of paper as much as you like, provided you aren’t using easily smudgeable ink.
But iPads respond to every touch. It’s an otherwise excellent feature that is only really a problem for graphic designers and notetakers.
If you rest your palm against your iPad while writing, chances are you won’t get very far. Your iPad will recognize your palm as an input, transforming accidental touches into unsightly digital smudges. You might even interrupt yourself mid-sentence, turning otherwise neat notes into a digital ink disaster.
The answer seems simple enough, right? Just hold your wrist upright. But resting your palm against your screen can help to prevent wrist strain, something that plagues notetakers, illustrators, gamers, and anyone else who uses their iPad extensively.
Thankfully, the big brains at Apple have thought of everything. Introducing Palm Rejection, a feature that distinguishes between your stylus or finger and your palm when writing or drawing, almost completely eliminating the likelihood of accidental smudges.
How to do it
Palm Rejection is enabled by default on iPadOS, so there’s no button to toggle on or off. However, note-taking apps like Goodnotes and Notability allow you to tweak the settings for this feature.
Here’s how to customize Palm Rejection in Goodnotes:
- Go to the home page
- Select More > Stylus & Palm Rejection
Under the heading Palm Rejection, you’ll find Writing Posture and Sensitivity Level. There, you can refine your settings and ensure your handwriting stays as neat as possible.
Here’s how to do the same on Notability:
- Go to the home page
- Select Settings > Handwriting
In Notability, you can only toggle Palm Rejection on or off. In other words, there’s no sliding scale, something that might deter notetakers who’ve dealt with the pain of digital smudges.
Even worse, Apple Notes doesn’t have a Palm Rejection feature. It makes sense since it’s Apple’s proprietary software, but it would be nice to experiment with different settings.
Experiment with templates
Templates, templates, templates… we can’t overstate the importance of templates. For some, a blank page is an invitation to unleash their creativity. For others, it’s an abyss, void of inspiration or direction.
Students and professionals need legible, cohesive notes. There’s no point in taking notes that don’t make sense — it’s a complete waste of time. Besides, when a classmate or manager asks for a copy of your notes, you may be too embarrassed to send them over.
That’s where templates come in. They structure the page, giving you a clear indication as to where your notes should go.
Templates won’t necessarily transform your handwriting, but they will encourage you to write uniform letters in a straight line. Then, when you’re ready to revise your notes or send them to a colleague, you’ll be faced with an aesthetically pleasing, comprehensible document.
What to look for
Bear with us — there’s a lot of ground to cover.
You’ve got all the standard template options, including lined, gridded, and dotted backgrounds. These are good entry-level templates, giving you a frame of reference to work with.
Then there’s digital downloads. When digital note-taking became popular, notetakers started creating their own digital templates and selling them on sites like Etsy. You can download templates for:
- Water intake
- Meeting notes
- Specific classes
- Topic summaries
- Projects
- Lecture notes
- Revision sessions
Some of the templates are even more niche — you might find a template for your physics class. We’ve rounded up 9 of the best note-taking templates for iPad users, as well as a definitive guide of everything you need to know about digital downloads.
The great thing about digital downloads is they often come with stickers, which can revolutionize your notes. Again, stickers won’t make your notes neater, but a combination of uniform notes, a comprehensible template, and visually appealing stickers create a more cohesive, intentional look.
Oh, and did we mention that most note-taking apps have built-in templates? They’ve become a staple in the world of digital note-taking, and it’s more unusual for a note-taking app to not have them.
There’s no reason you can’t explore the preset options in your chosen app and find something that works for you. And if you don’t find something that ticks all the boxes, head over to Etsy and search ‘digital download templates.’
→ Good to know: Apple Notes doesn’t have a catalog of preset templates like Goodnotes or Notability, but you can create your own using headings and bullet points. Make sure to put your template in a separate note and title it ‘template.’ Then, when you’re writing another note, just type /template to insert it. For this to work, the note you’re writing in and the template note need to be in the same folder.
Customize your stylus (grips and tips)
Apple might be an innovator in the world of digital handwriting, but the truth is that no software changes can make a stylus feel like a pen. Besides, writing on hard glass forces you to hold your stylus much tighter than you would hold a pen, leading to wrist strain and frustration.
Then you have to think about the surface of the stylus. The glossy finish might look good, but it’s not great for your grip. Considering how slippy an Apple Pencil stylus can be, it’s no surprise that more and more people are searching for tips on how to make handwriting neater on iPad.
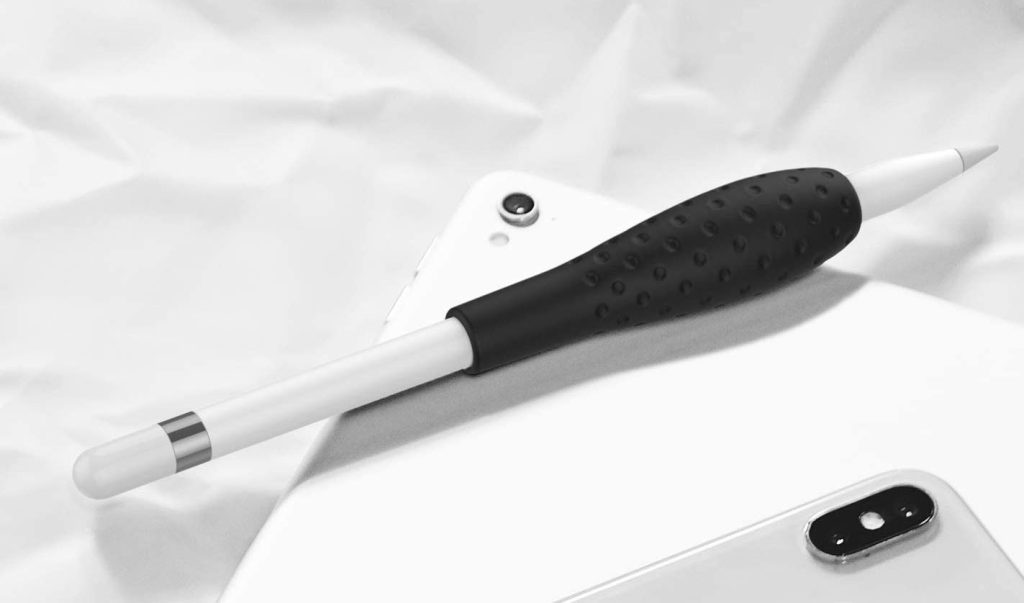
The humble pencil grip can transform your experience, giving you better control over line thickness, precision, and placement.
Originally, pencil grips were made to help children develop a proper pencil grip, called the “tripod grasp”, which happens when the thumb, index, and middle fingers are positioned correctly around the pencil. But in recent years, pencil grips have become the go-to solution for notetakers who are sick and tired of slipping and sliding over the surface of their iPads.
What to look for
To find the ideal pencil grip, you have to consider context.
Are you scribbling notes? Or drawing technical diagrams? Some grips are designed for precision, whereas others are designed for comfort. You may also want to consider the material — one person’s ick is another person’s comfort.
Then there are pencil grips specifically designed for Apple Pencils — with these grips, you can be sure the dimensions fit. They are available in multipacks for as low as $10, ideal for budget-conscious note-takers.
But before you purchase a pack of pencil grips, consider your stylus:
- Apple Pencil 1. Has a glossy finish that many people find ‘too slippery.’
- Apple Pencil 2. Has a flat edge that improves grip, accuracy, and comfort
- Apple Pencil Pro. Has a matte texture that feels more like a traditional pen
If you have an Apple Pencil 1 or Apple Pencil 2, you might want to focus on more heavy-duty pencil grips that combine functionality with comfort. If you have an Apple Pencil Pro, you might want to prioritize comfort over functionality. After all, the surface is already matte, giving you a level of control that stands head and shoulders above the 1st and 2nd generation pencils.
Try a new note-taking method
Do you have a preferred note-taking method? Or do you tend to wing it and hope for the best?
Choosing (and sticking to) a note-taking method could make your notes much more legible. If you’re searching for how to make handwriting neater on iPad, you might not expect this tip. But it’s all about giving yourself structure and removing the ifs, ands, and buts.
Believe it or not, there’s a psychological reason why note-taking methods work. Our brains crave structure because it helps us make sense of the world, reduces cognitive load, enhances predictability, and can even make us feel safe and in control.
So next time you feel disappointed by hastily scribbled notes on an infinite digital canvas, give your brain something to latch onto.
What to look for
Shopping for a new note-taking method can feel overwhelming — there are just so many options to choose from.
There’s the Cornell note-taking method, which was created by Professor Walter Pauk at Cornell University in the 1950s. It’s a relatively simple approach, with sections for a title, notes, questions, and summaries, but it’s stood the test of time.
Then there’s the mind map method, a popular option that encourages you to group similar ideas. You can experiment with a few different types of brainstorm templates, including, flow charts and brace mind maps.
If you crave a more comprehensive approach, the Zettelkasten method could be perfect. It’s akin to a data organization method, focusing on three main areas: literature, reference, and permanent notes.
To get you started we’ve rounded up all the best note-taking methods for college students — but don’t worry, professionals and hobbyists can use them too.
Final thoughts
There’s plenty of advice around how to write neatly on iPads, but one solution stands out among the rest.
A matte screen protector — and more specifically, Rock Paper Pencil — has the power to massively improve your handwriting, transforming illegible scribbles into neat, aesthetically pleasing notes.
When paired with the textured Apple Pencil tips, the matte screen protector feels just like a piece of paper. You can easily create notes in your own handwriting and remove the reusable screen protector whenever you feel like it.
If you’re looking for a comprehensive solution, you know exactly where to look.
- Removable and Reusable: Rock Paper Pencil isn’t a one-trick pony. You can remove and reuse the screen protector as many times as you like, allowing you to switch between your iPad’s smooth screen and a paper-like screen within seconds.
- NanoCling Application: Our NanoCling technology is stronger than magnets, non-adhesive, and leaves no residue!
- Matte Texture: Subtle friction mimics the feel of paper (no more slippery glass!)
- Precision Apple Pencil Tips: Smoother, more controlled strokes