Hey there! Ever found yourself chuckling at a looping animation on social media or using a moving emoji to express your feelings in a chat? If so, you’ve encountered and used GIF!
In this post, I’ll teach you how to turn an illustration into an animated GIF in Photoshop. But before we dive in, let’s take a quick look at the ins and outs of the internet’s favorite image format!

What’s a GIF?
GIF stands for Graphics Interchange Format. It sounds fancy, but all that means is that it’s a type of image file. This format was cooked up by CompuServe back in 1987 (yep, that long ago!). Since then, it’s become a staple on the internet, mainly because GIFs can do some pretty cool things:
- Compression: GIFs can shrink in size without losing much quality. This makes them perfect for the web, where quick loading times are key.
- Color Palette: They use up to 256 colors. This might sound limited, but it’s great for simple images like logos or icons. A lot can be done with 256 colors!
- Transparency: GIFs can have transparent backgrounds, which means they can blend into any web page or background seamlessly.
- Animation: The best part! GIFs can show multiple frames in a sequence, creating the illusion of movement. This makes them ideal for short animations and loops.
These days, GIFs have become an important part of how we communicate on the web. You’ll see them everywhere:
- Memes and social media: GIFs are everywhere on social media. They’re perfect for sharing quick, funny moments or reactions. Much more can be said with a GIF than with a single still image.
- Web design: While not as common as they used to be, GIFs were the go-to for animated web elements like banners and buttons.
- Communication: Platforms like Slack, Twitter, Discord, and Facebook Messenger make it super easy to drop a GIF into a conversation. They add a fun, visual twist to our chats, and I don’t go a day without using at least one in a conversation.
Pros and cons of GIFs
GIFs have been a part of the internet for decades, and they’re not going anywhere. Their blend of simplicity and versatility makes them perfect for a wide range of uses. But you should be aware of the strengths and weaknesses of using GIF file formats:
The pros of using GIF file formats
- Small file size: Thanks to clever compression, GIFs are quick to load, especially when you use a small canvas size with fewer frames.
- Animation: They can bring static images to life with motion.
- Compatibility: GIFs work pretty much everywhere – on all devices and platforms.
The cons of using GIF file formats
- Color limit: Only 256 colors can be used, which isn’t great for detailed photos.
- File size: Lots of frames mean bigger files, which can slow things down.
- Quality: Limited colors can lead to dithering and other visual quirks. You will see this most often with clips taken from movies and videos.
How to make an animated GIF in Photoshop
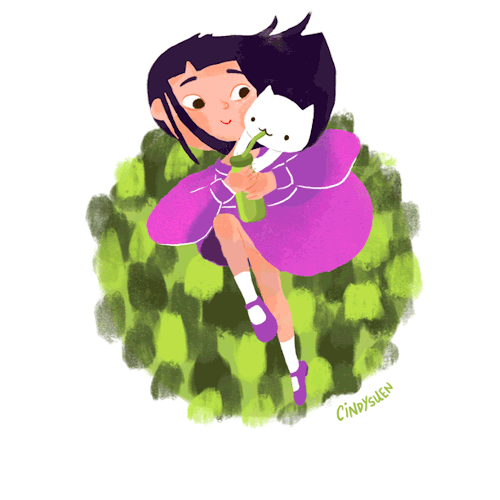
Now that you have a grasp on what a GIF is, are you ready to become a hand-drawn GIF-making wizard with Adobe Photoshop CC? It’s a piece of cake once you get the hang of it!
Creating an animated GIF in Photoshop can be broken down into a few basic steps:
- Set up your timeline
- Prepare your GIF frames
- Start drawing!
- Convert your illustrations into a frame animation
- Export your GIF masterpiece
Let’s dive in!
Set up your GIF timeline
1. Kick it off with Photoshop CC: Fire it up and let’s get started.
2. Create a new document: Navigate to File > New, set your desired dimensions and resolution, then click Create.
- For my animation, I chose a 500x500px canvas to keep the project small.
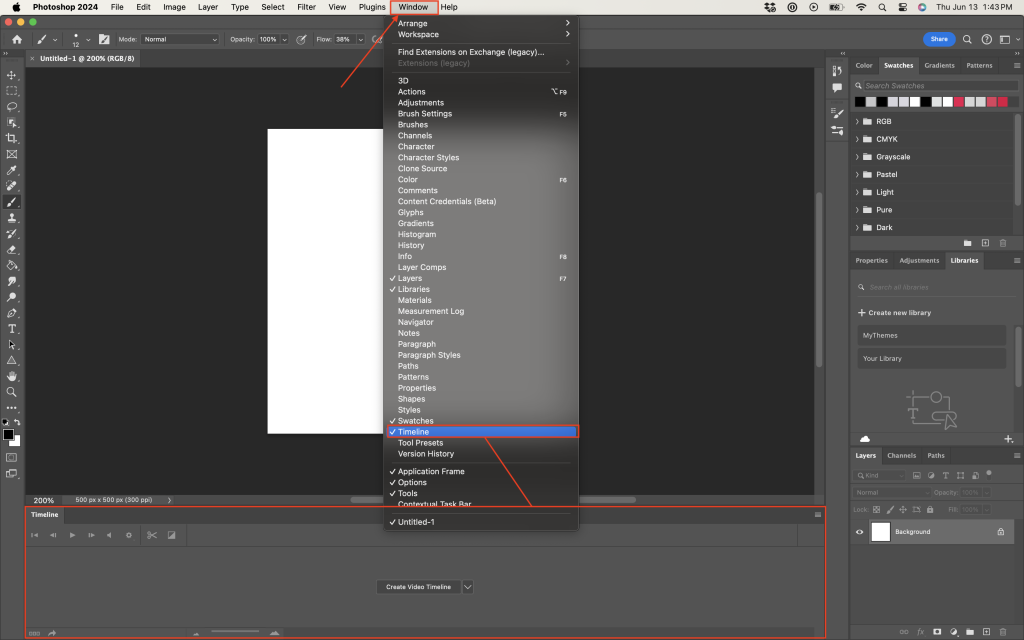
3. Open your Timeline: In the top menu bar, click on Window, then select Timeline. This will bring up a video timeline at the bottom of your screen.
Prepare your GIF frames
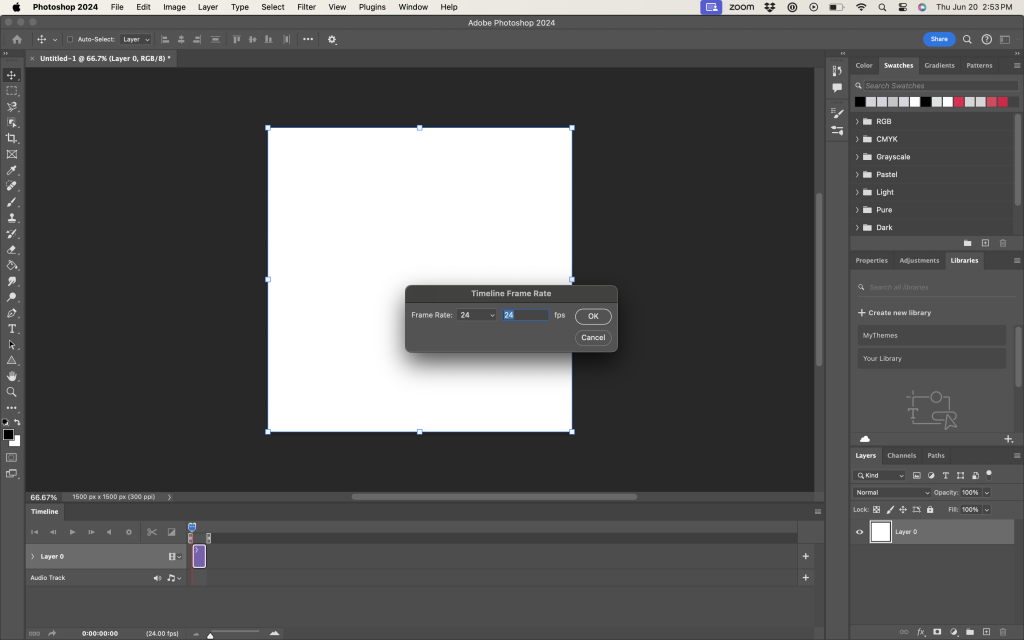
4. Set your Timeline Frame Rate: Click on the menu button ☰ in the top right of your timeline, then select Set Timeline Frame Rate.
- I recommend setting your frame rate somewhere between 24 and 30 for a GIF, and I went for the lower end of this, choosing 24fps for my animated GIF.
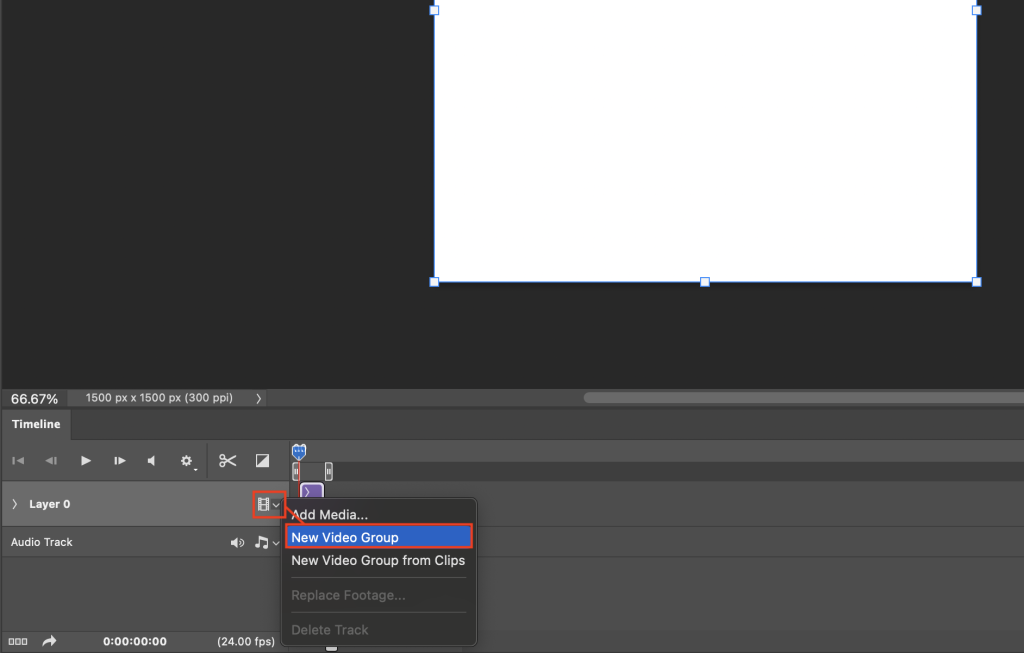
5. Create a Video Group: For our purposes, we will be drawing our frames rather than importing a video. Creating a Video Group will automatically provide us with an organized space and properly formatted layers for a GIF.
- Click on the film roll icon next to Layer 0 in your timeline.
- Select New Video Group.
6. Add a Layer to your Video Group: With your Video Group selected in the Layers window, click on the + button to add a new layer. This will give us our first frame and will show as a layer in your Layers window, while simultaneously appearing as a frame in your timeline.
7. Set the duration for your frame: In your timeline, drag the right side of your first frame to the left or right to set the duration of your frame.
- For a smoother transition between frames, I set my frame duration to 0:03 seconds.

8. Duplicate your first layer: Once you have your frame duration set for your first frame, I recommend duplicating that first layer/ frame instead of creating new ones. Duplicating this first layer/frame will ensure that the rest of them have the same duration automatically.
- I recommend creating as many as you think you will need for your animation from the beginning to save yourself some time!
Start drawing your GIF!
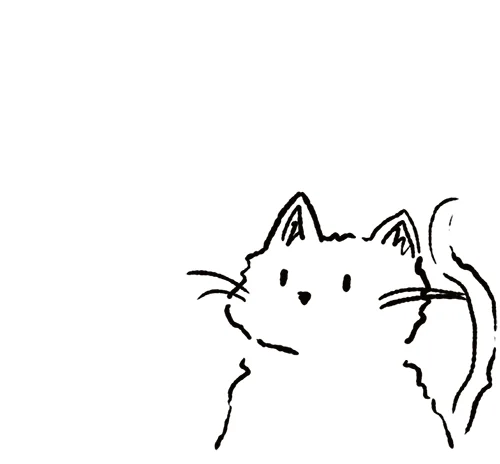
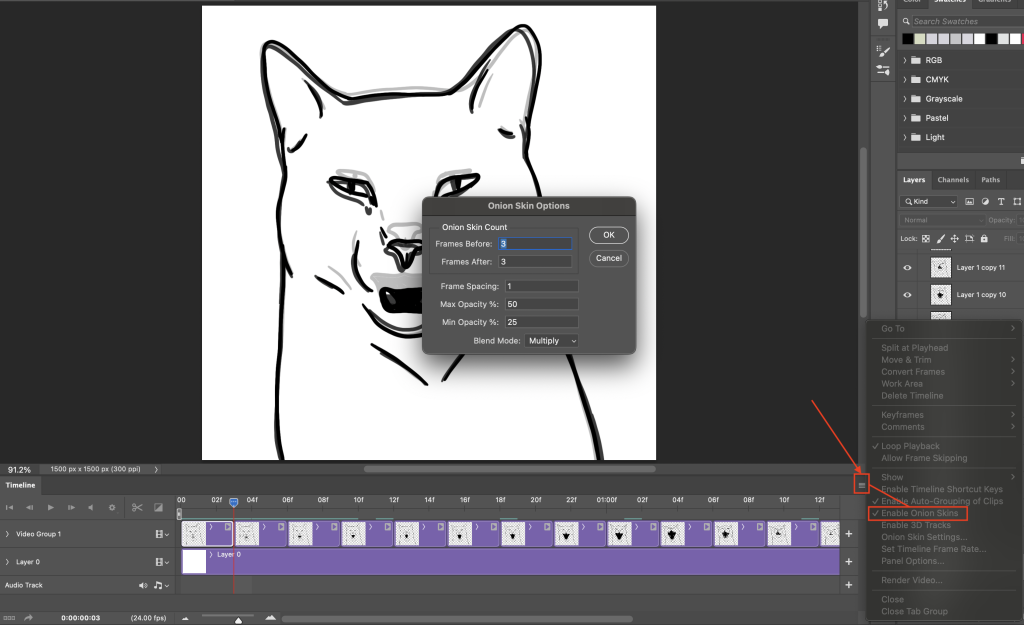
9. Enable Onion Skins: Click on the ☰ once more, then select Enable Onion Skins.
- This will open the Onion Skin Options, and I recommend keeping the settings here at their default. This will allow you to see low-opacity versions of the previous frames of your animation as you draw, which is crucial for ensuring your next frames will be lined up properly and be fluid in their movement!
10. Begin drawing your animation: Starting with Layer 1 in your Video Group, begin drawing the first frame of your animation.
- Be sure that your timeline scrubber (that red line with the blue arrow) is lined up with the frame you are working on within your timeline. As you move on to the next frame, the onion skin will appear at the beginning of the next frame on the timeline.
- I also recommend you leave your Layer 0 outside of the video group where it is, as that provides the background for your animation!
Convert your illustrations into a frame animation
11. Convert your Video Timeline into a Frame Animation: Go to the ☰ and then select Convert Frames. Then select Convert to Frame Animation. This will simplify and compress your timeline into a frame-by-frame animation.

12. Choose Looping Options: At the bottom of the Timeline panel, click the dropdown next to Forever to decide how many times you want the GIF to loop. Typically, for a GIF, you would keep it set to Forever.

Export your GIF masterpiece
13. Export the GIF: Head over to File > Export > Save for Web (Legacy). In the Save for Web window, choose GIF as the file format.
- Tweak settings as needed:
- Colors: Choose the number of colors. Fewer colors mean a smaller file size.
- Dithering: This helps reduce banding in gradients.
- Looping Options: Make sure it’s set to
Foreverif you want a continuous loop.
- Click Save and choose where you want to store your GIF file.
14. Preview your GIF: Once you are done exporting your GIF, you will likely find that most software you use to preview it will show the individual frames that make up the GIF and not play the animation. However, place it in a program that supports GIFs such as a chat or website, and you will get to see it come to life!
Final advice for creating GIFs
- Optimization: You can shrink the size of your GIF by minimizing the number of colors and frames, and optimizing the image quality settings in the
Save for Webdialog. - Smooth Animation: Make sure each frame transitions smoothly to the next for a more professional look, or just to impress your friends. Typically more frames = smoother animation.
By following these steps, you’ll be whipping up animated GIFs in Photoshop CC like a pro.
Enjoy your animation journey!
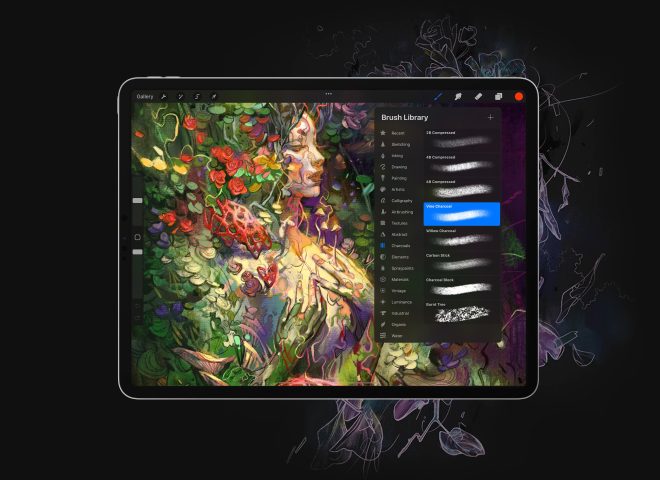
Use the full desktop version of Photoshop on your iPad

Get the most out of your animating prowess in Photoshop and more! Try out Astropad Studio with our free 14-day trial. No commitments, cancel any time.
- Mirror any desktop app on your iPad
- Compatible with Mac and PC
- Build your own shortcut panel, custom gestures, and custom quick keys
- Utilize pressure-sensitive and precise sculpting and painting
- Connects over WiFi or USB cable