According to the age-old saying, failing to plan is planning to fail. In the modern world, this is even more true. Work obligations, school deadlines, dentist appointments; all these aspects of modern life can tumble down on you when you least expect it.
So, what can you do to stay on top of your obligations?
Digital planners are the new craze sweeping the organizational world. Millions of school teachers, students, CEOs, and busy parents alike use them. To really leverage the power of organization, you just need to learn how to create a digital planner.
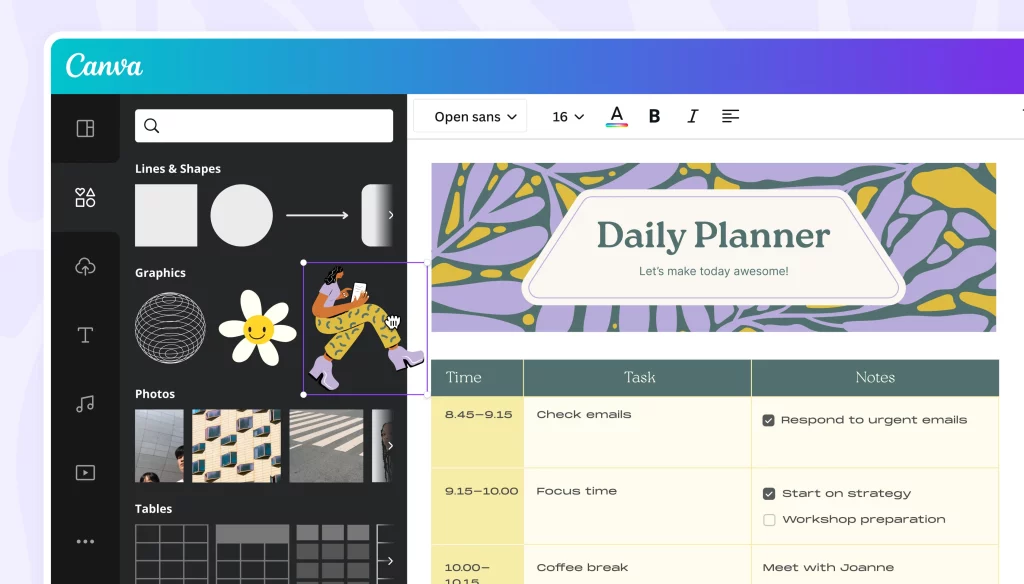
Why Choose Canva?
Canva is a super-quick, easy-to-use platform that comes with dozens of design tools and an extensive catalog. It is preloaded with stickers, graphics, templates, and all the elements you need to create a personalized digital planner.
The good news is that you don’t need a Canva Pro account to create a digital planner. There are plenty of free options available. However, if one of the Canva Pro templates has caught your eye, you can count on Canva having a 30-day free trial.
Canva Dashboard Overview
Before you learn how to create a digital planner, you need to familiarize yourself with Canva’s tools.
- Text. Add headings, subheadings, and text to the body of your planner. Change the font, color, size, italicization, and more.
- Elements. Elements include lines, shapes, animals, flowers, and much more.
- Background. Alter the background color or add your own image.
- Uploads. Upload images and graphics to make your planner even more personalized.
- Hyperlinks. Add hyperlinks to improve navigation.
- Embedding videos. Embed videos to act as visual cues throughout your digital planner.
Now that you know what sort of tools you can expect, let’s jump straight into how to create a digital planner.
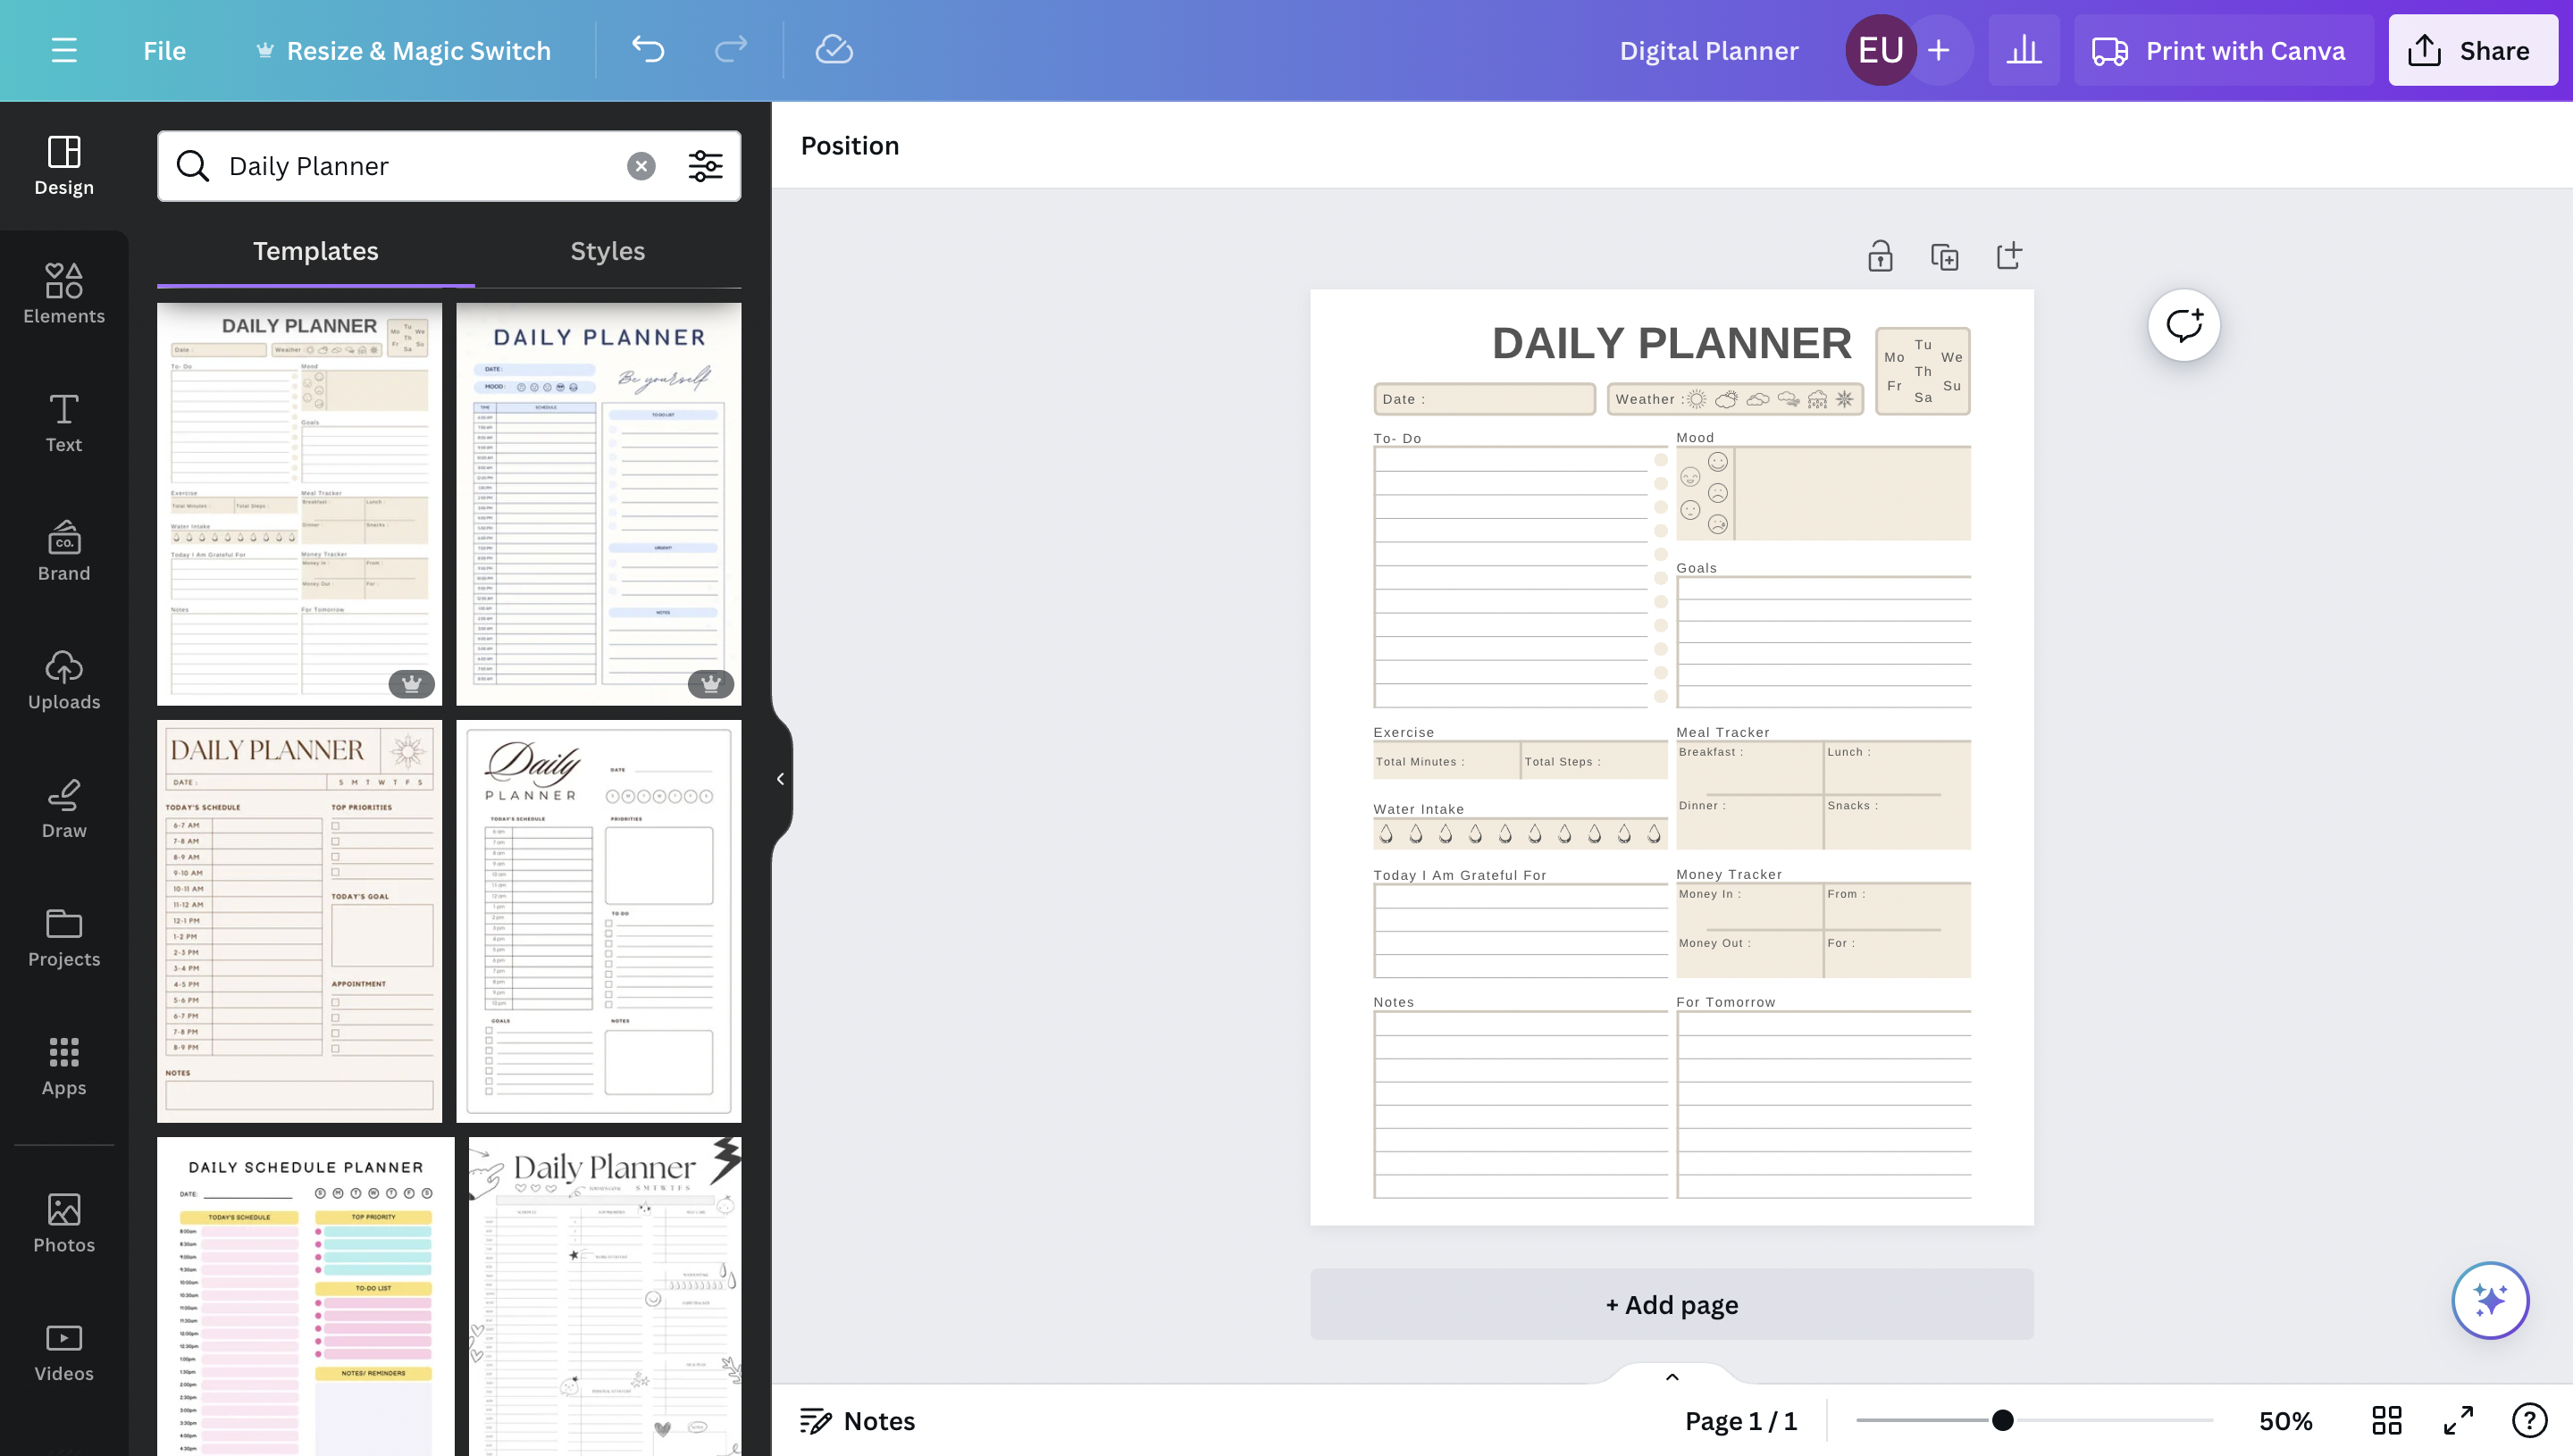
Choose a Template
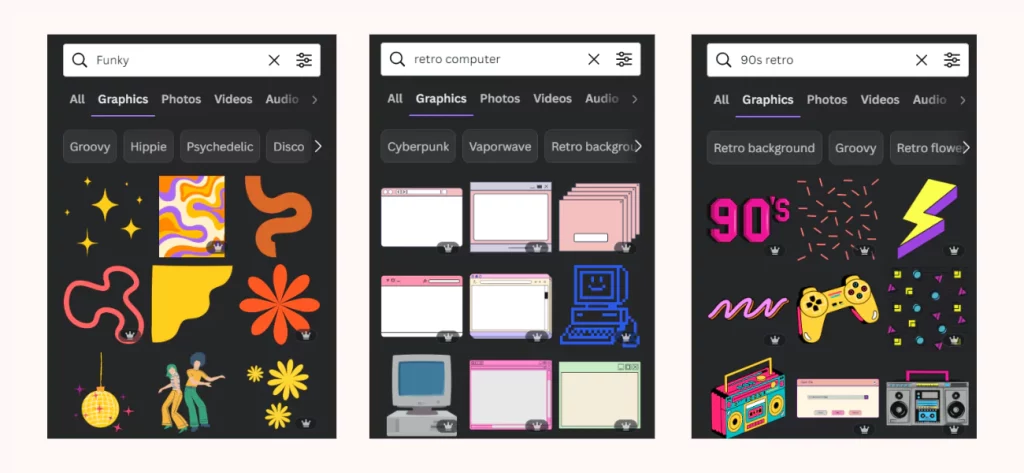
Canva is one of the first platforms that people think of when they want to create their very own personalized planner, so there are lots of options to choose from. Use the search bar on the dashboard to browse through hundreds of templates.
You can use keywords such as “daily planner”, “weekly planner”, and “monthly planner” to find all sorts of general planners. Or, if you want something a bit more niche, you can try these keywords.
- Fitness planner
- Study planner
- Goal planner
- Meal planner
- Digital marketing planner
Once you’ve searched for your ideal planner, you will see a selection of templates. If the template has a crown symbol, it is part of Canva’s Pro subscription. If there is no crown, it is free to use.
Want your iPad to feel like an actual planner? Get the most realistic pen-on-paper feel with Rock Paper Pencil – a reusable, paper-feel screen protector + ballpoint Apple Pencil tips.
Customize Your Digital Planner
This is the fun part, where you get to personalize your template.
Here are a few ways you can make changes to your digital planner.
- Experiment with styles. Go to the Styles tab and experiment with Bold, Lively, Vibrant, Dynamic, and more color options. There are plenty of preset combinations of color schemes and fonts, so you are guaranteed to get something that works.
- Toggle between templates. Even when you have chosen a template, you can still try out different ones!
- Explore elements. The Elements tab is full of fun stickers, shapes, graphics, and even a brand-new AI image generator. You can create a pink floral planner, a planner that focuses on the wonders of space, and everything in between.
- Find your dream font. The Text tab offers lots of options, including preset font combinations that are sure to make your digital planner stand out.
The sky is the limit in Canva.
Looking for a premade digital planner? Explore our 6 Best Digital Planners for iPads in 2024.
Add Interactive Elements
Interactive elements can uplift your digital planner to new heights. Hyperlinks, tabs, videos, and audio files are all available on Canva.
Add Hyperlinks
Hyperlinks are great for people who want to navigate between pages as seamlessly as possible.
- Highlight the text that you want to transform into a hyperlink
- Click on the link symbol in the menu and enter the link
- Try the hyperlink in preview mode
Add Tabs
Tabs add another element of organization to your digital planner.
- Go to the Elements section and choose a shape
- Move the button to the edge of the page, so it is outside the bounds
- Add text to the button
- Add a hyperlink to the text
Add Videos and Audio
Videos and audio files are brilliant for visual and auditory learners. You can embed tutorials, you favorite videos, and motivational quotes to get you through the day.
- Go to the Uploads or Audio section in the menu and select a file
- Drag and drop the file onto the page
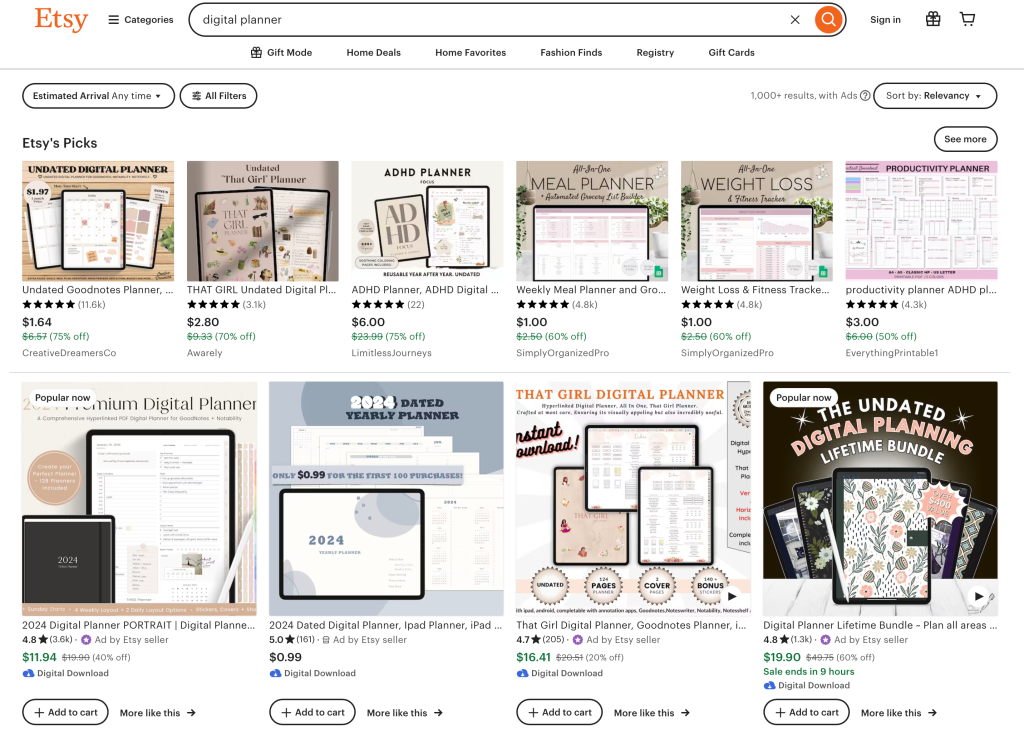
Sell Your Digital Planner On Etsy
Once you have learned how to create a digital planner on Canva, you can start selling your creations if you so choose! Etsy is a brilliant platform for blossoming creatives who want to build a fanbase and earn money from their digital downloads.
But beware, a few rules stand in the way of the success of your side hustle. Etsy allows users to sell creations from Canva, as long as they are unique. In other words, you can’t just choose a premade digital planner template from Canva and sell it on Etsy.
- Create a unique digital planner
- Save the planner as a file*
- Create a listing on Etsy and upload screenshots of your planner
- Wait for the customers to flock in
Of course, there is a little more to it than just that. Etsy is oversaturated with digital planners, so it is worth researching marketing tactics, trends, and tags.
*Etsy accepts almost every file type, but if you want to make your graphics as crisp as possible, we recommend a PDF.
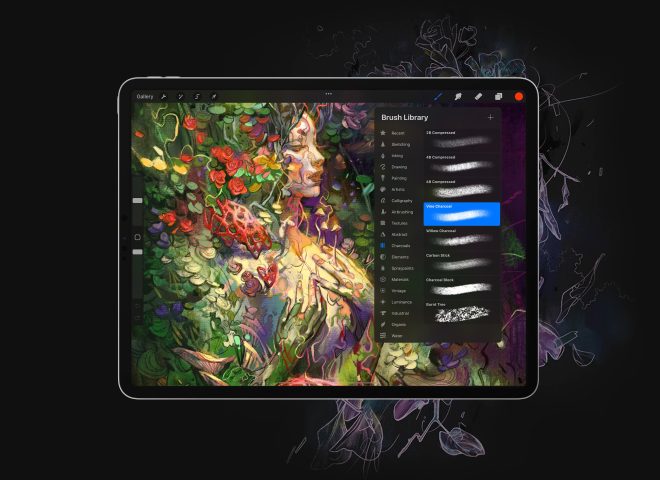
Rock Paper Pencil: A Pen-On-Paper Experience for iPad
Rock Paper Pencil is the best iPad drawing accessory for digital planners and notetakers who are looking to ditch their slippery glass screen and get a realistic pen-on-paper feel for their iPad.
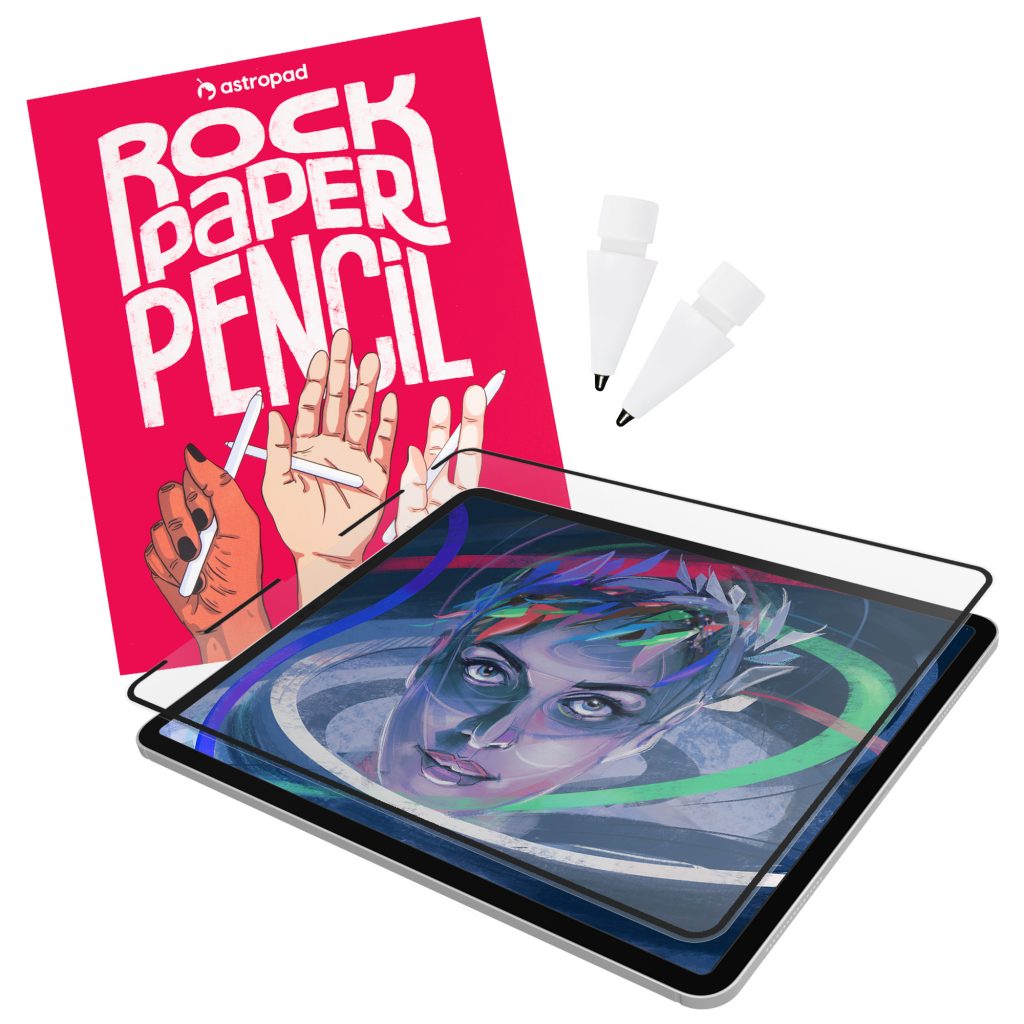
This product includes a reusable, paper-feel iPad screen protector and two ballpoint Apple Pencil tips. Built with nano-texture technology, Rock Paper Pencil adds subtle friction between your screen and Pencil, giving you more control while drawing or writing.
- NanoCling Screen Protector: Securely bond your screen protector to your iPad using static cling. Easy application, non-adhesive, removable and reusable.
- Matte Texture: Subtle friction mimics the feel of paper (no more slippery glass!)
- Precision Apple Pencil Tips: Smoother, more controlled strokes