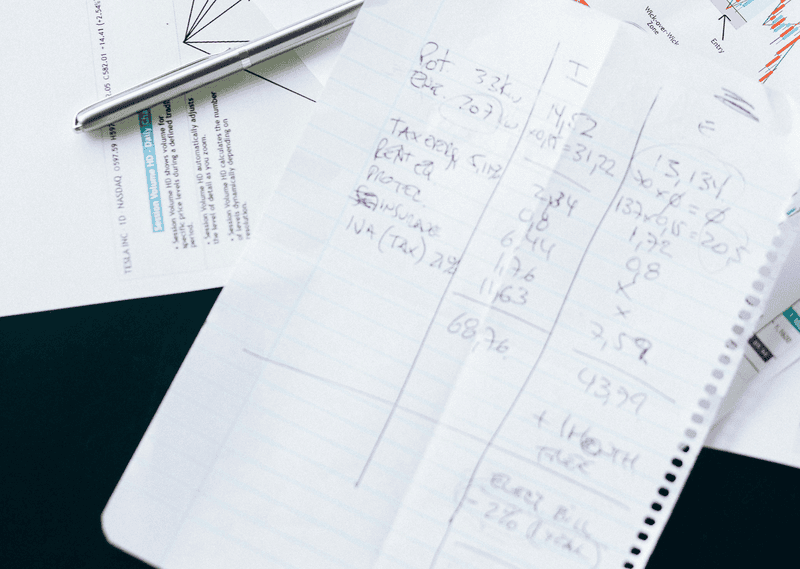
Calling all college students! Are you sick and tired of furiously scribbling notes for an hour, only to find yourself with illegible ramblings? You’re not alone.
What comes to mind when you think about being as efficient as possible during lectures? Perhaps switching from handwritten to digital notes, creating (and sticking to) a new revision routine, and reading extra materials.
The truth is that learning starts in the lecture hall. And if your note-taking method isn’t up to scratch, your foundation will be built on sand.
The best note-taking method won’t just make your existing scribbles look neater – they’ll also speed up the process and make your notes more revision-friendly. In other words, once you’ve found the best note-taking method, you’ve basically hit a home run.
But remember, everyone has a different learning style, so this isn’t a one-size-fits-all scenario. We’ll outline the pros and cons of each method, and you can figure out what works for you.
Do you want to transition from traditional to digital note-taking? Check out our guide to the best tablets for note-taking.
cornell note-taking method
The Cornell method of note-taking is the brainchild of Walter Pauk, a professor at Cornell University. Alarmed by the disorganized notes he saw during class, Pauk created a more efficient way to record his lectures.
This simple yet effective method took hold and is now used across the globe. To use the Cornell note-taking method, divide your page into four sections as follows:
- Create a title section by drawing a horizontal line across the top of the page.
- Create a summary section by drawing a horizontal line across the bottom of the page.
- Finally, create a question section by drawing a vertical line on the left-hand side of the page.
- The remaining space on the right is your note-taking area.
There you have it, draw three lines and you’ve got a Cornell notes template!
The sections are mostly self-explanatory, but it’s worth understanding the core idea behind each.
- Title section: Write a clear, concise title.
- Summary section: Summarise the key points from the lecture, using bullet points, mind maps, or whichever method suits you.
- Question section: Write questions that might trigger recall during revision sessions.
- Note-taking section: Make a note of the key ideas from the lecture.
pros
- Revision-friendly: The built-in summary and questions sections will streamline your revision sessions.
- Quick and easy setup: It’s just three lines!
cons
- Not ideal for visual learners: If you learn best through images and videos, this might not be the best note-taking method for you.
- Note-taking section is limited: There’s a finite amount of space for notes, which can be frustrating.
We’ve covered more pros and cons of the Cornell note-taking method in another article.
mind map method

Ah, the humble mind map. It’s simple, but it gets the job done. If you’re like us, you’ve been using mind maps since elementary school. It’s a visual way to represent information, starting with a topic, question, or keyword. Draw a circle around the central point then draw lines outward and make a note of all the key information related to that topic.
That’s a basic mind map, but we’re also fond of some of the lesser-known mind map formats.
- Brace mind maps – Braces, also known as curly brackets, can revolutionize your mind map game. Put your central idea on the left, then use braces to list related information. It’s great for representing hierarchies and key dates.
- Flow chart mind maps – On the left-hand side, write the first piece of information in a box. Then draw a line to another box, and another, and another, and so on. Flow charts are fantastic for illustrating the relationship between information, like the steps in the carbon cycle or respiration.
- Brainstorm mind maps – By far the least structured type of mind map, the brainstorming option allows you to write your ideas freely. Start with a central idea – or two, or three – and draw lines to connect them.
pros
- Almost nonexistent learning curve: It really couldn’t be simpler, perfect for busy college students!
- Versatile: You can explore all the different types of mind maps until you find something that works for you.
cons
- No revision help: The other options on our list – like the Cornell note-taking method – have built-in sections to support you during revision.
boxing method
The boxing method combines written and visual learning styles. As the name suggests, it involves sorting information into separate boxes.
Let’s say you’re in a lecture about the boxing method. Here are examples of titles for boxes:
- What is the boxing method?
- Main points
- Questions
- Keywords
The titles aren’t set in stone – you should choose whatever works for you. However, the boxing method isn’t completely lawless. You should title each box and stick to one piece of information per box. Once you’ve created all your boxes, you can draw lines between them to establish connections.
This is one of the best note-taking methods for complicated topics. It breaks concepts into simple bits of information, allowing you to follow a logical sequence that creates a bigger picture.
pros
- Clear format: The clean, concise format is ideal for revision, cutting out the jargon and getting to the heart of the issue.
- Improves critical thinking skills: Using the boxing method can develop your thinking skills, allowing you to easily identify key points.
- Visual appeal: Visual learners can see distinctions and connections between key bits of information.
cons
- Multiple steps: It’s difficult to use the boxing method during a lecture – instead, most people take notes and rewrite them using the method afterward.
charting method
Here’s a note-taking method for people who prefer visual cues. It involves creating a chart (or table) both horizontally and vertically. You might want to use this method if you’ve got to collect and categorize lots of key bits of information. Here’s an example.
Let’s say you’re listening to a lecture about literary techniques. In the top left-hand corner of the table, write “techniques”. Underneath, write all the techniques in individual columns.
Treat the chart as a jumping-off point to explore whichever topic you’re learning about. It’s easy to create, requires very little time or tools, and has a distinctive visual element that could help you remember key information.
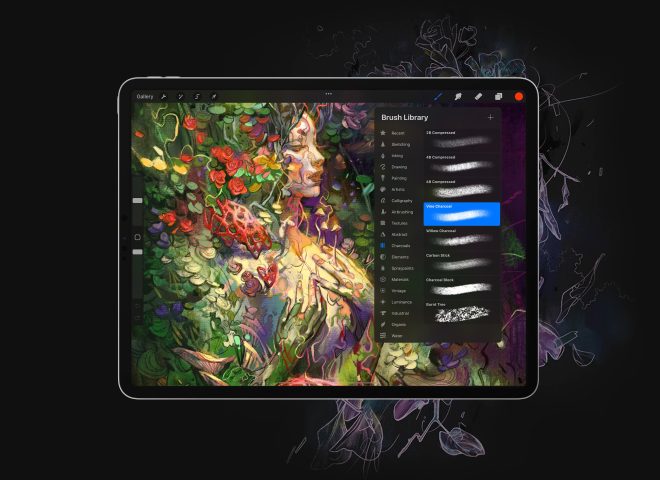
Digital note-taking makes the charting method much easier; you can erase mistakes, add hyperlinks, and even draw diagrams to make your notes visually appealing. Have a look at the best note-taking apps for iPads to find something that works for you.
pros
- Good for comparison: Easily compare concepts and important information.
- Great for summarizing information: Summary sections force you to put ideas in your own words, boosting recall and personalizing revision.
cons
- Not ideal for analysis: The format works best for bite-sized bits of information, not long-winded analysis.
- Not suitable for more abstract concepts: This method is better suited to information that’s set in stone. For instance, if you’re learning about the functions of mitochondria, it’s great. But if you’re attending a lecture on literary representations of the afterlife, the charting method might fall short.
the zettelkasten method
As far as note-taking methods go, very few can say they’re as comprehensive as the Zettelkasten method. It’s a data organization method that allows you to compartmentalize and retain information.
German sociologist Niklas Luhmann invented the Zettelkasten method to improve his recall. Luhmann published more than 50 books over the course of his career, and he attributes it to the method.
Zettelkasten translates to “note box”, and in this context, it refers to an index card box, which is basically a very organized filing system that keeps related information together. By linking information together, the Zettelkasten method encourages you to draw your own conclusions, strengthening neural pathways and improving recall.
This note-taking method focuses on three main types of notes:
- Literature notes: Notes you make as comments on texts you’ve selected. They add context to the text, summarizing the key ideas and your thoughts. Remember, you should always make a note of the book title, author, chapter, and page number to streamline your study sessions.
- Reference notes: Notes that organize your thoughts into specific categories. You can do this in many ways, including using hashtags, color coding, and creating title pages that link to the categories.
- Permanent notes: Notes that stand alone – these ideas don’t need any direct context from outside material. They can be anything from summaries of lectures to thoughts you’ve had while reviewing your literature notes. The aim is to process your literature and reference notes and create new ideas.
You might want to reserve another folder (or jotter, depending on how you take your notes) for fleeting notes. This section refers to random thoughts, and you’re free to make these notes as unstructured as your heart desires.
The Zettelkasten method might take a little longer than the other note-taking methods on our list. After all, it’s unrealistic to take Zettelkasten notes the first time around – most people go to their lectures, take notes, and then rewrite them according to the Zettelkasten method later.
pros
- Develop your own ideas: The Zettelkasten method isn’t just about recall; it encourages you to organically come to conclusions and develop ideas.
- Store information for years to come: If you want to retain information for years to come, this method is ideal for you.
cons
- Large learning curve: Unlike the Cornell note-taking method, the Zettelkasten method needs a significant time investment.
- Not great for short-term revision: If you need to cram just before a test, you might find more success with another note-taking method.
outline method

We’re rounding off our list of the best note-taking methods with one of the most minimalist ones out there: the outline method.
Here’s how to set up the outline method:
- Write the title at the top of the page.
- Write a heading that summarises the main topic.
- Underneath the heading, indent to the right and write the sub-topic.
- Underneath the sub-heading, indent to the right and write any extra information, like supporting facts, context, or even just your thoughts.
Don’t let the simplicity of this technique fool you – it’s a great way to break down complicated topics into easily digestible chunks of information.
pros
- Highly structured: If you prefer a structured approach to taking notes, the outline method could make your life much easier.
- Illustrates hierarchy: The nested points make hierarchies clear, making it easier to understand how bits of information relate.
- No tools necessary: All you need is a pen and a piece of (digital or physical) paper!
cons
- Doesn’t encourage original ideas: This method is good for organizing all the important information in a topic, but it isn’t great for sparking new ideas. In fact, the regimented structure could discourage you from thinking outside the box.
final thoughts
The best note-taking method isn’t necessarily the one you were taught in school. It’s worth trying all the options and finding something that works for you and remember, you should always leverage your natural abilities. So, if you’re a visual learner, the mind map and charting methods could play to your strengths.
Rock Paper Pencil: A Pen-On-Paper Experience for iPad
Need to take notes on-the-go but don’t want to sacrifice the satisfying feeling of pen on paper when studying with your iPad? Rock Paper Pencil is for you!
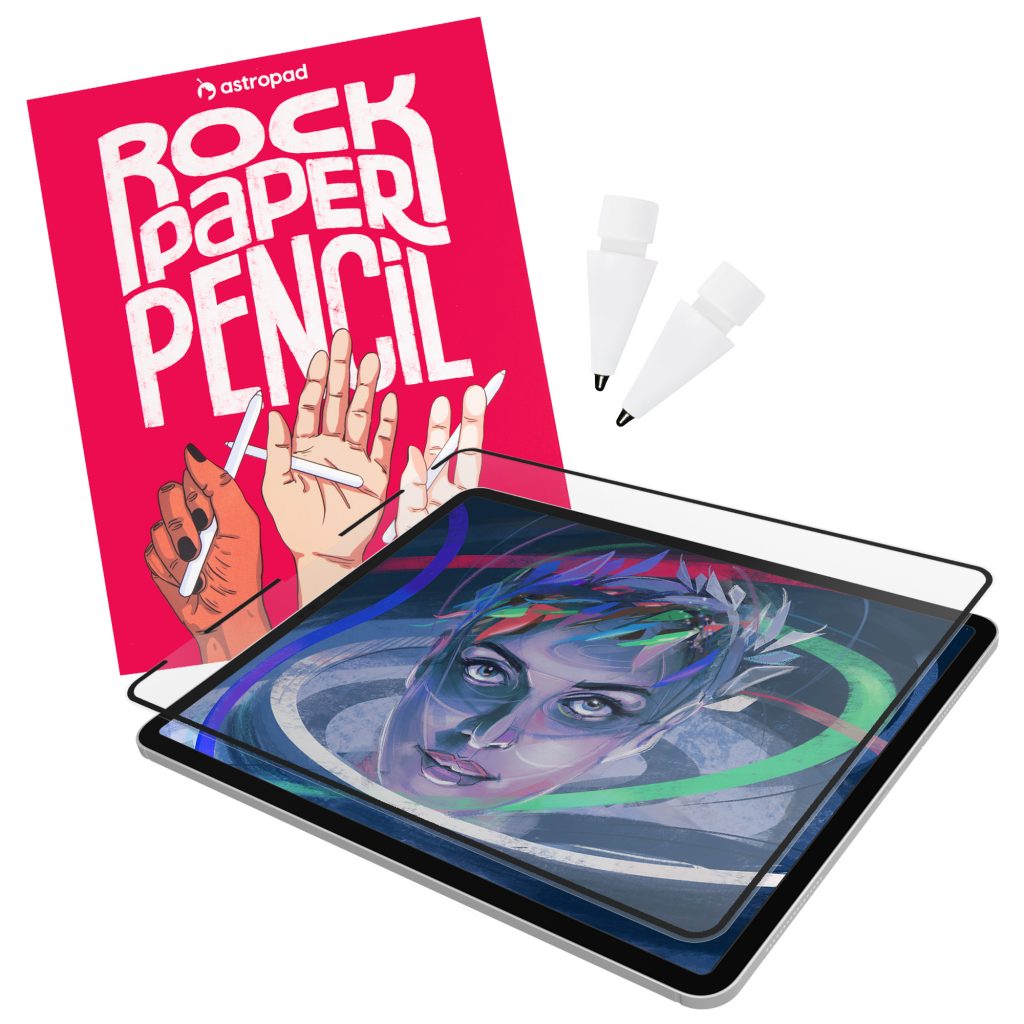
Designed to create the most realistic pen-on-paper feel for iPad – Rock Paper Pencil includes a reusable, paper-feel iPad screen protector and two ballpoint Apple Pencil tips.
Built with nano-texture technology, Rock Paper Pencil adds subtle friction between your screen and Pencil, giving you more control while drawing or writing.
- NanoCling Screen Protector: Securely bond your screen protector to your iPad using static cling. Easy application, non-adhesive, removable and reusable.
- Matte Texture: Subtle friction mimics the feel of paper (no more slippery glass!)
- Precision Apple Pencil Tips: Smoother, more controlled strokes