Affinity Designer is a versatile, all-in-one program that has tools to work with and create both vector and raster images. Starting on a sharp poster design, or making quick photo edits are all possible without opening another program. In this quick, step-by-step guide, we’ll help you organize an efficient workspace for using Affinity Designer with Astropad Studio.
Rearranging workspace and tool panels
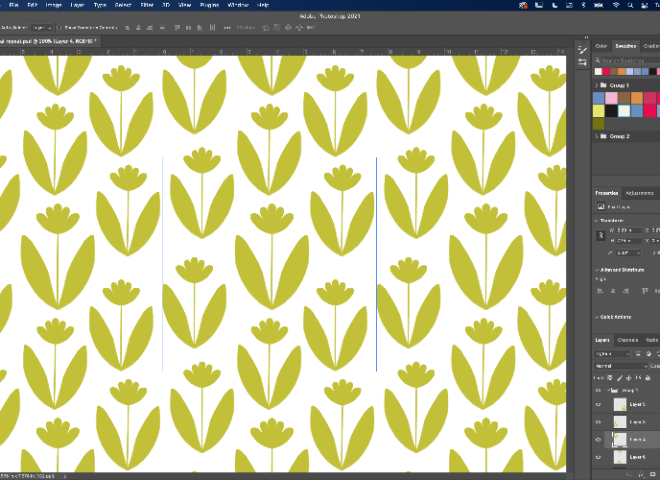
For Affinity Designer, by default the tool panel is set to appear on the left side and other panels (e.g., Color, Layers, and Brushes) appear on the right side. These panels can be grouped together, or viewed and moved individually anywhere on screen.
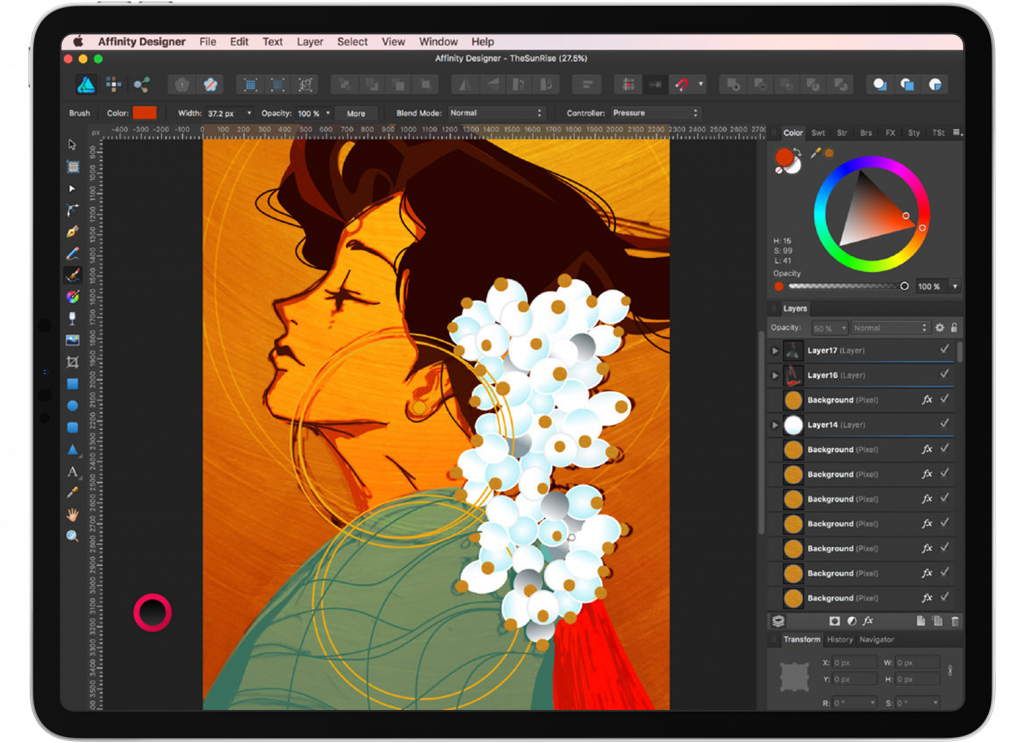
Your tools can easily be organized all to one side, or scattered around your canvas area.
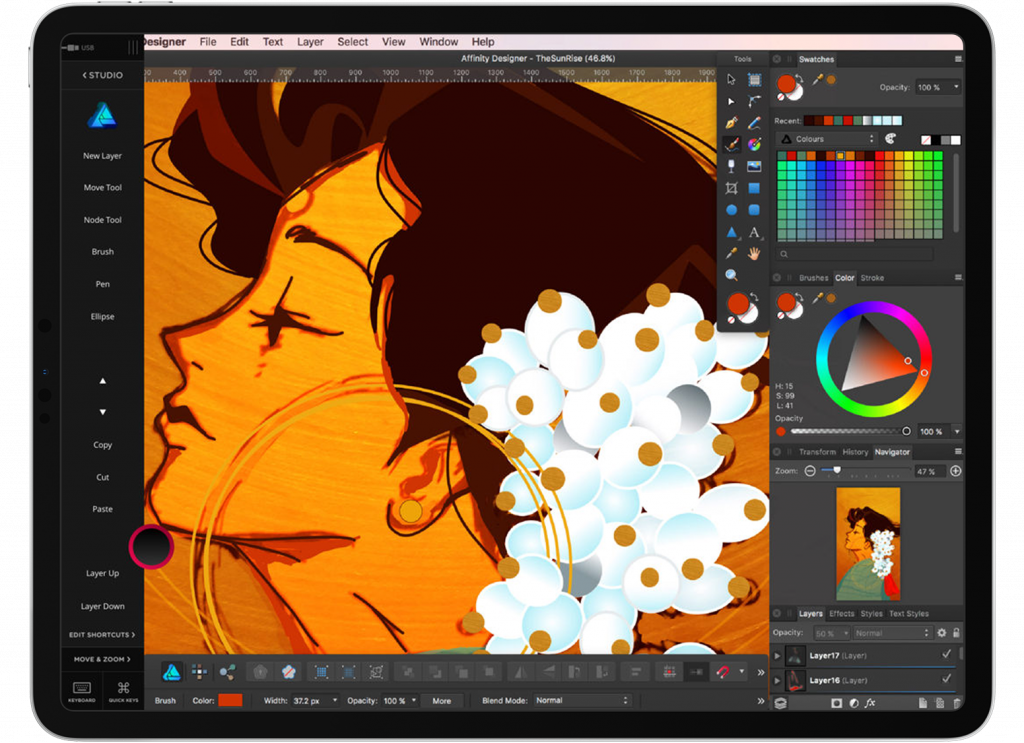
If you want more control over your workspace in Affinity Designer, go to Window and select Separated Mode. This enables all of your panels to be free-floating, including the menus at the top and tools panel, increasing your canvas space versatility and accessibility.
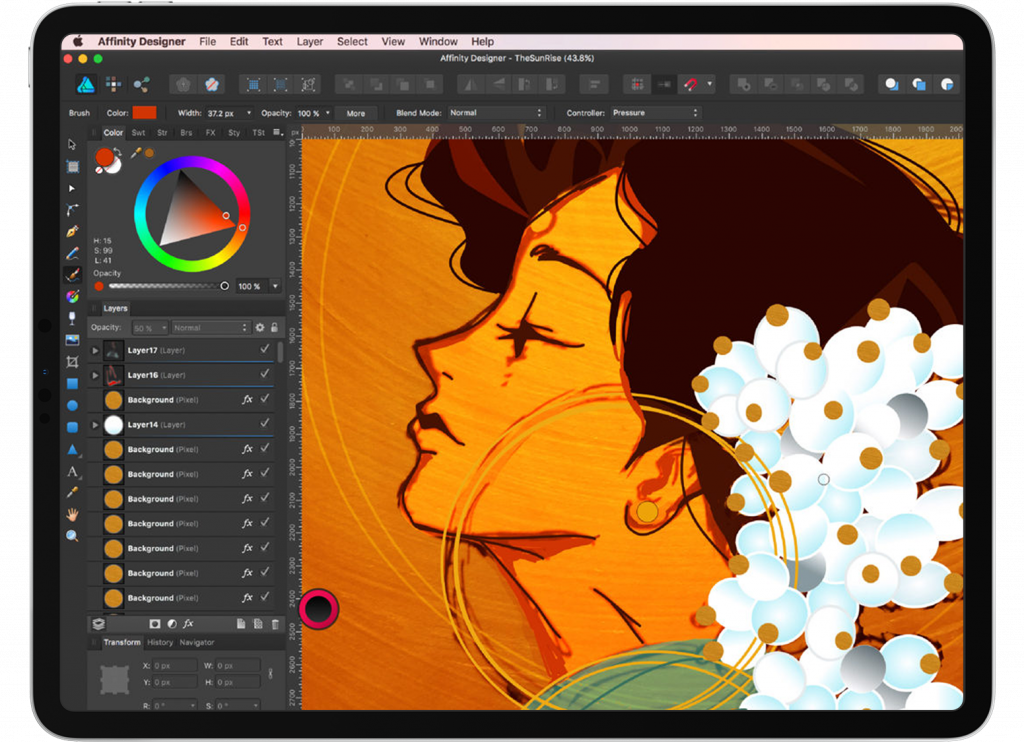
Any type of panel arrangement works with Astropad Studio, since the sidebar can be placed to the left or right side of the iPad screen, or hidden by tapping the Astro-red ring button.
Shortcuts in Affinity Designer
Astropad Studio’s shortcuts are preset to default, so you will need to change them to accommodate Affinity Designer. In Astropad Studio’s Workspace sidebar, towards the bottom, tap Edit Shortcuts. You can fully edit and rename shortcuts for the sidebar. When you’re done, tap Workspace to see all your newly added shortcut commands.
Also note, in Affinity Designer different Personas (Draw Persona, Pixel Persona, Export Persona) may have shortcuts that don’t work in another Persona.
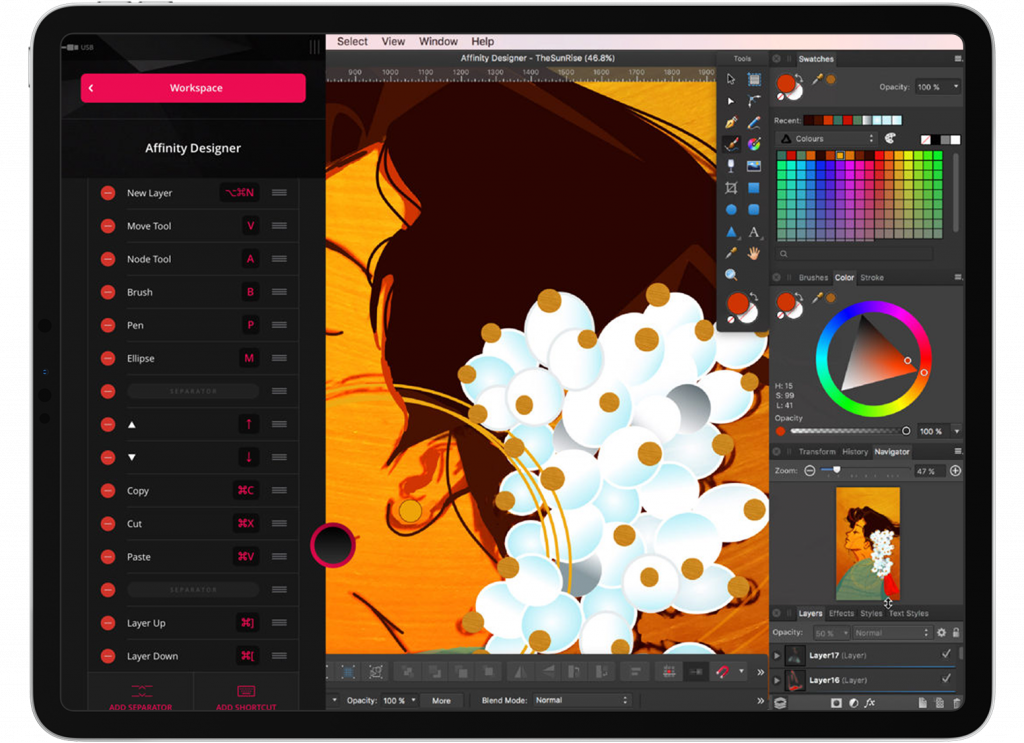
Recommended shortcuts for Astropad’s sidebar:
- B : Brush Tool
- P : Pen Tool
- M : Ellipse Tool
- A : Node Tool
- V : Move Tool
- Option Command N : New Layer
- Command ] : Layer Up
- Command [ : Layer Down
Suggested Magic Gestures:
- Hover
- Eraser
- Shift
- Undo
- Redo
Touch panning and zooming gesture
Astropad’s touch gestures, panning and zoom, are supported in Affinity Designer. Using two fingers, pinch to zoom, and place together to pan on your iPad. This way, you won’t need to keep the scrollbars in view when you set up your ideal workspace.
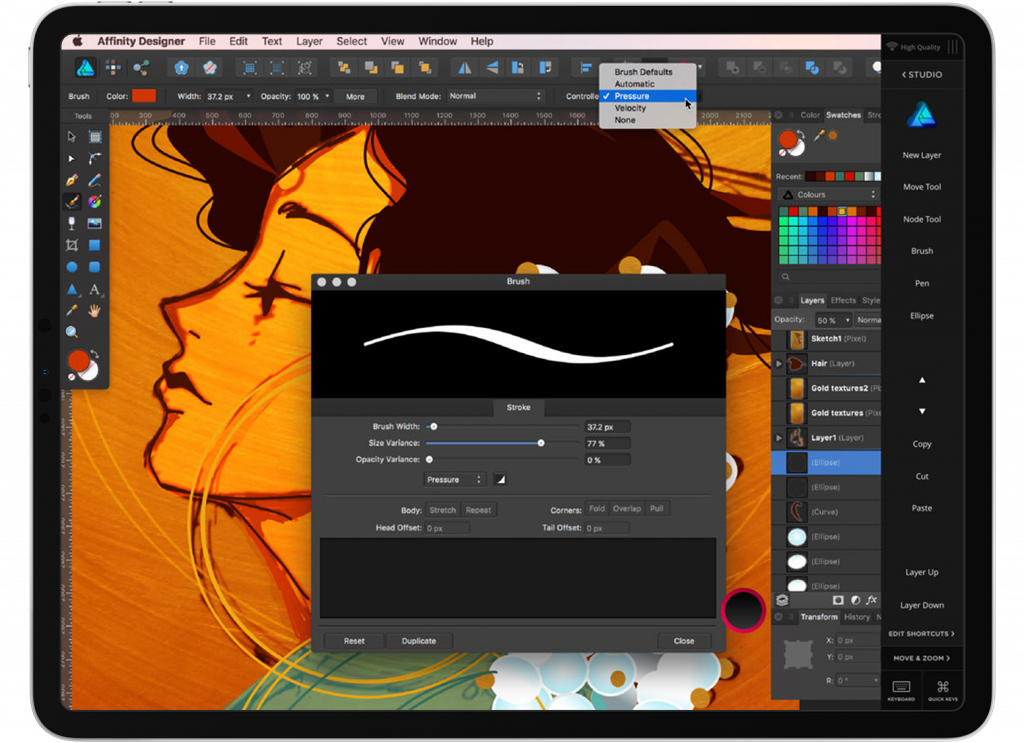
How to set pen pressure
To utilize pen pressure in Affinity Designer, some settings will need to be adjusted. Select the More button, right next to Opacity, to open individual brush settings.
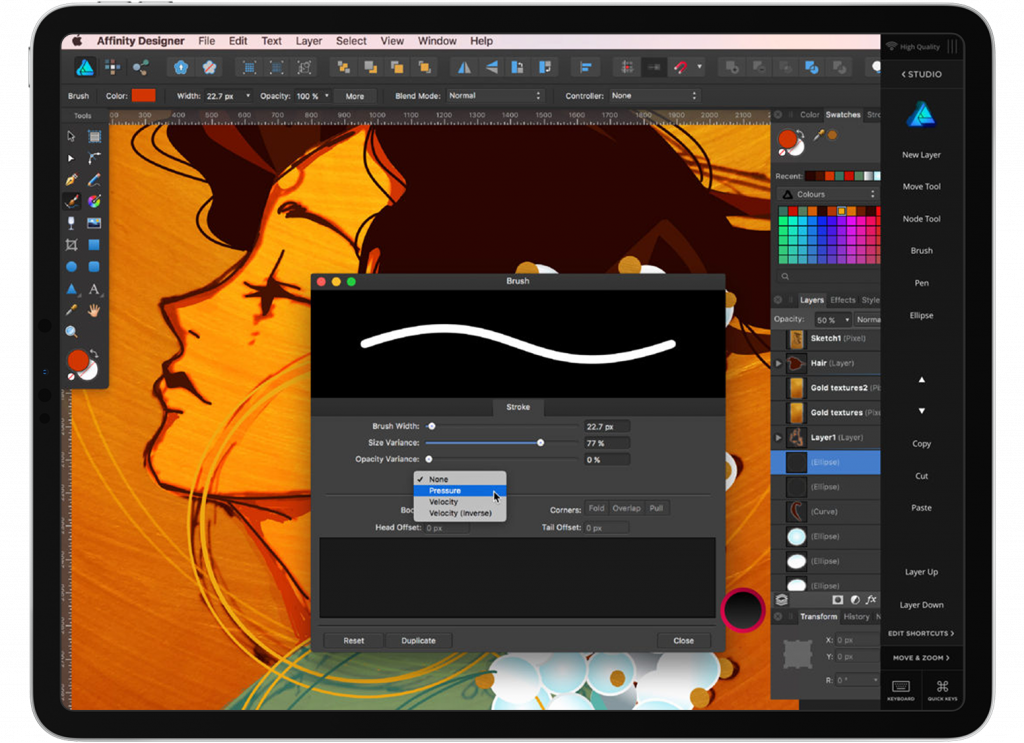
Enable the Pressure option, and also change the size variance to give a range for the change in pressure. Also in the top menu, there is a Controller option; set this to Pressure.
Using Astropad Standard
If you’re using Astropad Standard with Affinity Designer, here’s a few things to note with shortcuts :
- Undo (Command Z) and Redo (Shift Command Z) will need to be changed in the Shortcuts sidebar.
- Also, the shortcut for Eraser (E) is only usable in the Pixel Persona.
Enjoy using Affinity Designer? Share with us on the Community Forum!