Hey there!
Spring is right around the corner and this time of year always brings a burst of creative energy for me!
Before I begin working on a new collection of digital illustrations and surface pattern designs, I like to create a moodboard that inspires the style of the illustrations I want to create. This helps me focus and channel my vision, assisting in the creation of a cohesive collection that is ready to share with the world.
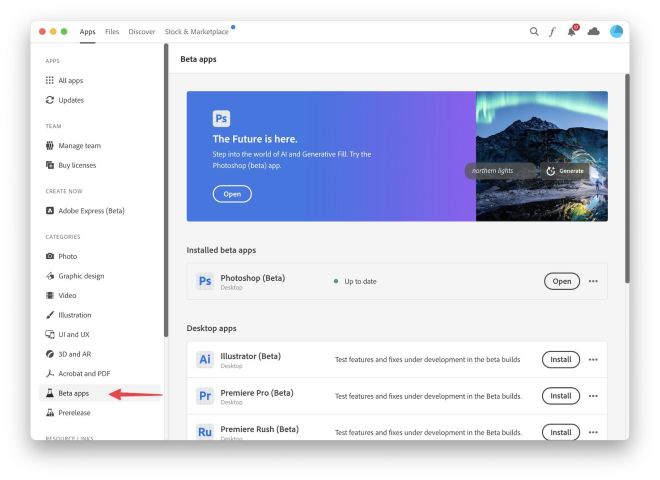
This month, I’m going to lead you through my process of creating a digital mood board in Adobe Illustrator.
1. Gather physical and digital inspiration
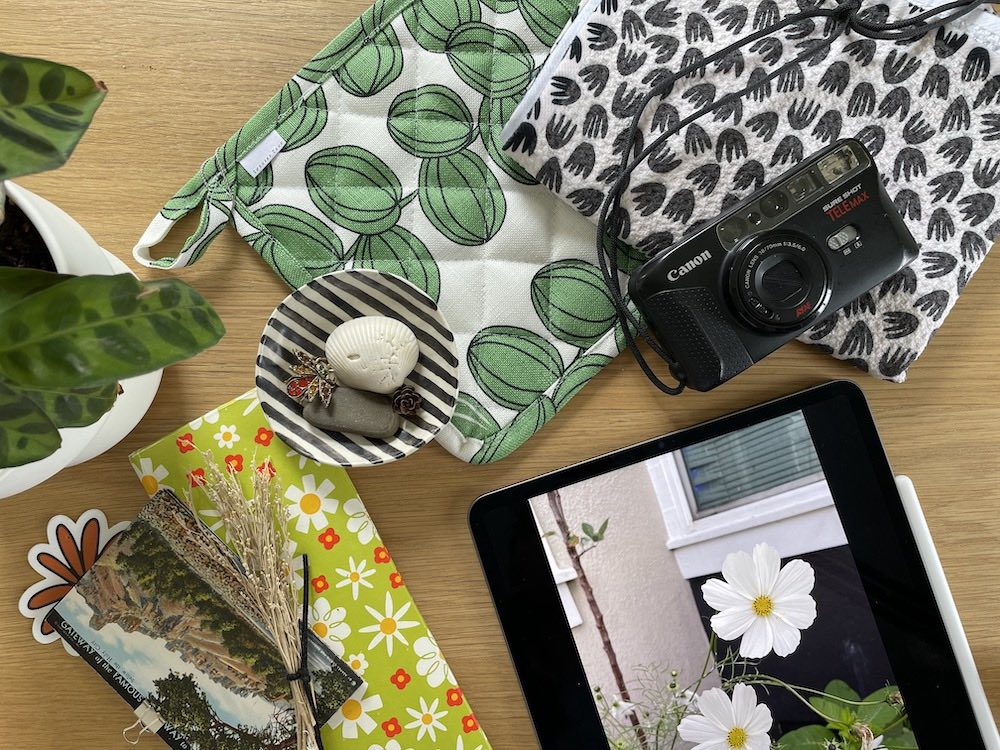
To get started, work on collecting physical objects and digital images that will help inspire the creative direction of your work. At this stage, I like to get out of my studio and explore museums, shops, and gardens to hunt for inspiration. Sometimes, I’ll even be inspired by a movie or a show!
With your camera in hand, adventure outside and capture images of shapes, colors, and textures that inspire you. Keep these images in a designated folder to help you stay organized.
2. Organize and refine
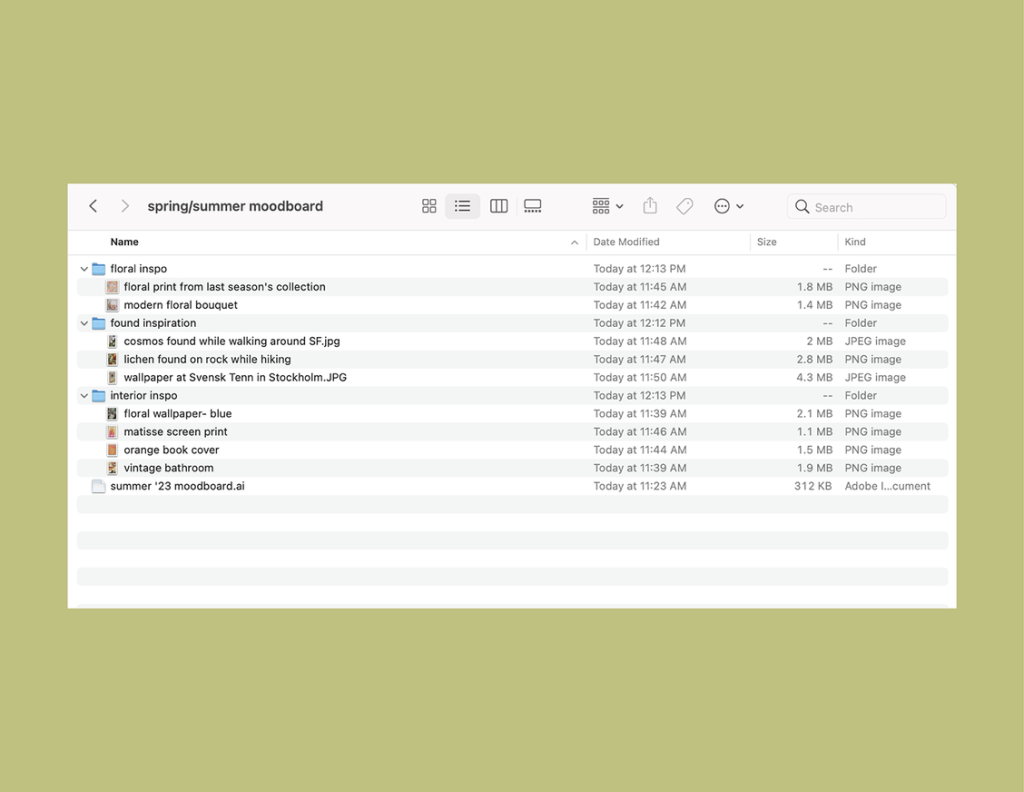
Once you have all of your inspiration images in a folder, take some time to organize them by color, shape, and idea. (I often find that when I’m hunting for inspiration, I can create 2-3 different collections with one inspiration gathering session!) This is super helpful since it can be hard to get away from your desk.
After you have everything organized in separate inspiration folders, It’s time to lay them out in Adobe Illustrator!
3. Layout in Adobe Illustrator
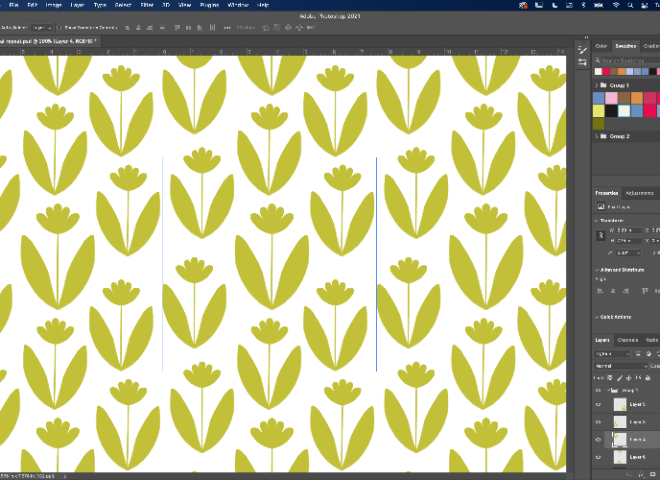
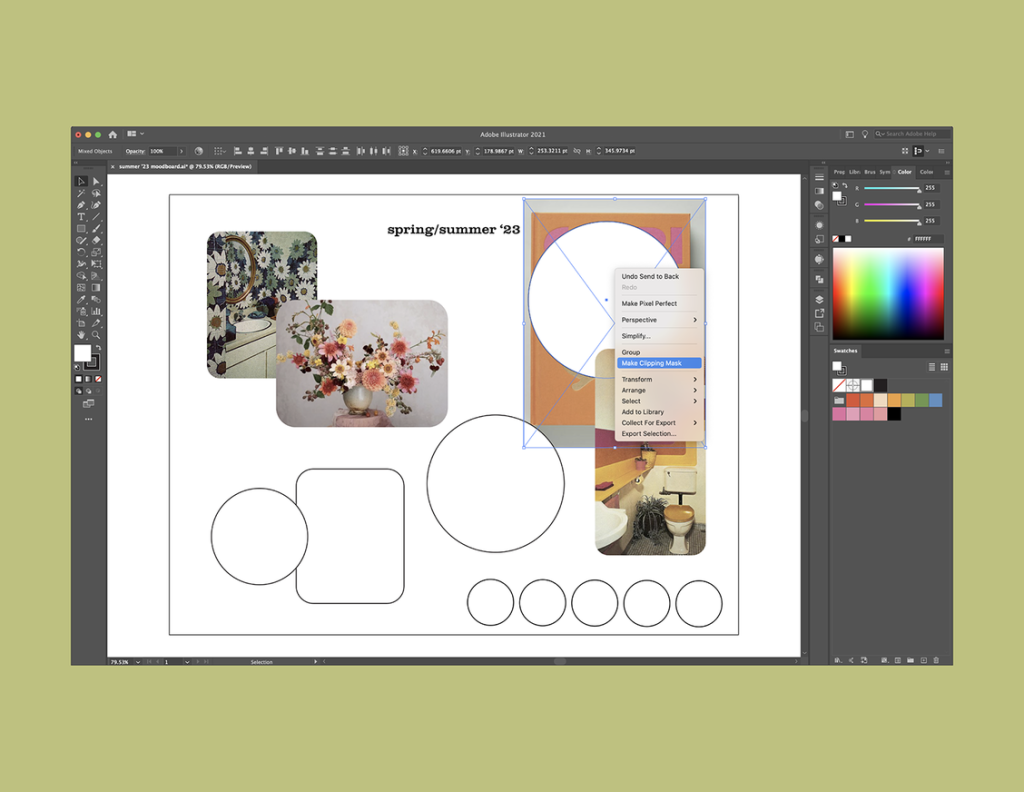
Start by creating a document the size of your ideal moodboard. (I like to make mine letter size in the landscape orientation.) Next, use the rectangle or ellipse tool (M or L) to create different shapes where you can insert inspiration pictures. It’s important to leave a bit of negative space around the images to encourage balance, otherwise it can become a bit chaotic.
To place your images into the layout, use the “place” command (⌘ + Shift + P) and move the placed image behind the shape. With both the shape and image selected, right click and choose “make clipping mask.”
Once you have everything laid out, then use the eyedropper tool (i) to grab colors from the pictures and create a color palette. You may not use these exact colors, but they can be a great starting point and help guide you when selecting final colors.
4. Use your moodboard to influence new artwork
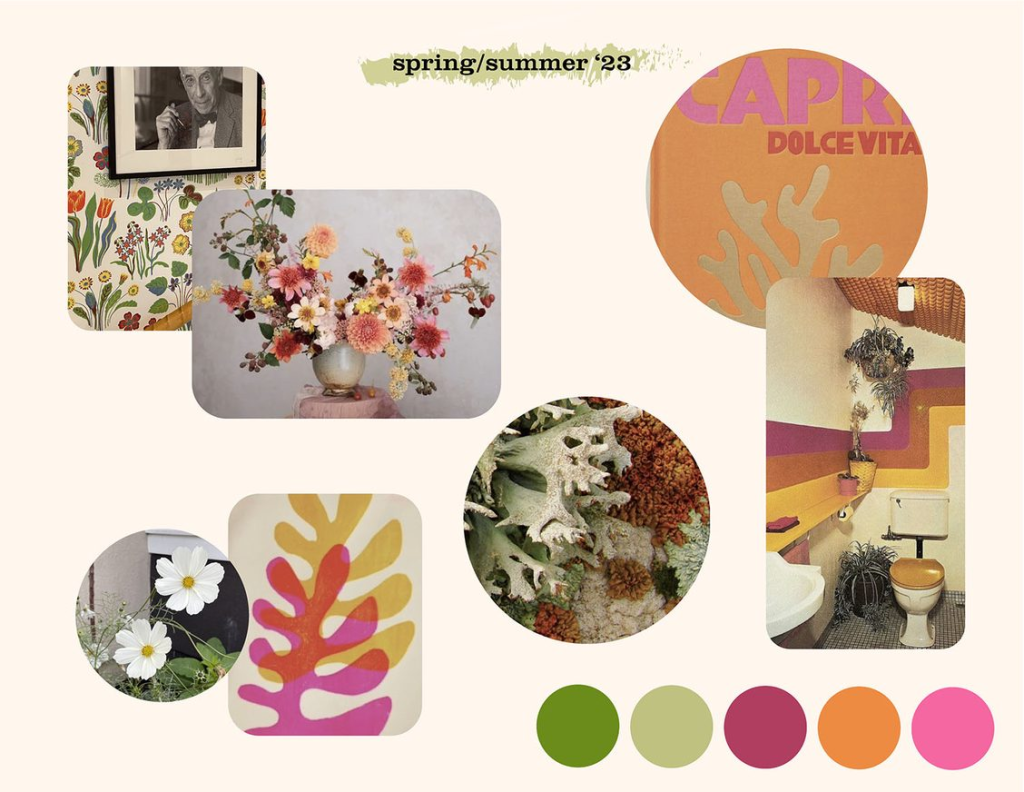
Once you have everything laid out and the color palette selected, it’s time to get to work creating illustrations and patterns inspired by the story moodboard. Keep your moodboard in your back pocket and make sure to reference it periodically while designing. This strategy ensures that all of your work remains cohesive, which is perfect when designing for clients or creating a portfolio for art licensing.
Creating moodboards is great exercise for your creativity, and oftentimes when working with clients, moodboards can help you pitch your ideas!
I’d love to see your take on a moodboard. Feel free to share with me by replying to this email or tagging me on social media.