If you’re a slower, more methodical artist like me, Procreate’s Quick Menu can be a lifesaver for your workflow. The Quick Menu is fully customizable so you can easily access your most-used tools.
While every artist will have their own unique Quick Menu setup, today I’m going to show you what works for me. You can take inspiration from my setup to build a workspace that feels right to you!
Choose a gesture to access the Quick Menu in Procreate
First, head on over to your Settings (the wrench icon), then Prefs > Gesture Controls. From there, tap into Quick Menu.
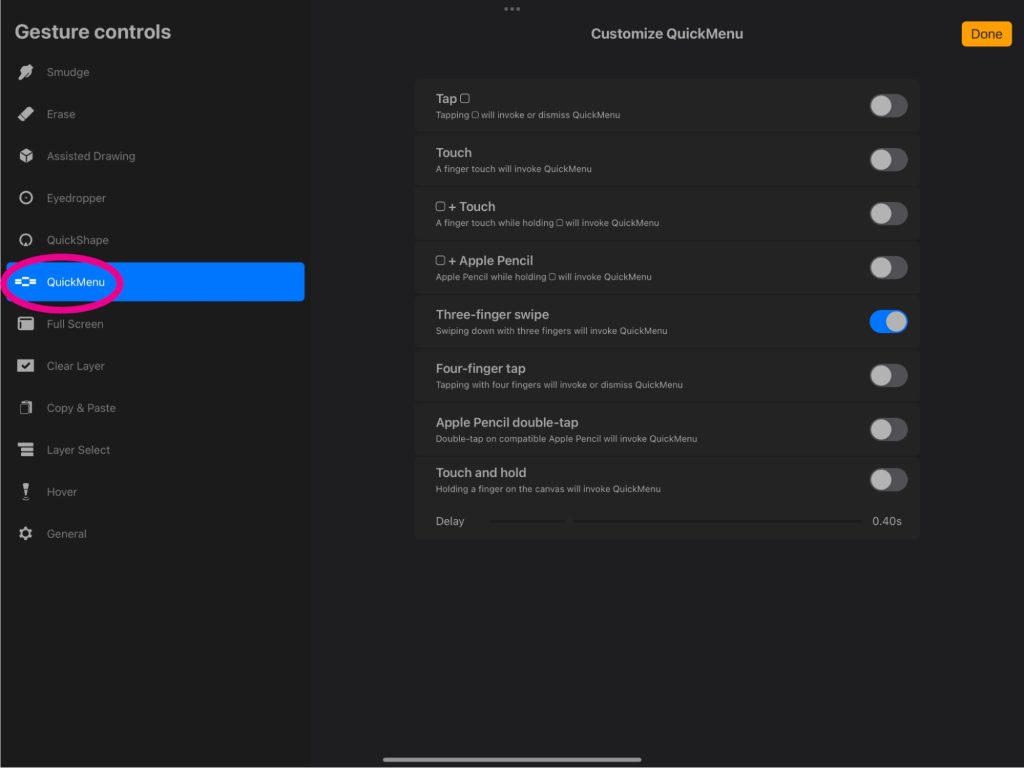
You’ll see a bunch of different options for how to activate the Quick Menu. Keep in mind that you may already have another setting set up for that specific gesture. Fortunately, if you activate the same gesture twice on accident, Procreate will alert you with a blinking yellow warning sign, so no need to fret!
Once you decide on a gesture to activate the Quick Menu, you can make your selections and press Done at the top right of your screen.
How to customize your Quick Menu shortcuts in Procreate
Now that you have the Quick Menu activated, let’s customize it! Use whatever gesture you selected to open up the Quick Menu.
Below are my current Quick Menu settings. I will show you how to change them, and then walk you through my process of why I chose each individual setting.
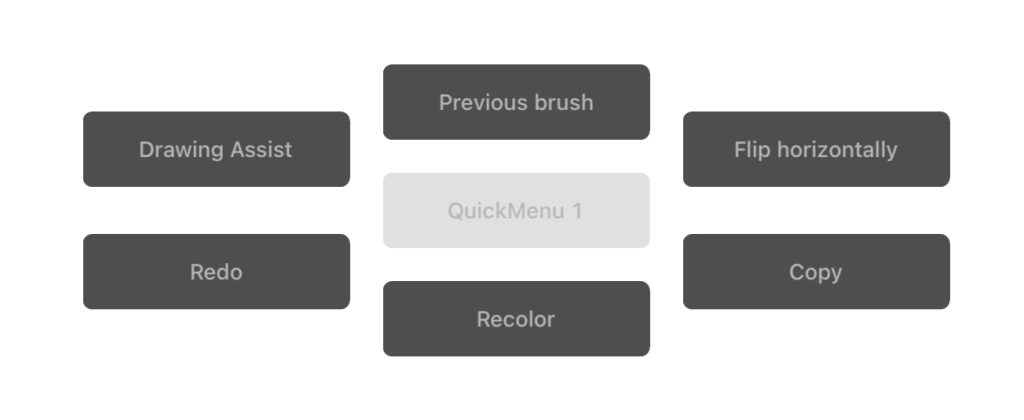
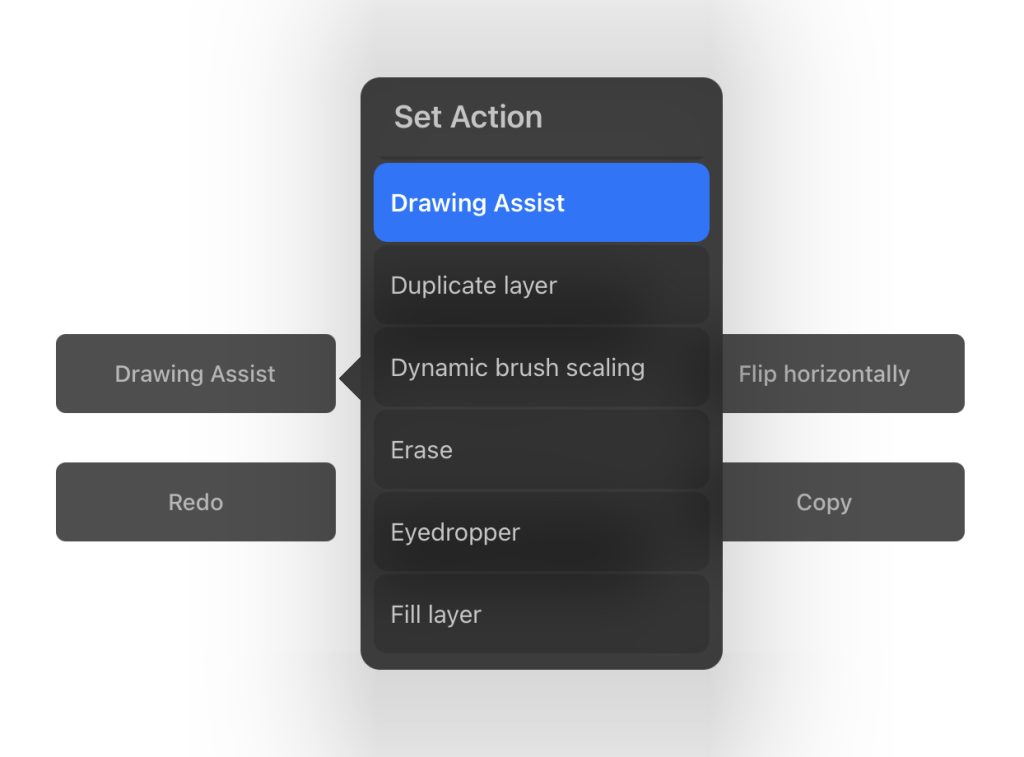
If you hold down on any of the available options, a window will pop up with different actions for you to choose from. Have a look through all of them, and see which ones may be of use to you!
Use ‘Flip Horizontally’ to check your proportions
We’ve all been there — you finish up a drawing, only to realize that when the image is flipped, it doesn’t look quite right.
I like to keep the Flip Horizontally shortcut in my Quick Menu so that I can easily flip my image back and forth during my workflow. It helps me to keep my proportions consistent from multiple viewpoints!
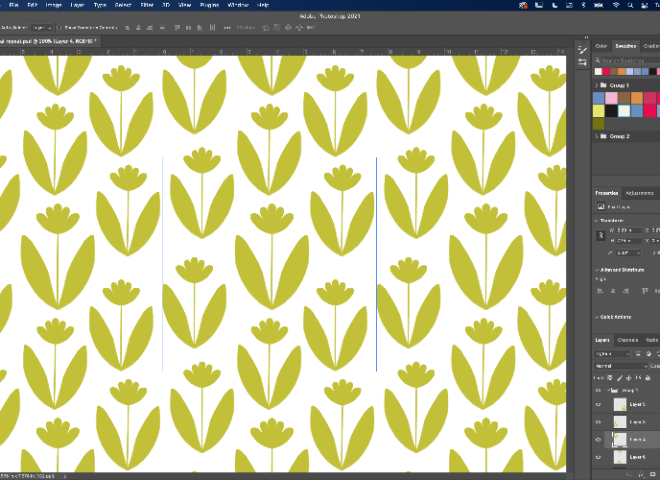
‘Copy’ elements for repeating shapes
When I’m drawing a series of the same item (such as flowers or leaves), I use the Copy shortcut to recreate multiples of that item quickly.
Copy is especially helpful if you have a lot of elements in your artwork that you need to copy and paste to a new layer and then rearrange.
Create efficient brush strokes with ‘Drawing Assist’
Drawing Assist is a great tool to make your strokes more efficient and accurate. It’s like an invisible ruler that aligns your brush strokes to whatever Drawing Guide you choose to work with.
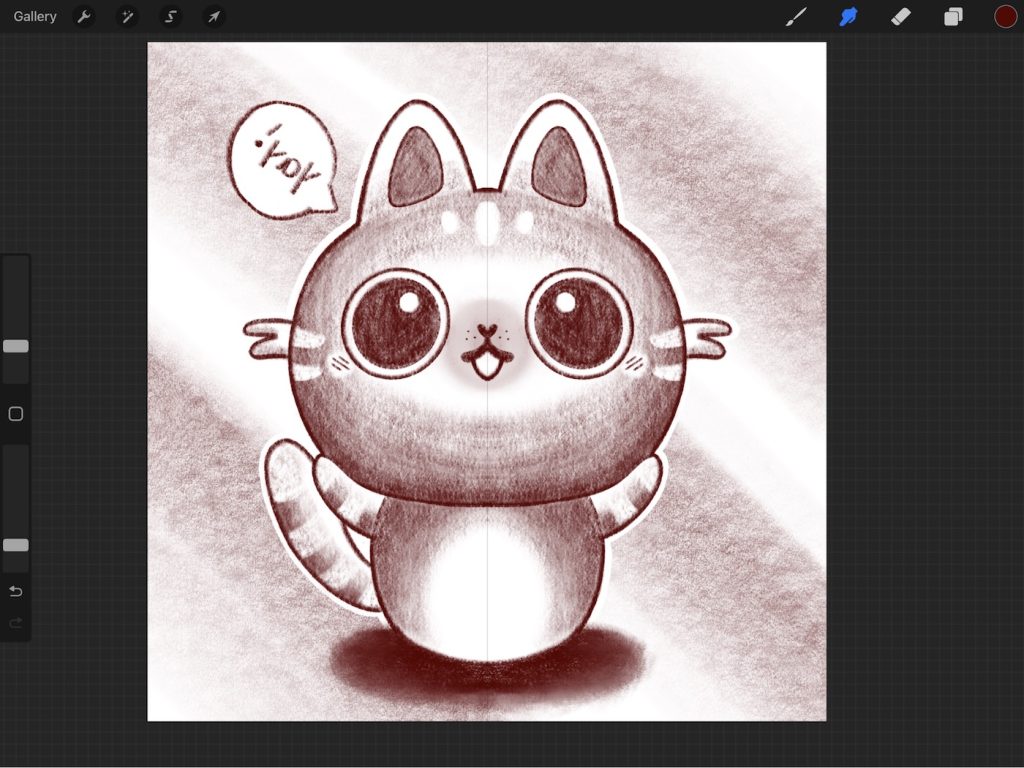
I like to program my Drawing Guide and Drawing Assist to help me draw perfectly mirrored lines so my image is symmetrical.
To start, make sure the Drawing Guide is on. To do this, navigate to Settings (the wrench icon), then check Drawing Guide. To change the type of Drawing Guide, tap Edit Drawing Guide. I will be using Symmetry for this guide.
Now that we have our Drawing Guides set up, return to your canvas and access your Quick Menu once again. Then tap Drawing Assist. Now everything I draw will be symmetrically mirrored onto the other side of my screen for faster drawing!
Change your mind with ‘Redo’
If I’m not wearing a drawing glove, often I’ll accidentally undo my brush strokes when my palm touches my iPad screen. And often, Procreate’s three-finger tap command won’t bring my brush strokes back.
So I like to keep Redo in my Quick Menu to quickly bring my strokes back without relying on other gesture shortcuts.
Quickly switch to your ‘Previous Brush‘
When I’m drawing in Procreate, I frequently switch back and forth between a few brushes. I add the Previous Brush action to my Quick Menu to quickly revert back to the last brush I was using.
Previous Brush also stores the same settings assigned to your brush, such as size and opacity, so you can switch brushes without losing your settings.
Test a new palette with ‘Recolor’
Want to try out a new color palette, but not quite ready to commit? I like to keep the Recolor tool in my Quick Menu to quickly test out new color variations.
First, select a color in your color panel, and in your Quick Menu, tap Recolor. Adjust the level at the bottom to the far right to get the maximum flood of color.

👉 Looking for more tips on building color palettes? I wrote about some of my favorite ways to create color palettes in Procreate.
Feel free to play around with the different actions in the Quick Menu to find what works best for you!